Rotel RP-3300 turntable restoration
Backstory
The very same moment when I climbed to the attic to find my fathers Unitra deck there, I’ve noticed a turntable sitting right next to it as well. I did not recognize it at first, but then I remembered. Way back when I was still at college, a colleague of mine offered me his old turntable in exchange for a pair of headphones I had at the time (can’t remember which ones any more - probably some Sennheisers). The prospect of owning a turntable seemed really cool back then, but I didn’t stop for a second to think the plan through (something that plagues me to this very day - hastiness is my Achilles’ heel). For starters, the turntable itself wasn’t in an ideal condition - at the very least the stylus needed to be replaced. The model also doesn’t have a preamp so I needed that as well. Then I also needed either a receiver or a sound interface to plug the turntable into. I had no records at all and most importantly - since I was a student - I didn’t have money for any of these things. And yet I didn’t think about any of this at all, I just wanted the turntable. As you can imagine, I did absolutely nothing with it for years, and then at some point it ended up on the attic, the place where you store things you don’t want to throw away so instead you leave them there to rot until they disintegrate while you pretend that you kept them safe, instead of throwing them in the first place or even better, giving them to someone who would actually use them.
Anyways.
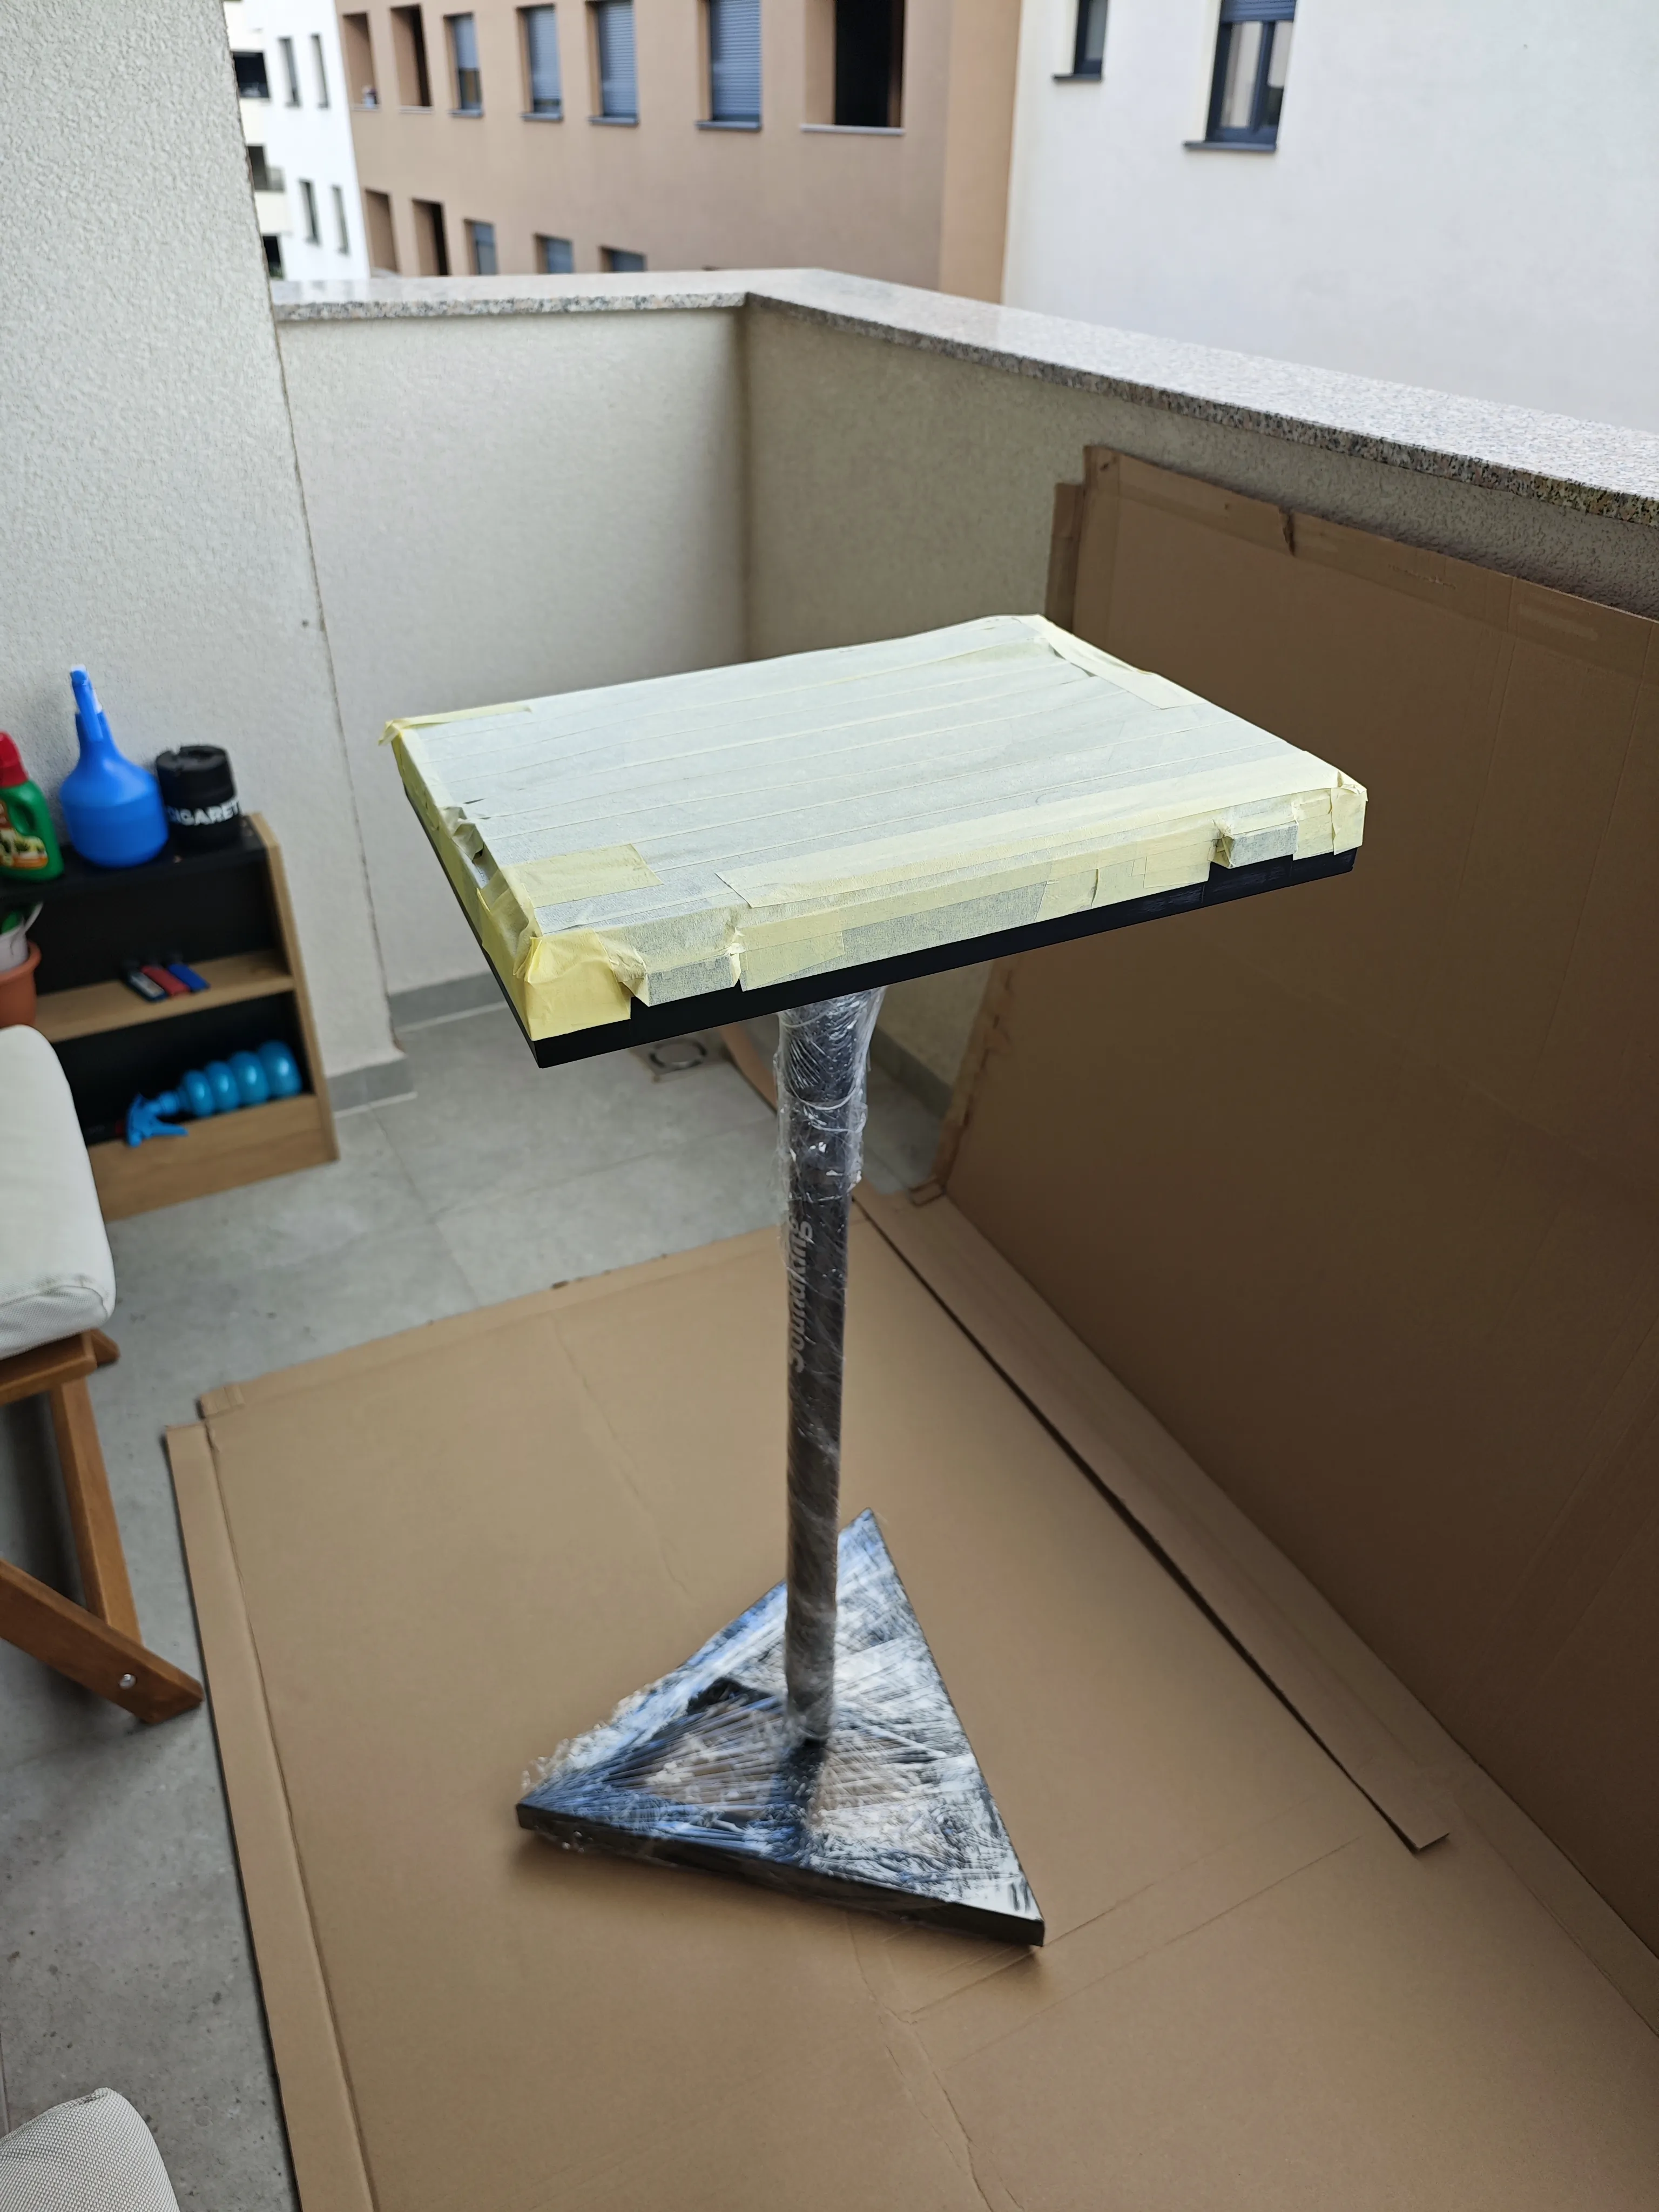
It’s not like I needed yet another turntable (I already had two). Nor did I have any place for another in the first place. However, I do find it difficult nowadays to find genuine joy in my life - the two best ways I’ve found so far is either building something or repairing something. This would fall in the second category so that was all the reason I really needed, but I’ve also figured if I were to really bring this back to life I still needed to put it somewhere. I remembered few months earlier I was talking to my cousin about records and turntables and she said she would really love to have a record corner in her apartment one day. I asked her if she’d like to have a restored ’70s record player and she hasn’t hesitated for a second before saying yes. I mean, really, I would’ve done it anyways. People often have two reasons for doing things, the good one and the real one. I had both now.
Initial condition
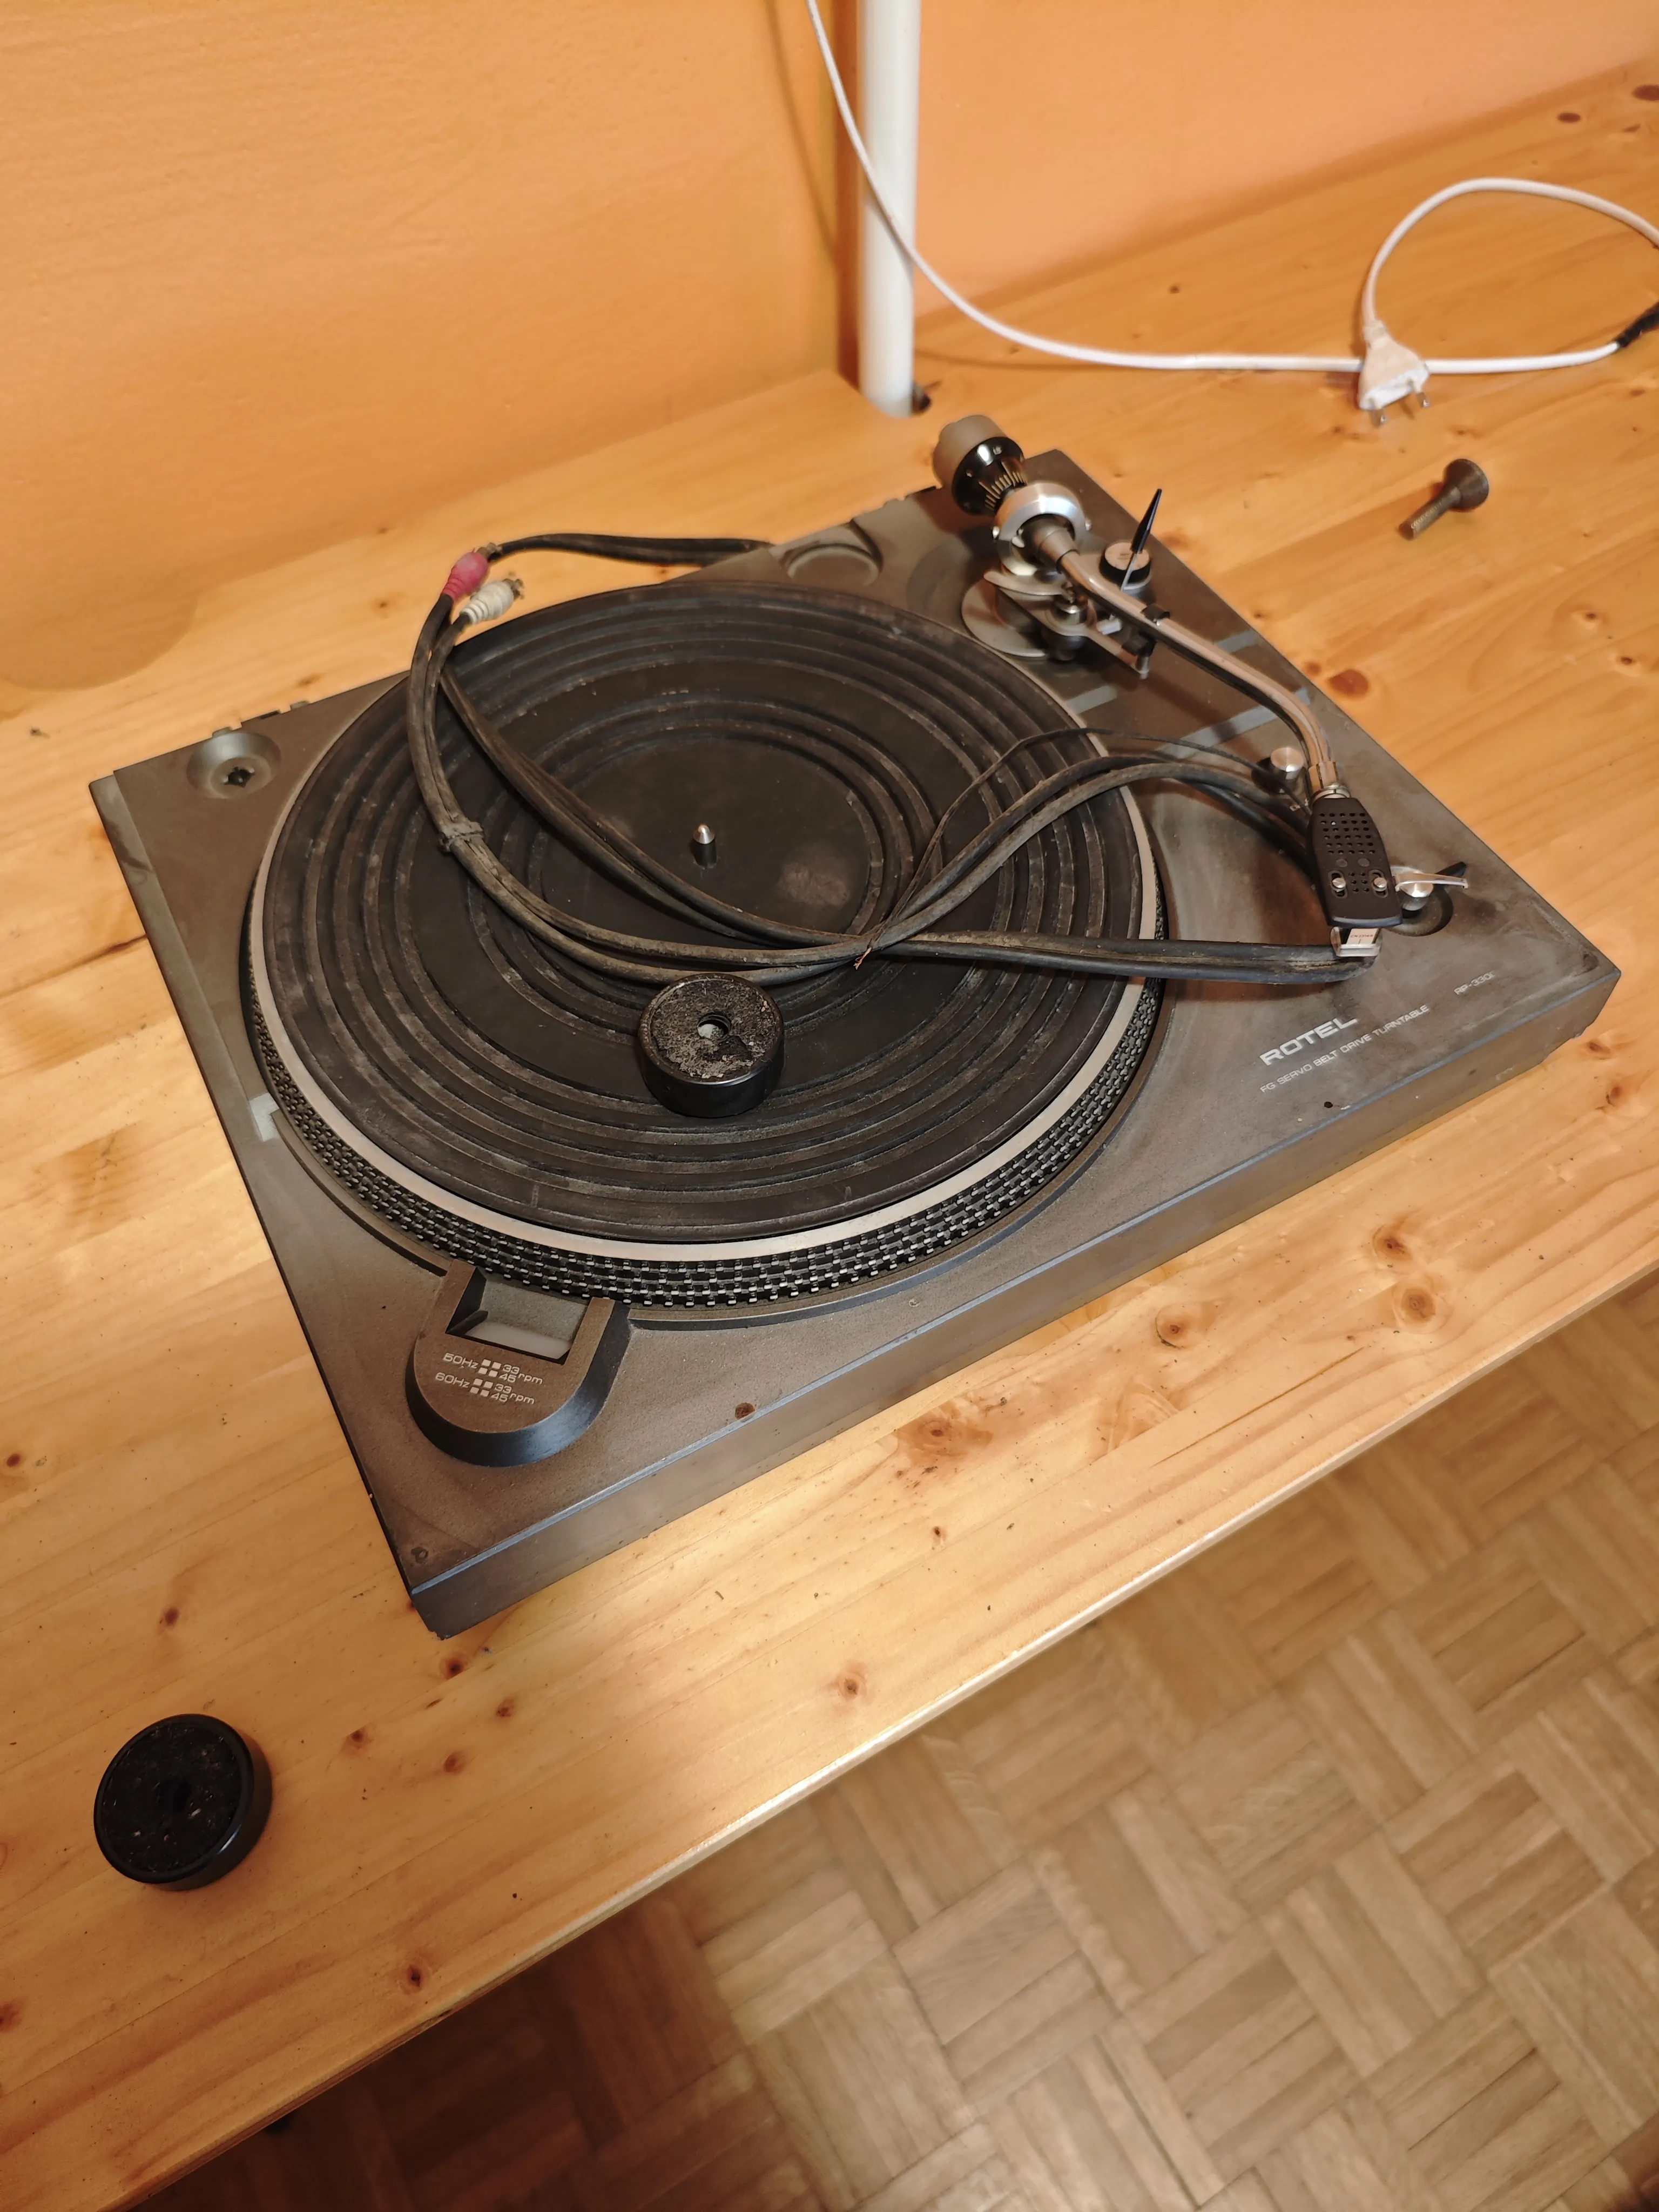
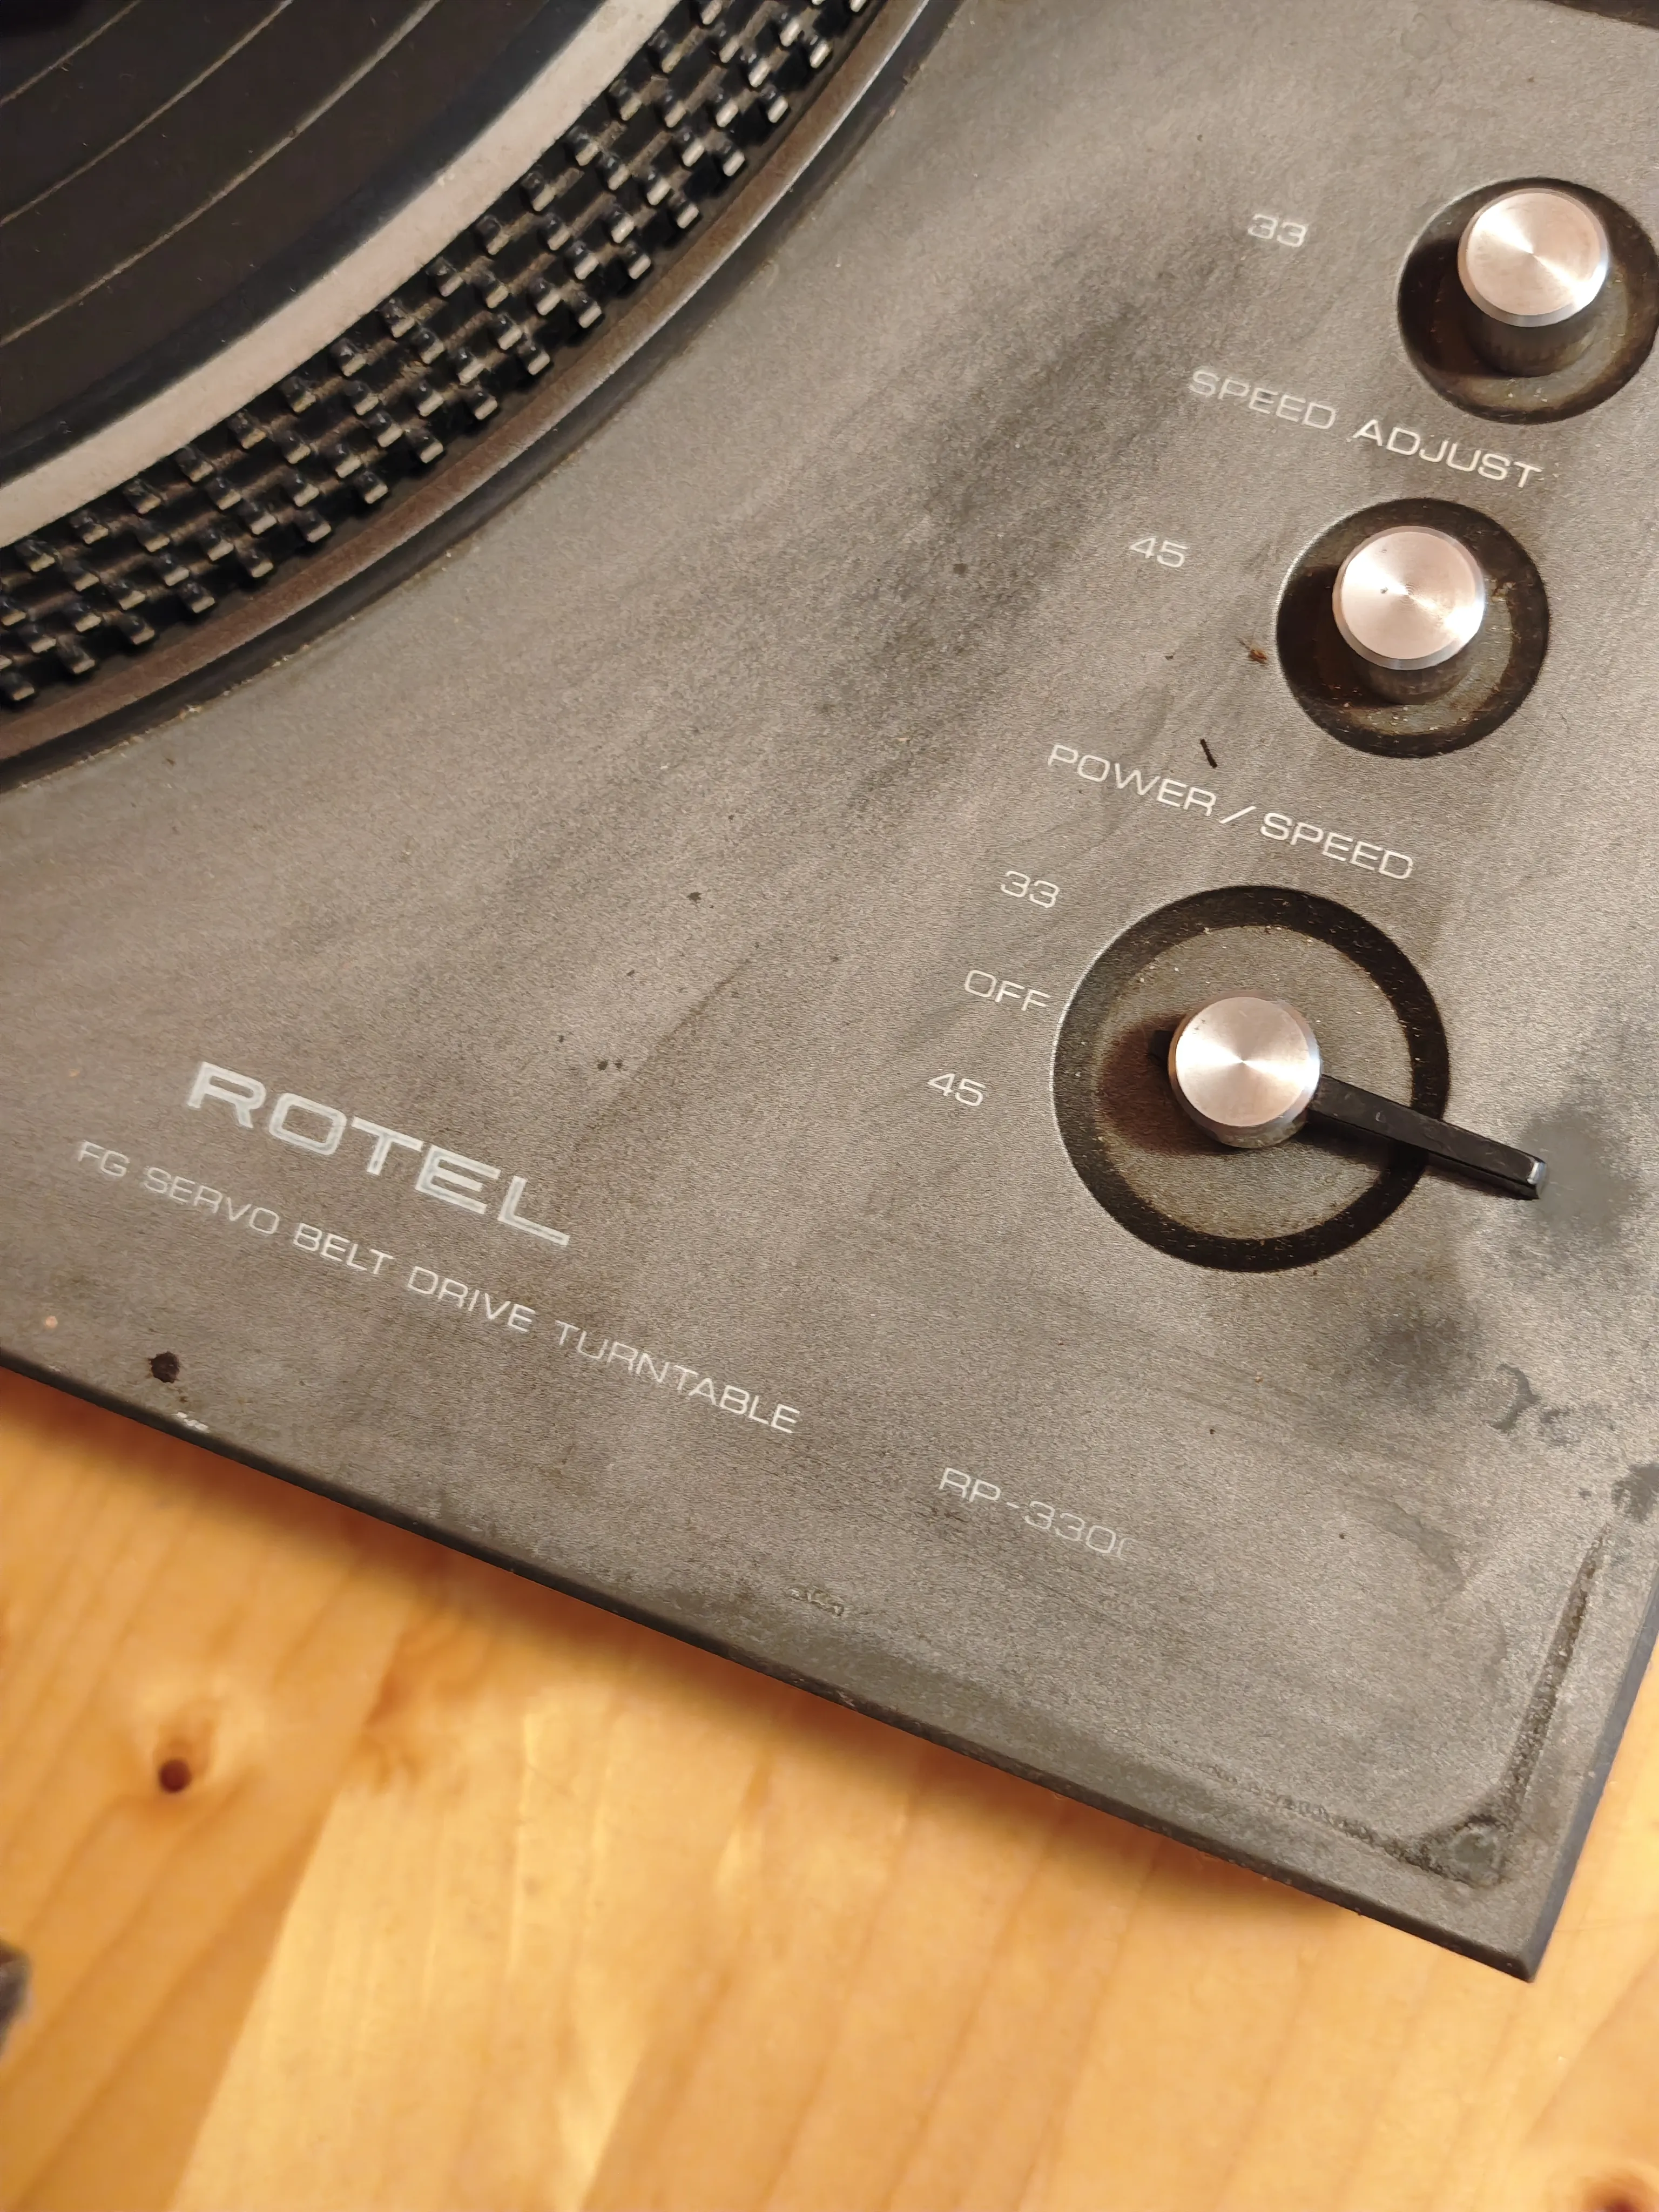
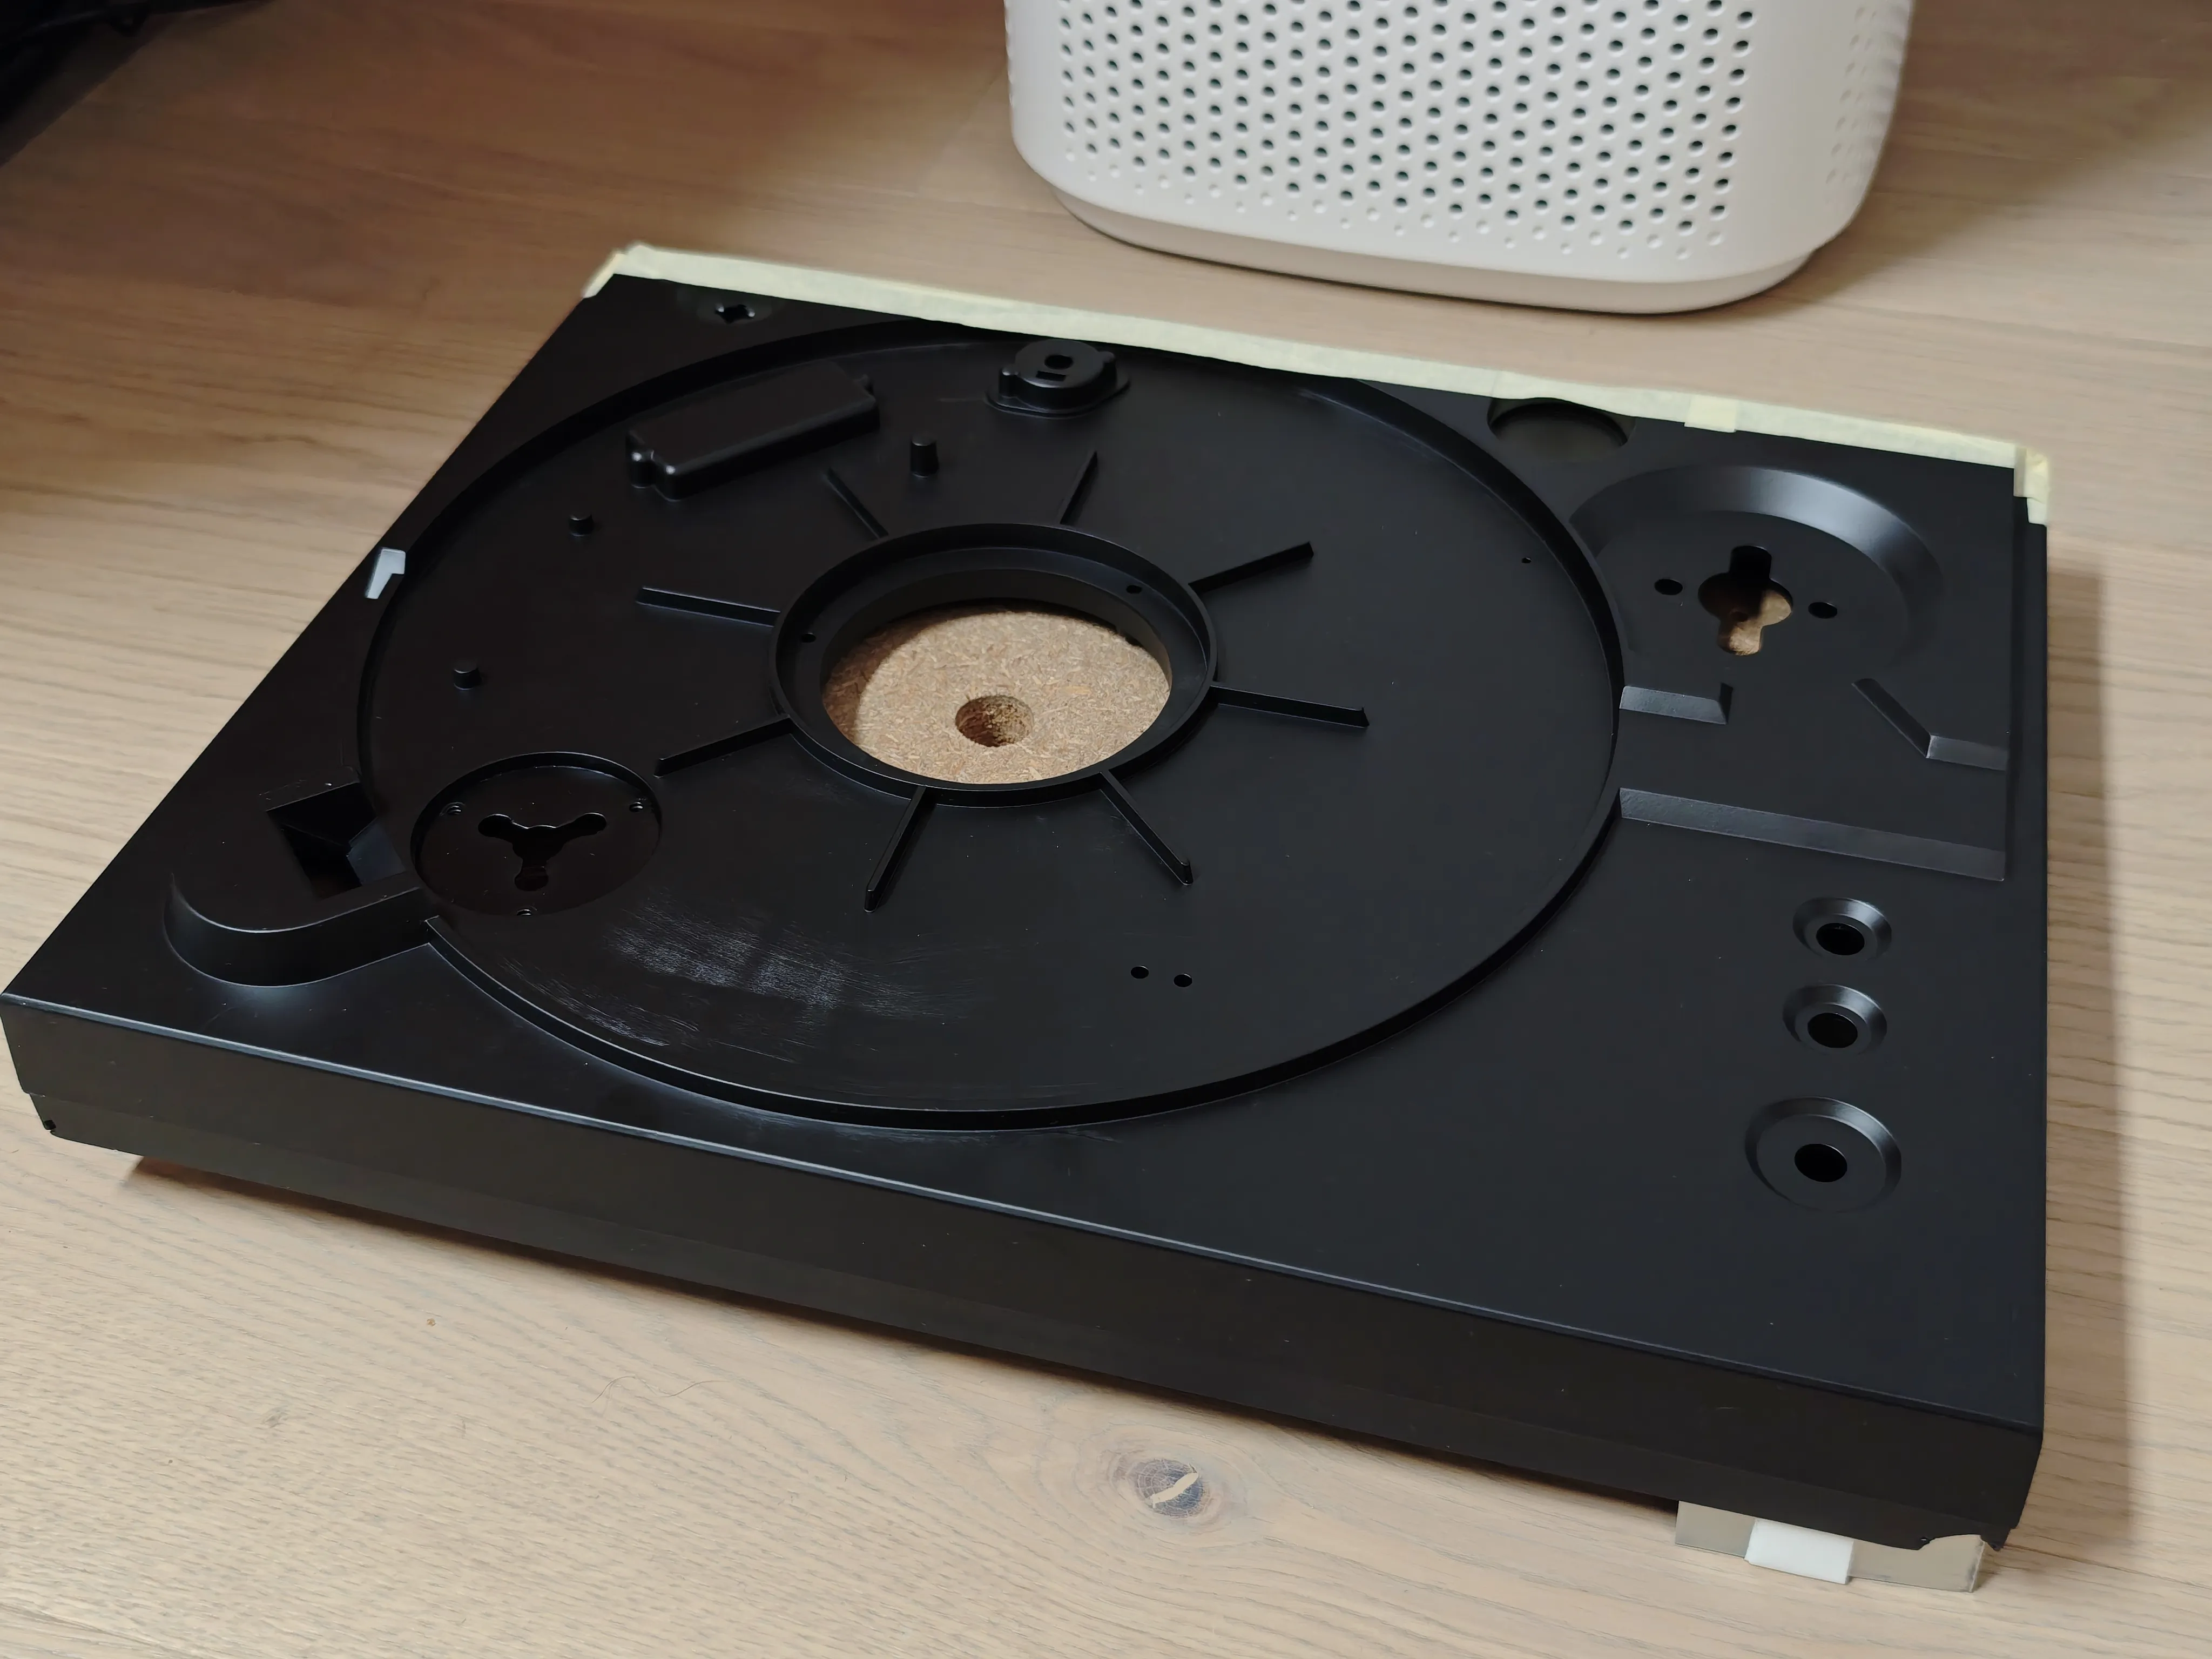
Here it was, to my surprise in much better shape than the tape deck, probably owed to the fact that it had plastic cover on it so the scars weren’t so deep. That’s not to say it looked good - it was still quite dirty, some metal parts have began to corrode, the case was cracked at two places, the cover itself looked horrible and the feet were unusable - one has almost melted and the other was missing. So I brought it to my apartment, dusted it off, lay it on a somewhat flat surface, threw the cartridge away and screwed my own, connected it to a preamp and played a record. To my astonishment, it actually worked. The platter was rotating at basically correct speed (minor adjustment was needed) but it played! Despite this fact it still needed lots of work.
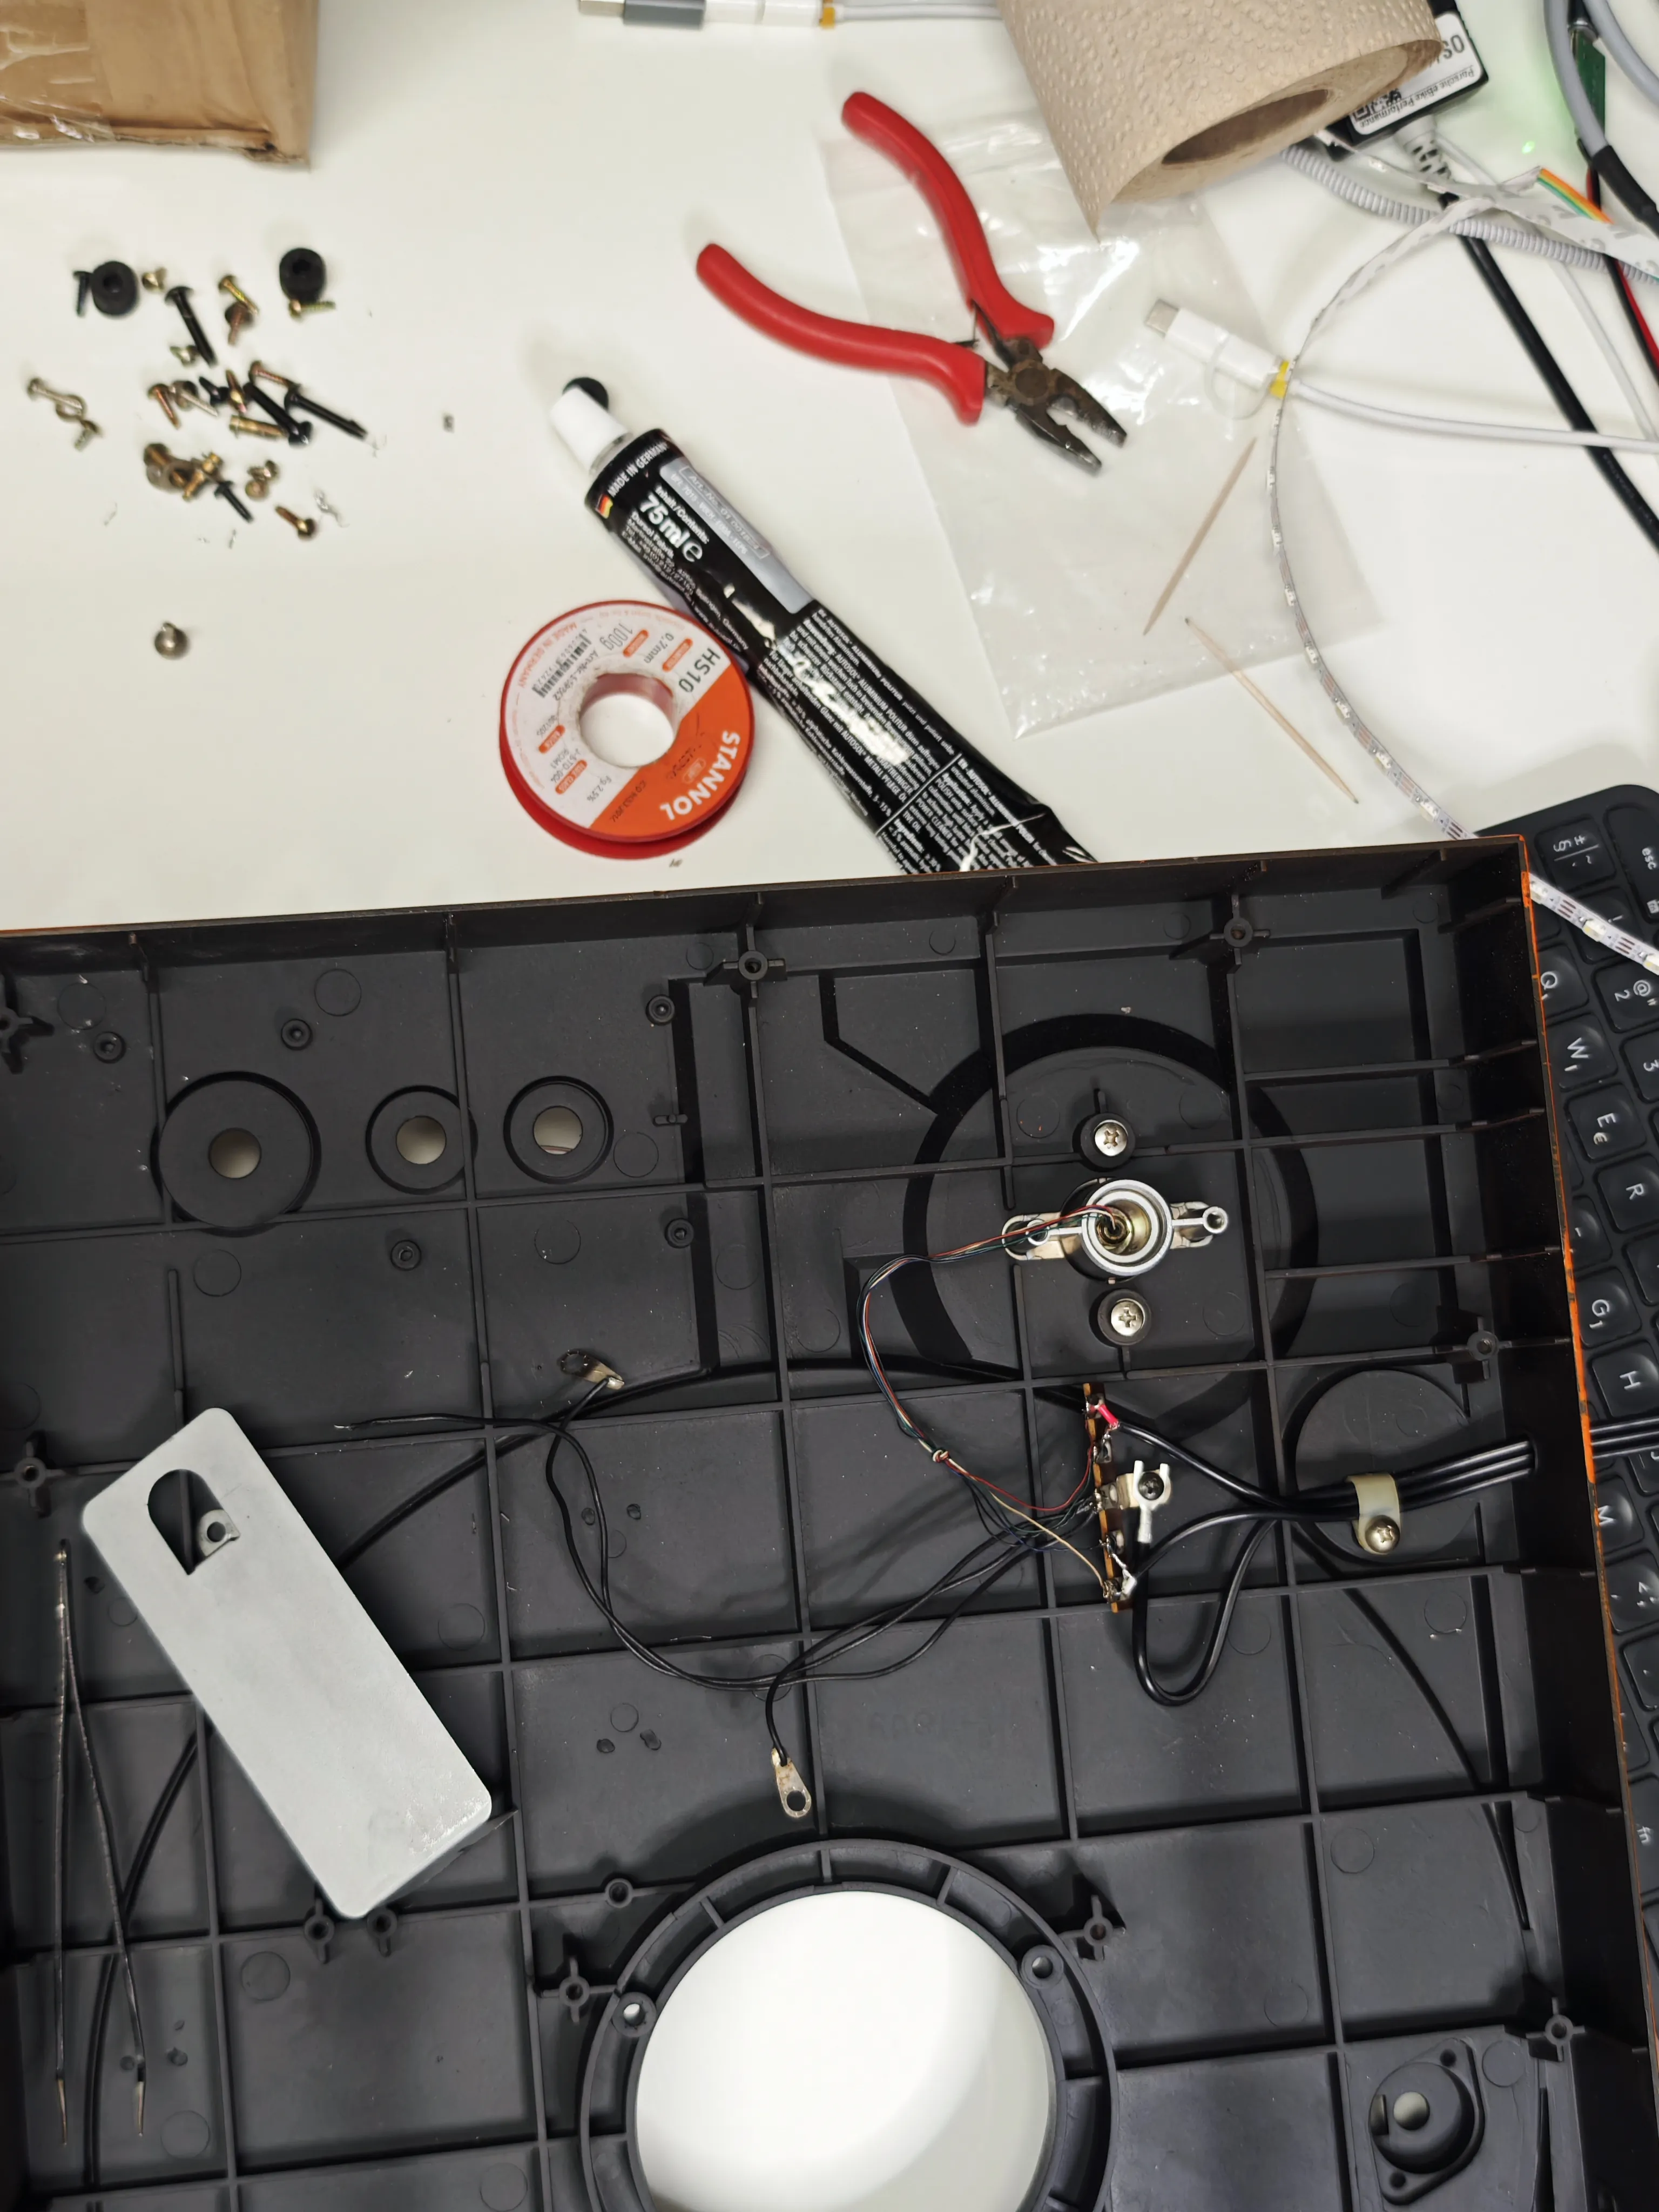
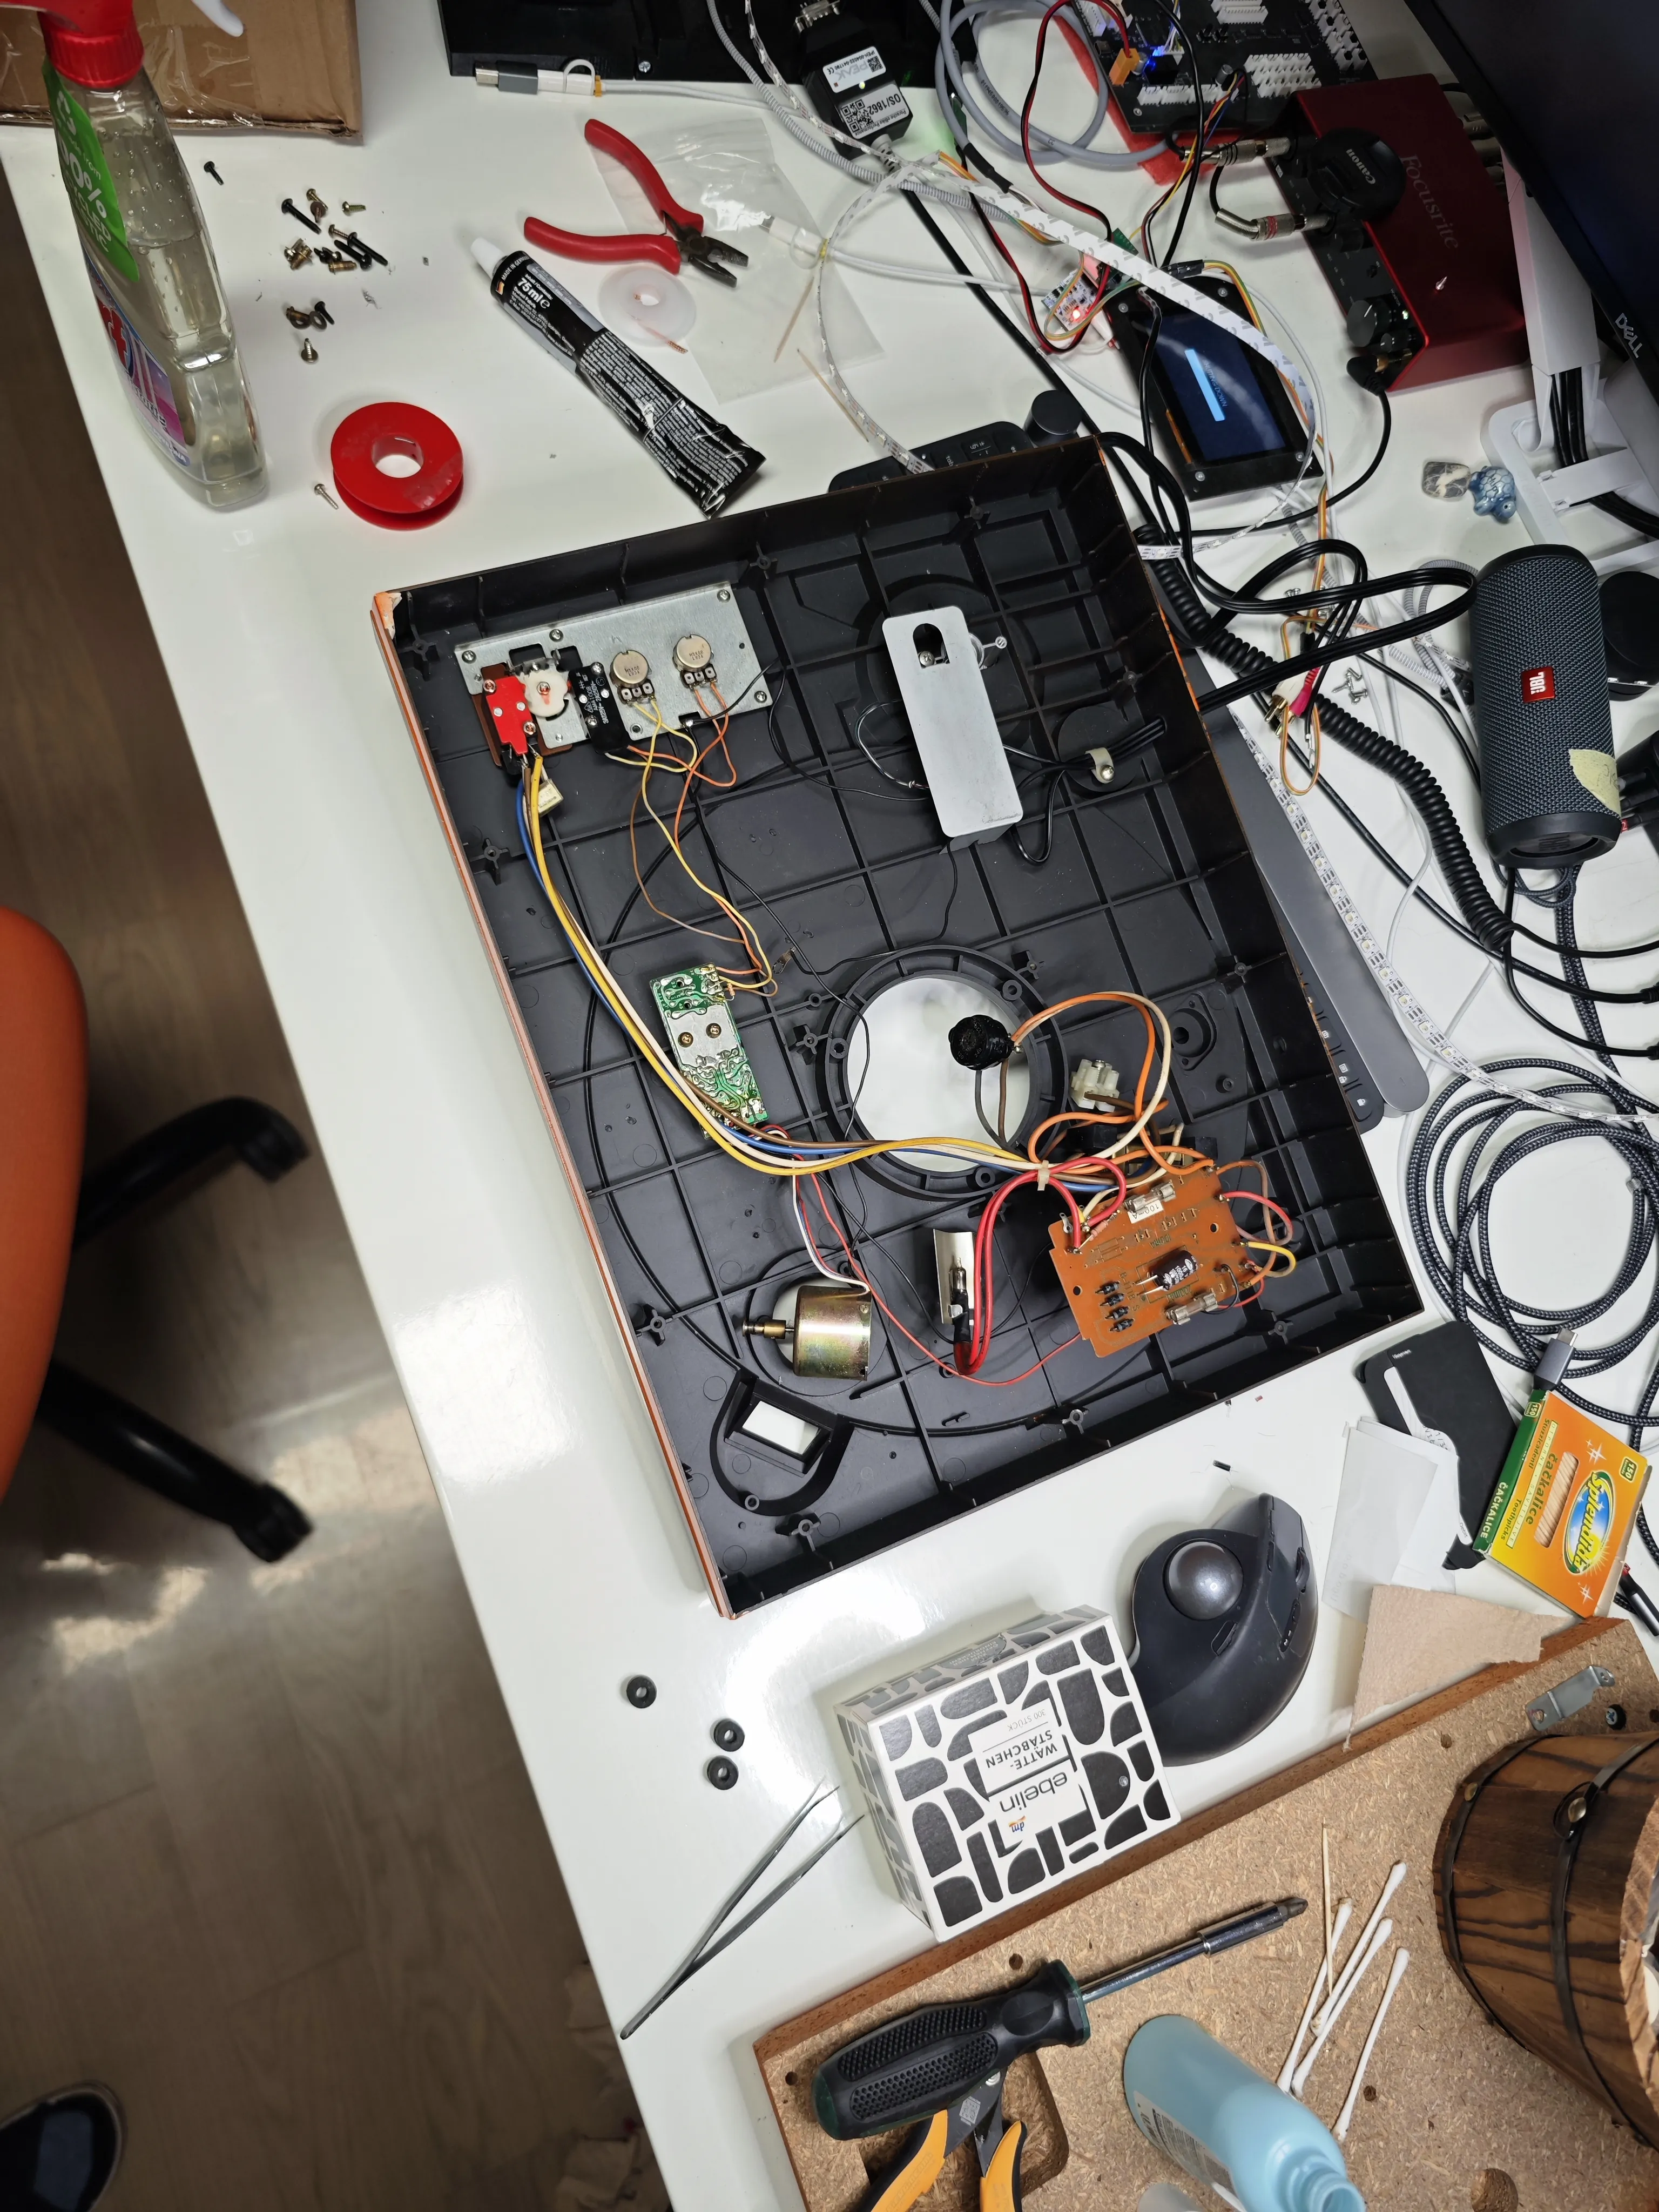
On the inside there’s not much to see really:
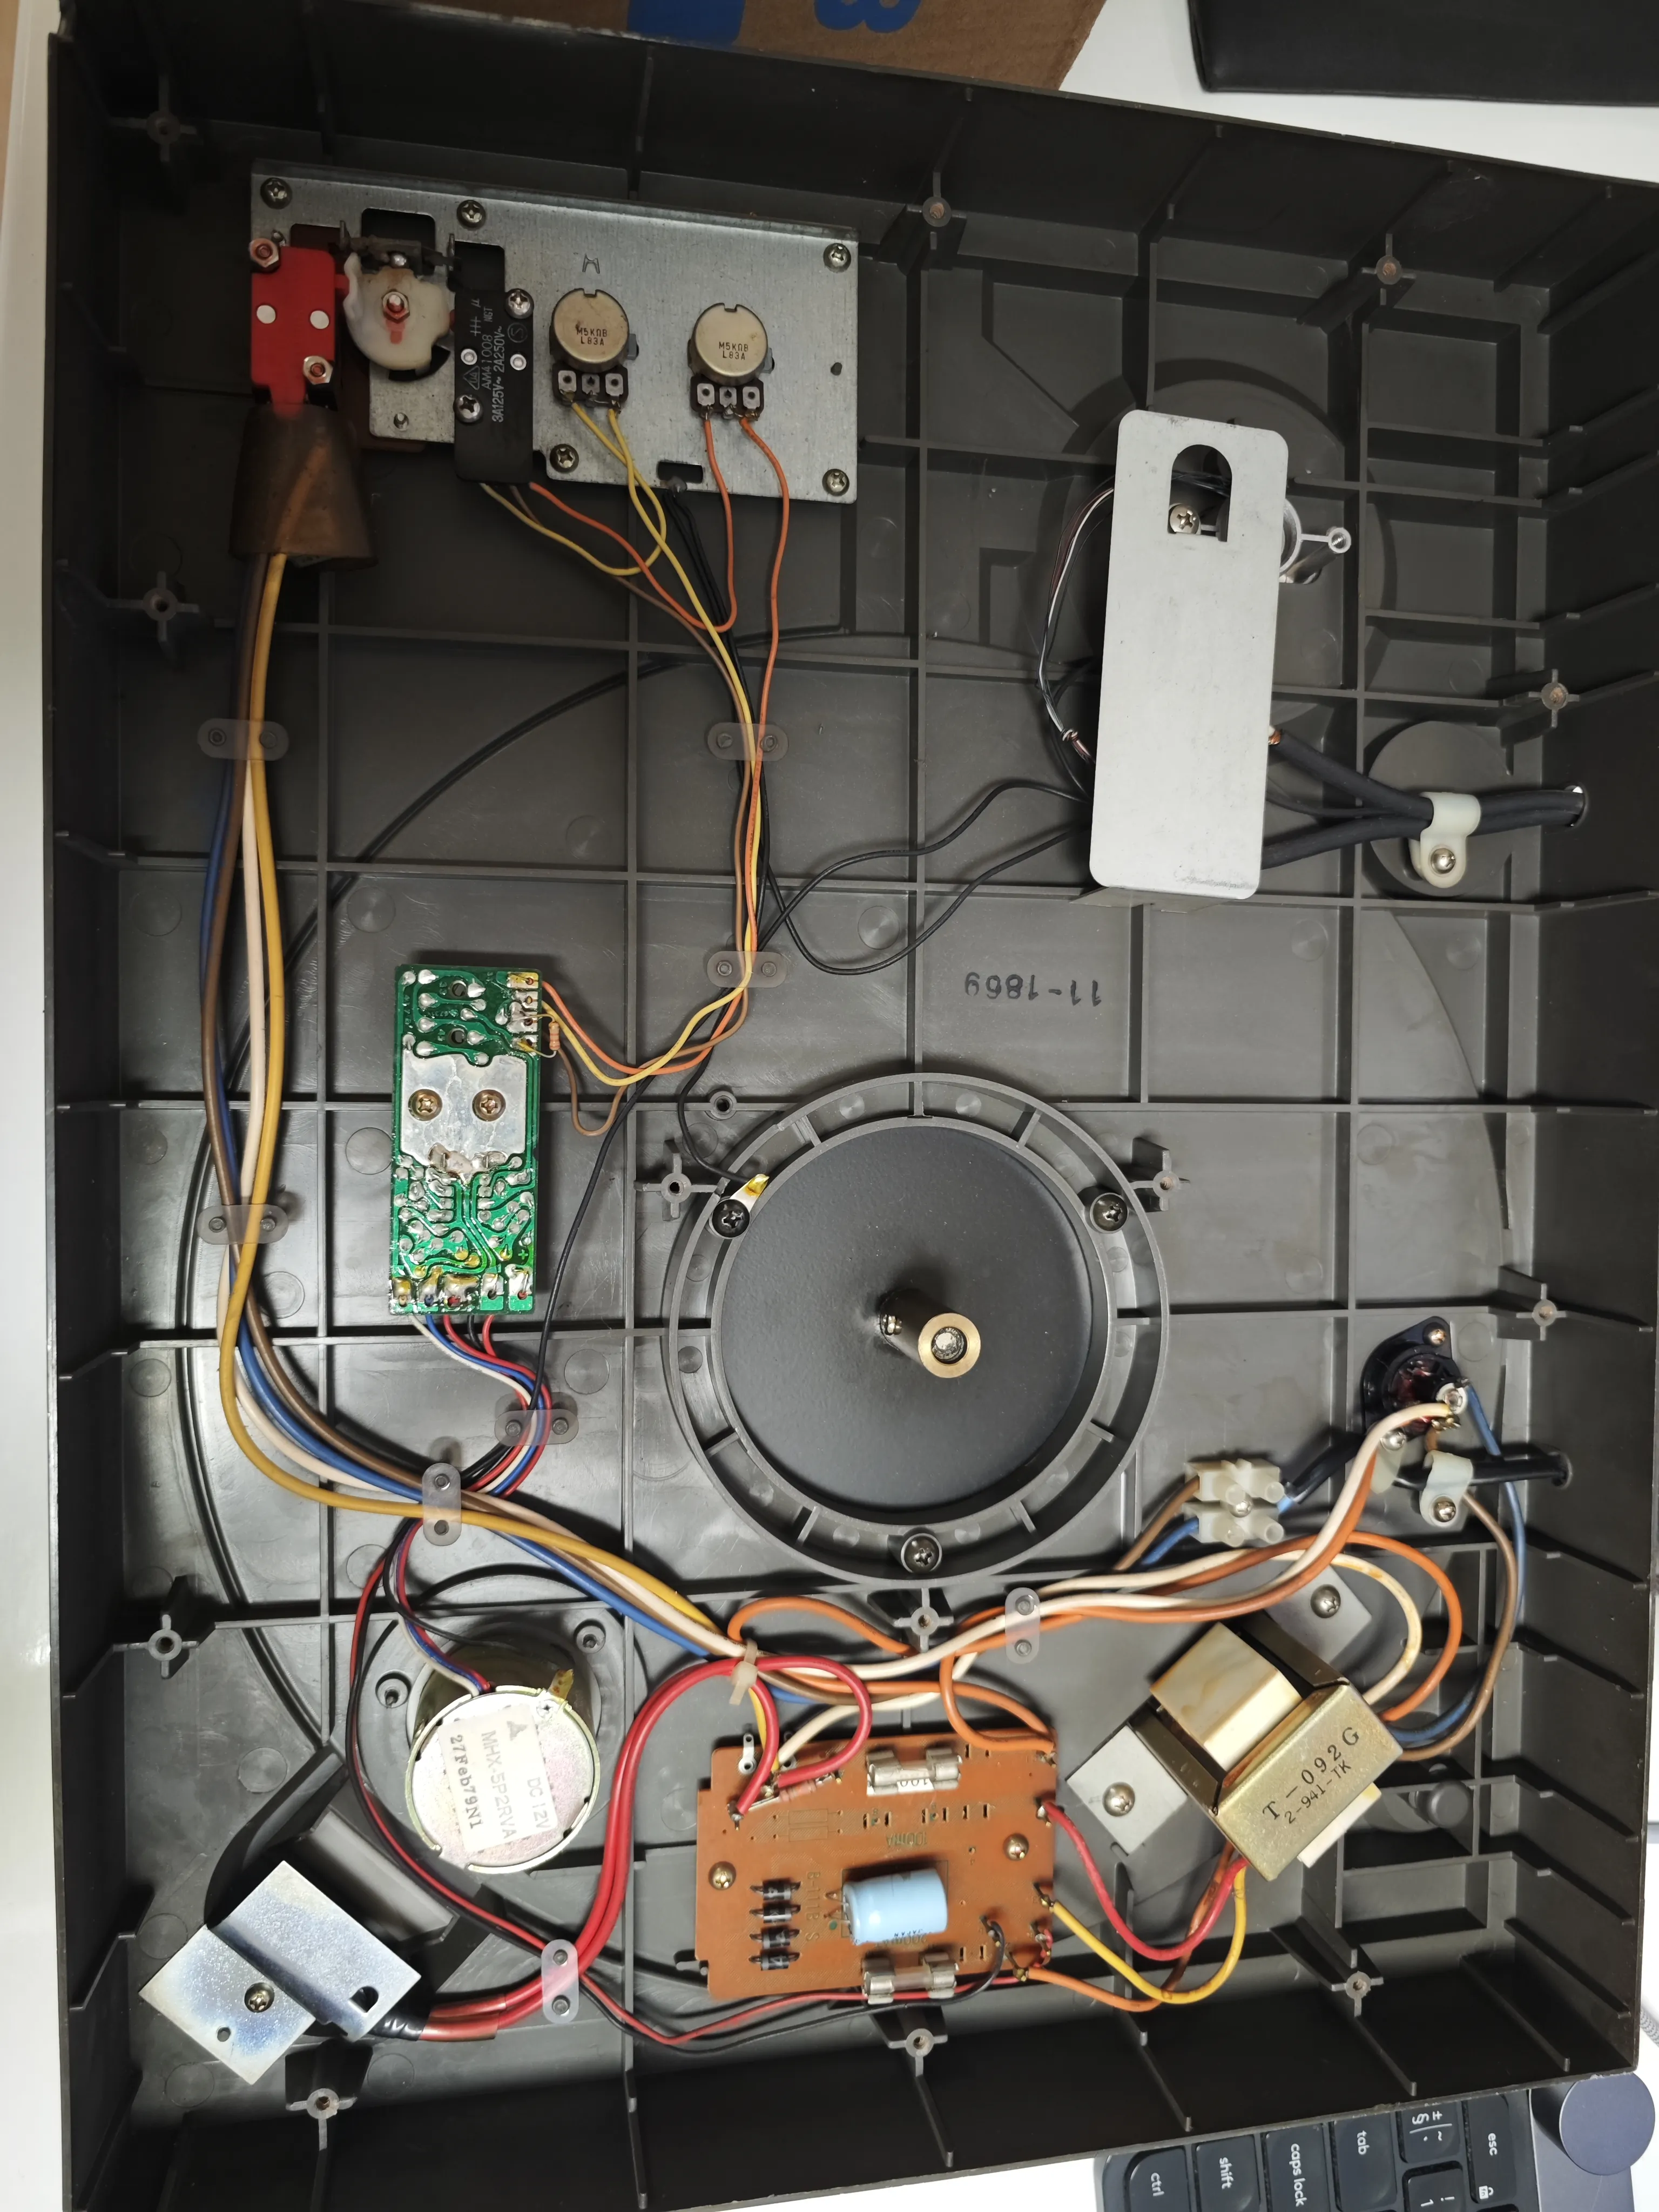
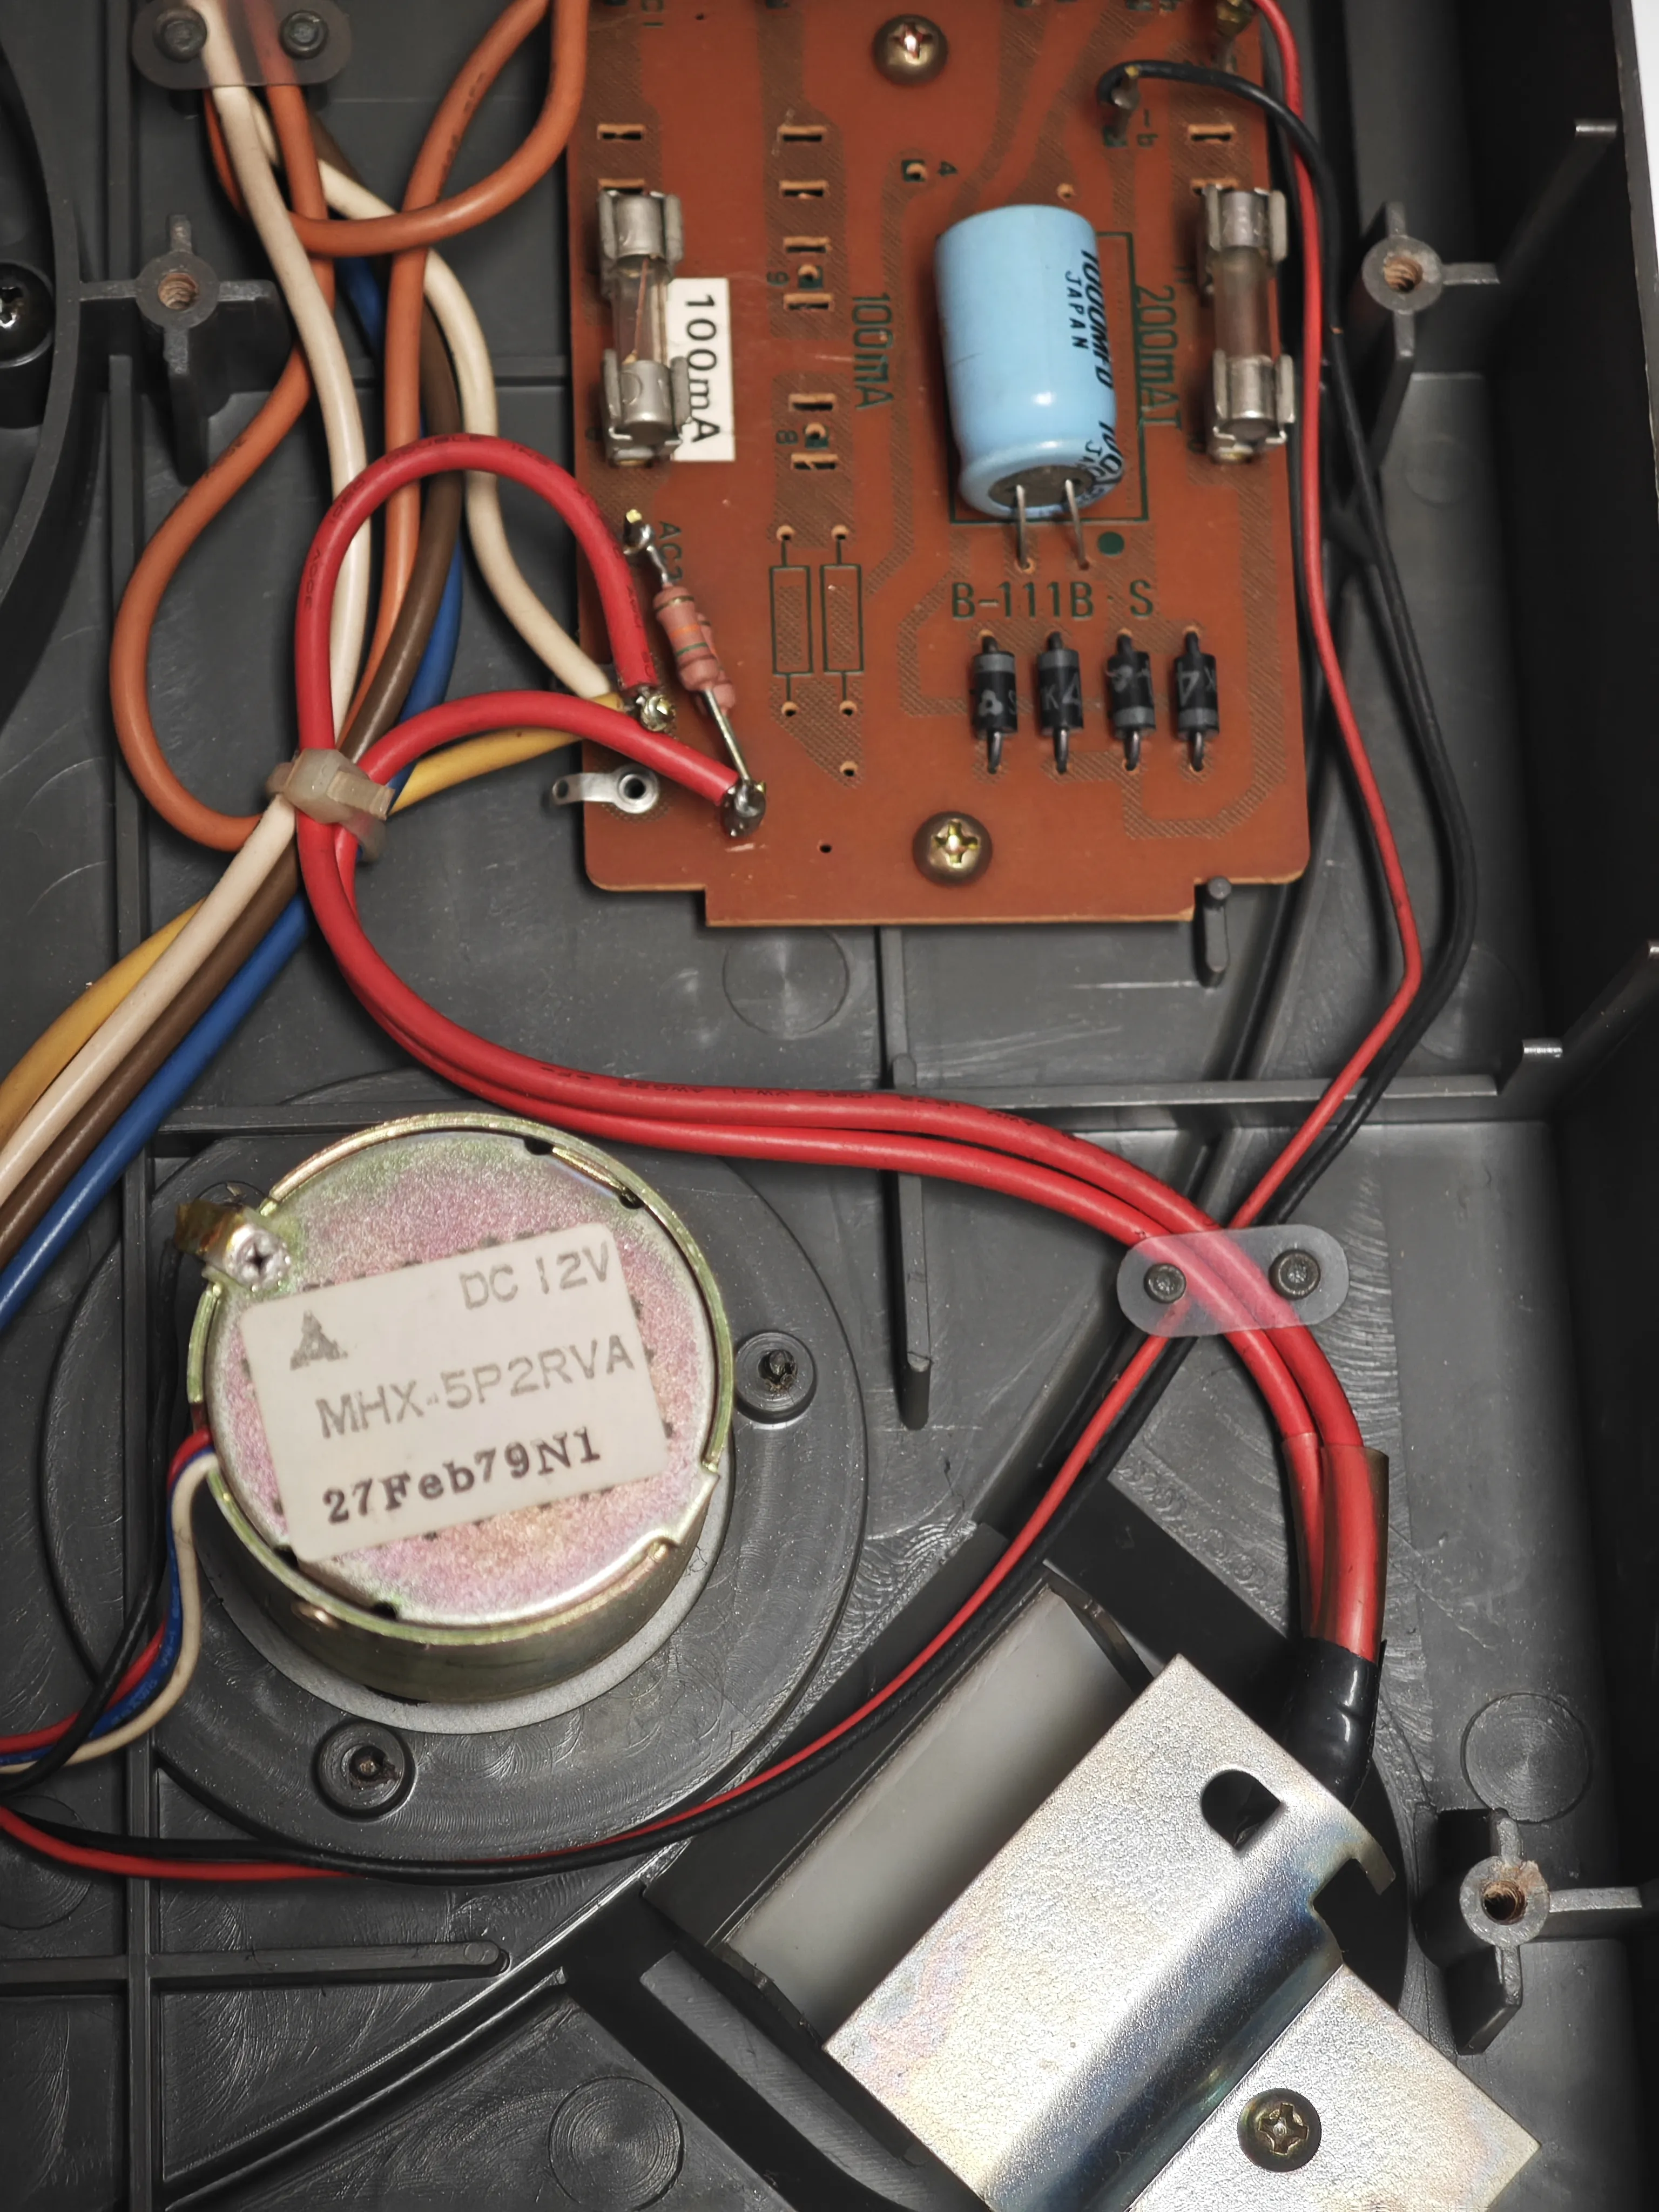
Notice the date on the motor!
Restoration
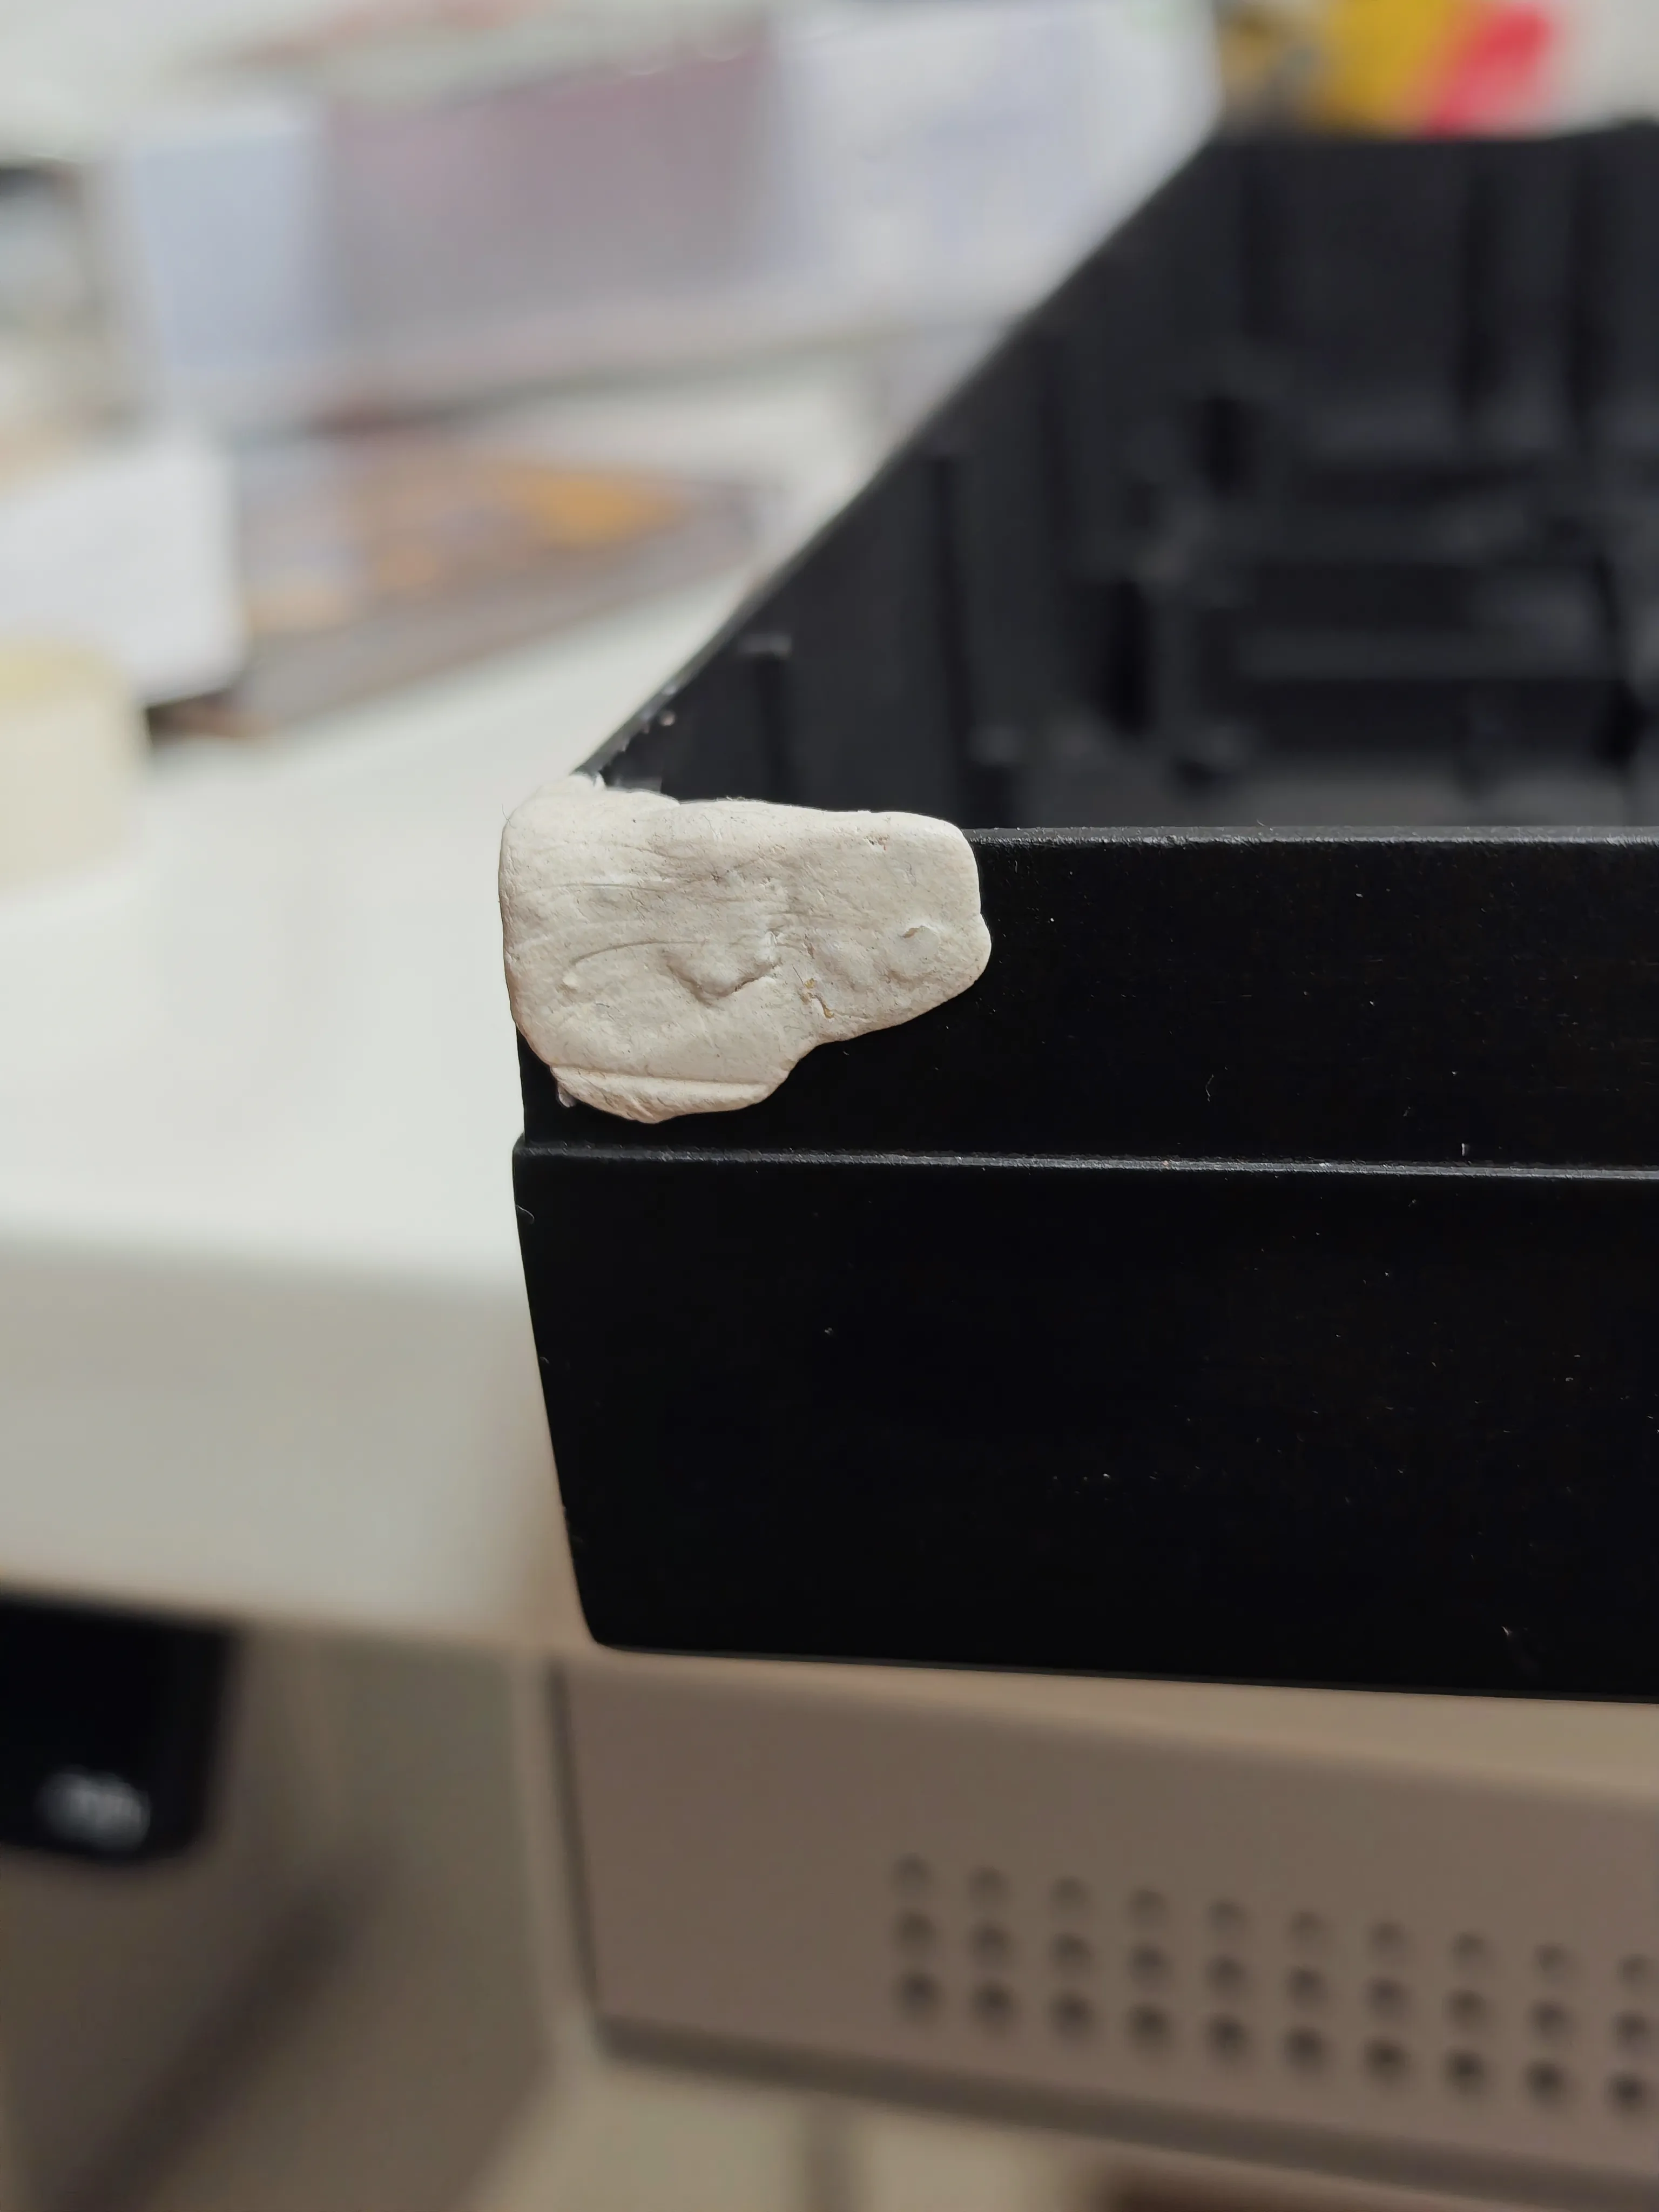
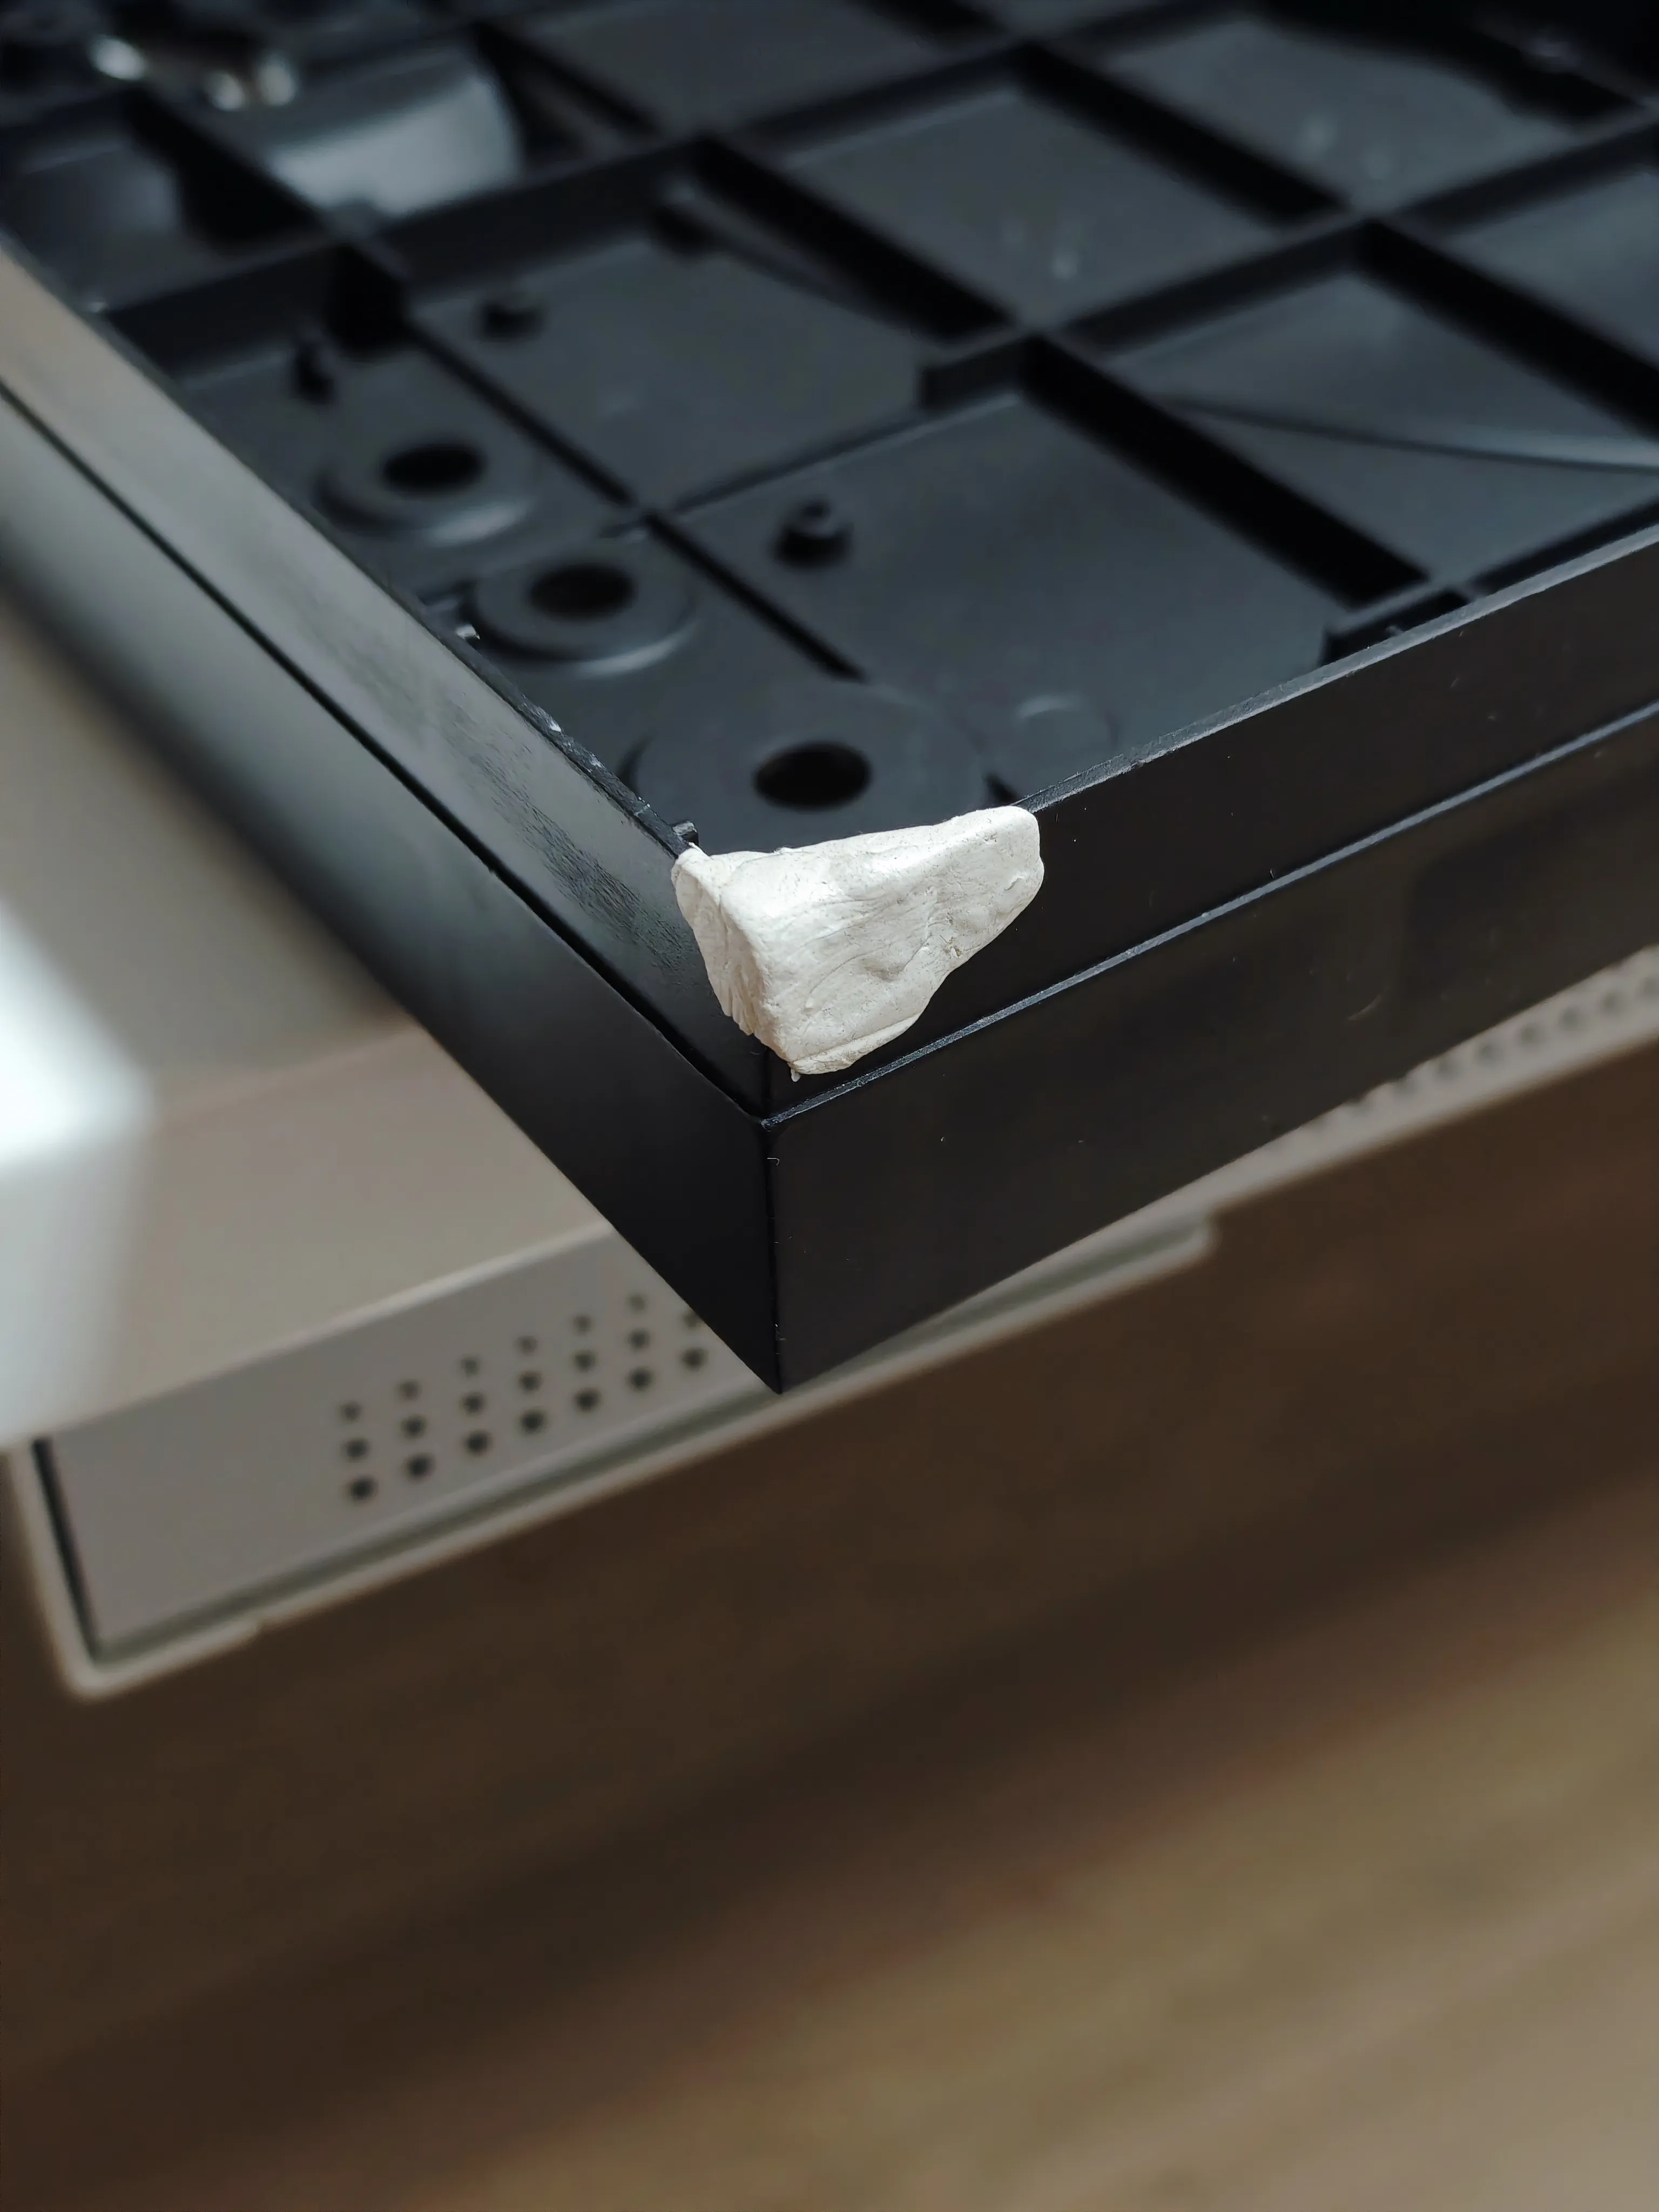
The plastic case looked horrible to me so I decided to paint it entirely. This was done by a car painter because I really wanted it to look nice. Just spraying it by hand wouldn’t cut it. I also told him there was a crack in the case and asked if he can fix that first before painting it and he assured me he can. Plot twist: he didn’t. Once again it turned out that when you want something done right, you need to do it yourself. Except I had no idea how to fix this since I’ve never done anything like it.
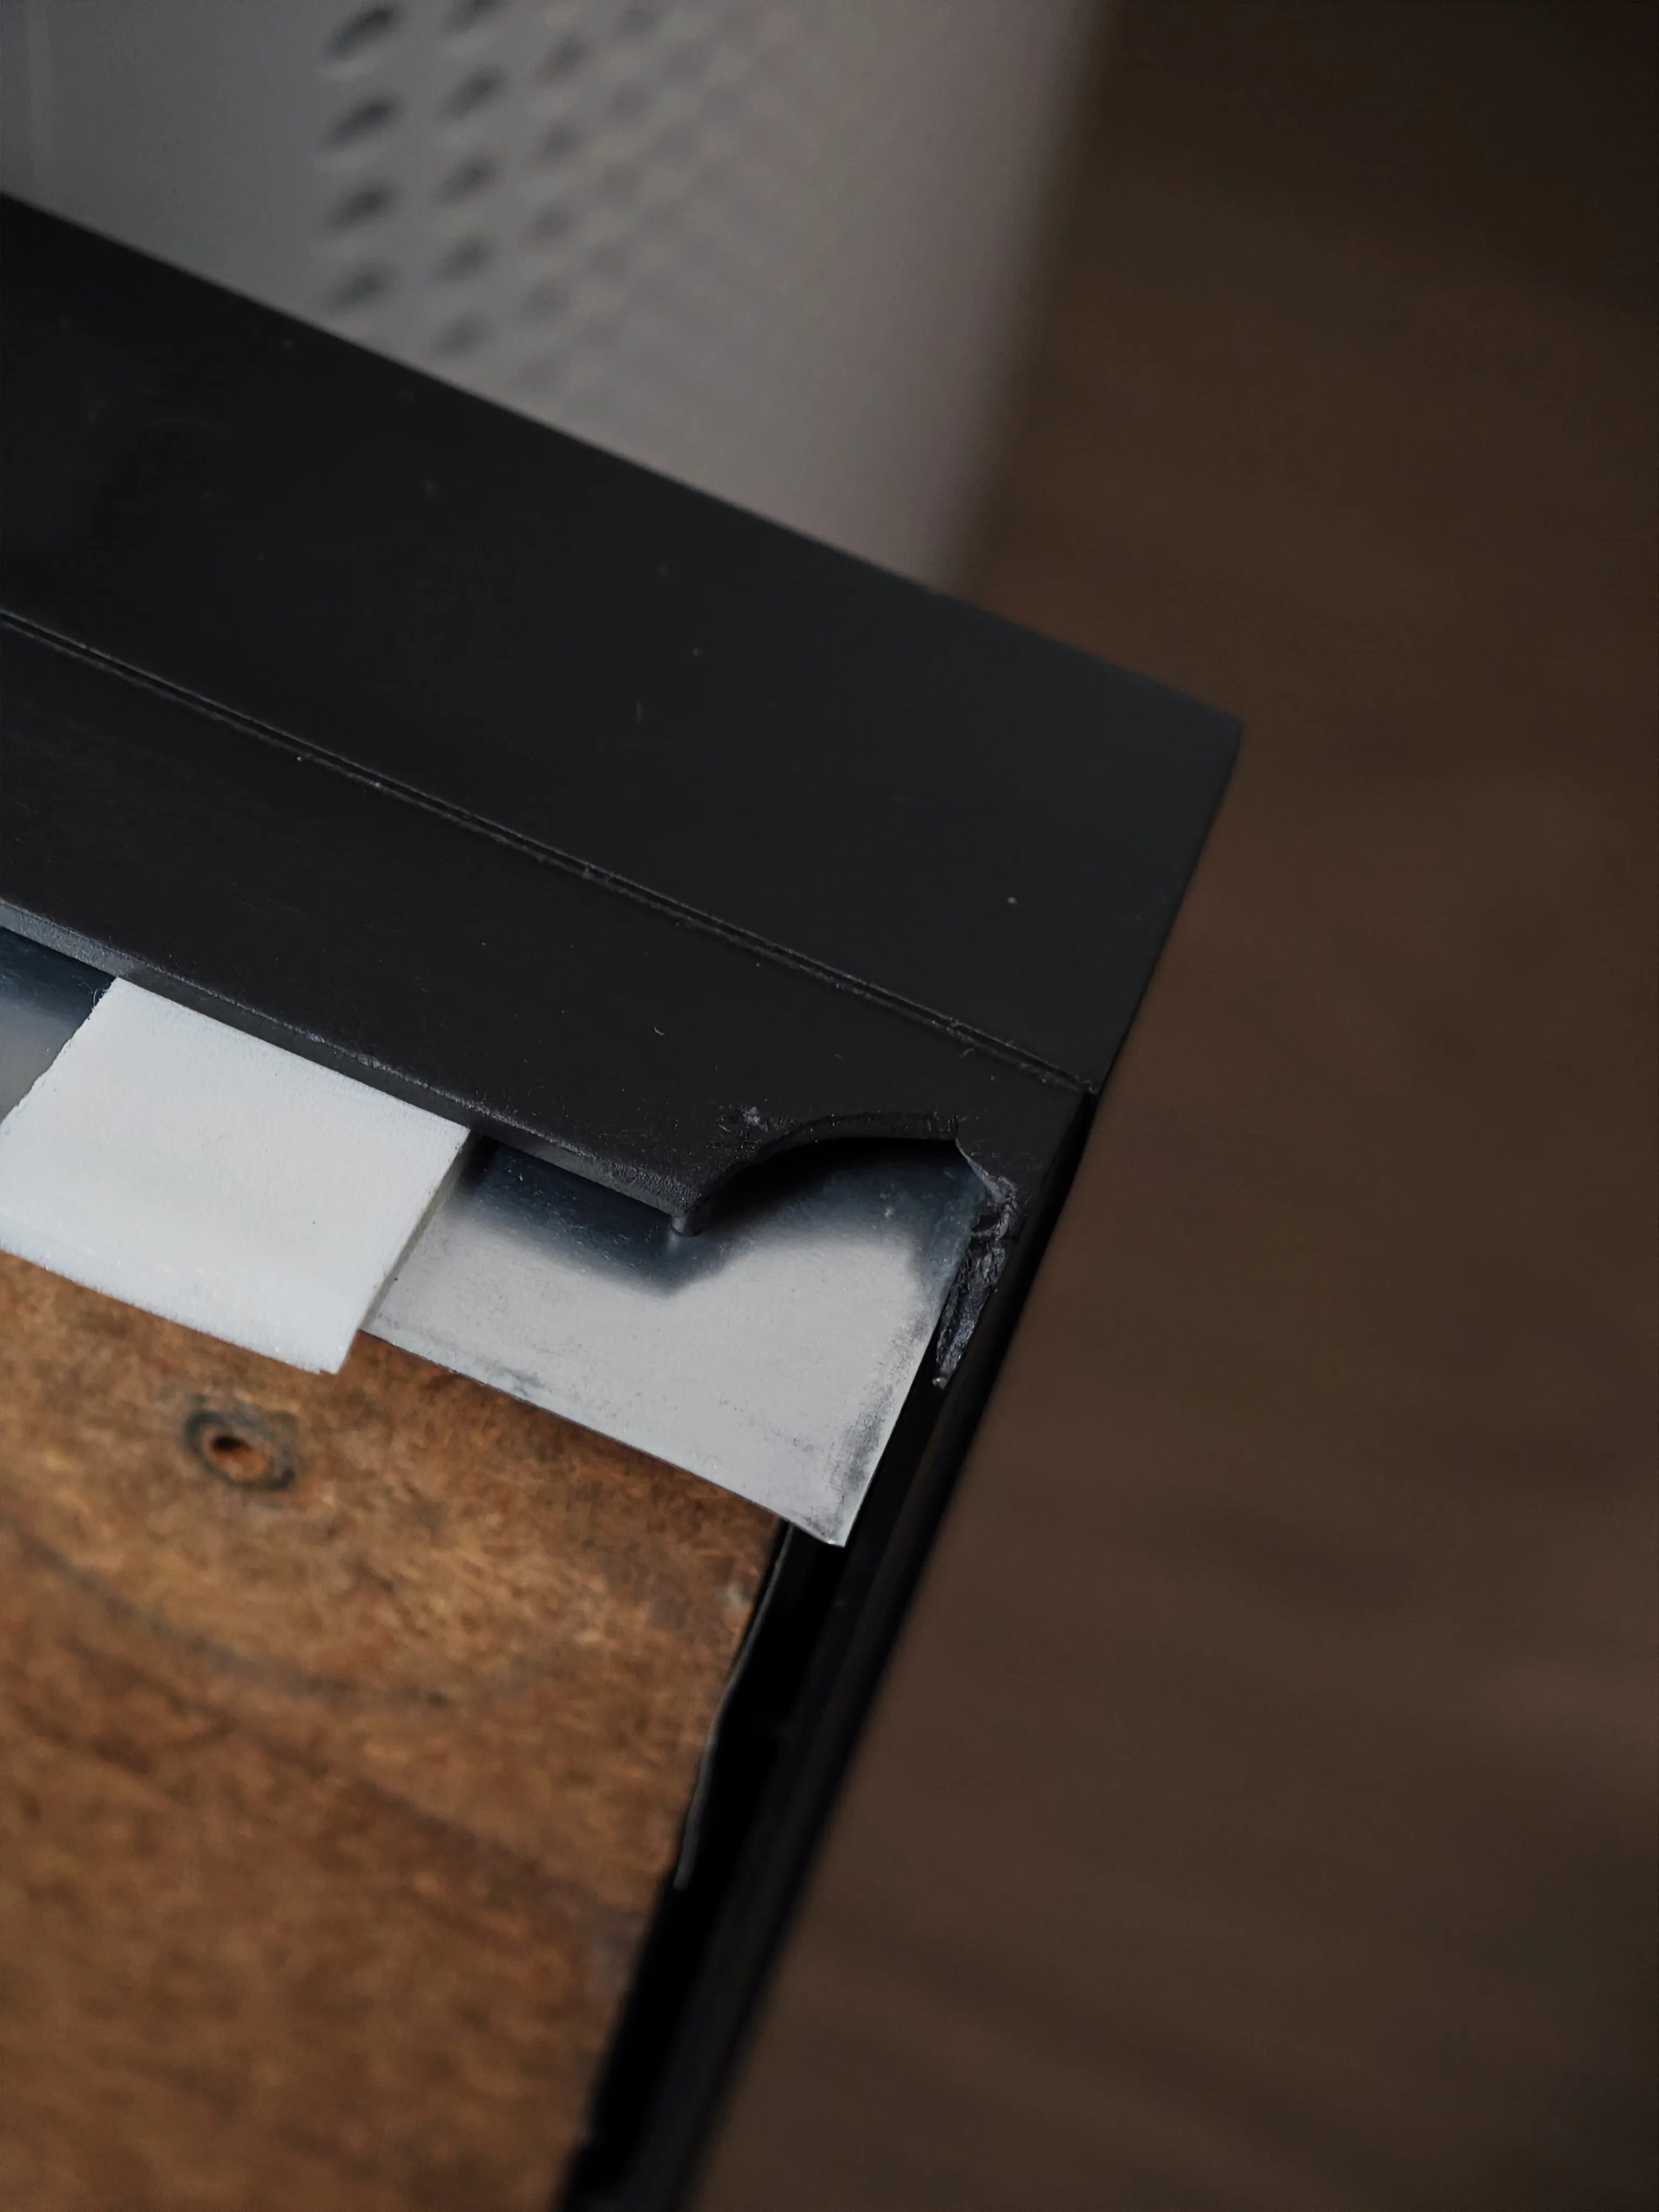
After some research it turned out I needed epoxy putty. Working with this threw me back to my primary school days when we played with clay. It’s a two part material which you first knead and then apply over the area of your choice. So I’ve applied a rather thick layer of it over the cracked part and left it to dry the entire day. Once it becomes hardened, you just sand of the excess. Easier said than done, this was a very delicate process because 1) I was careful not to break the hardened part off and 2) not to sand off where I shouldn’t. At the end it turned out good enough - flush with the case with no obvious bulges.
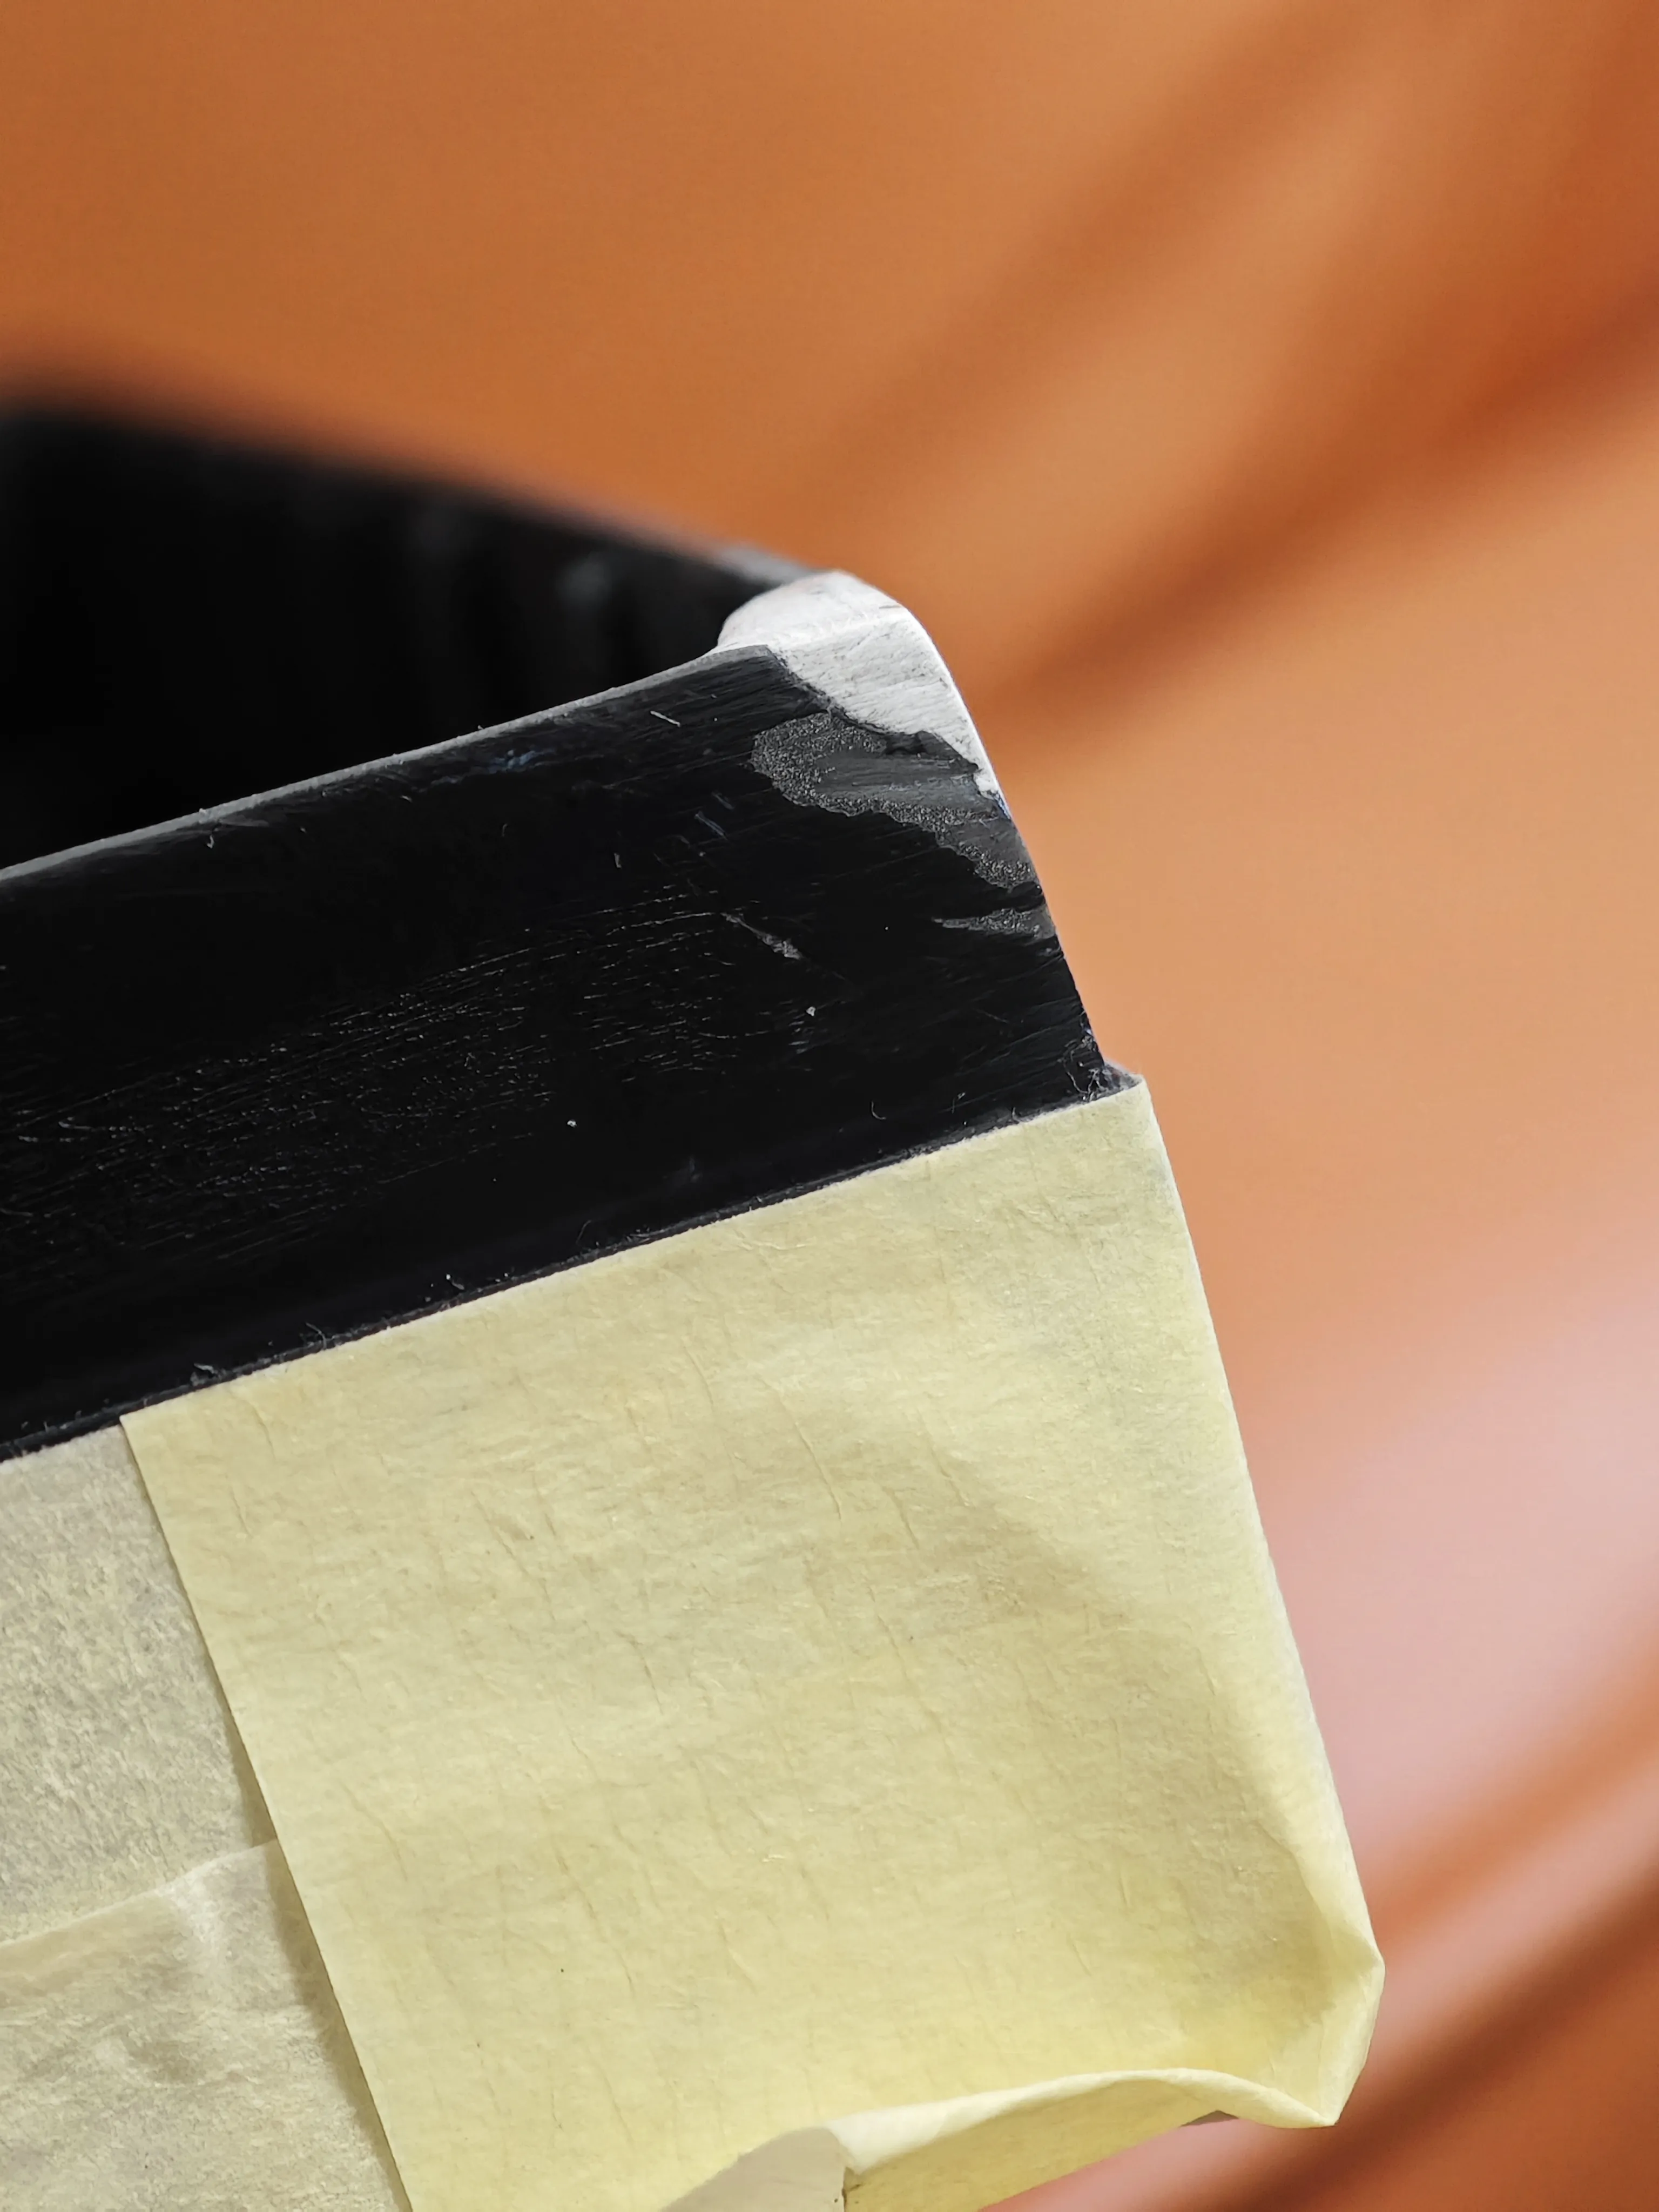
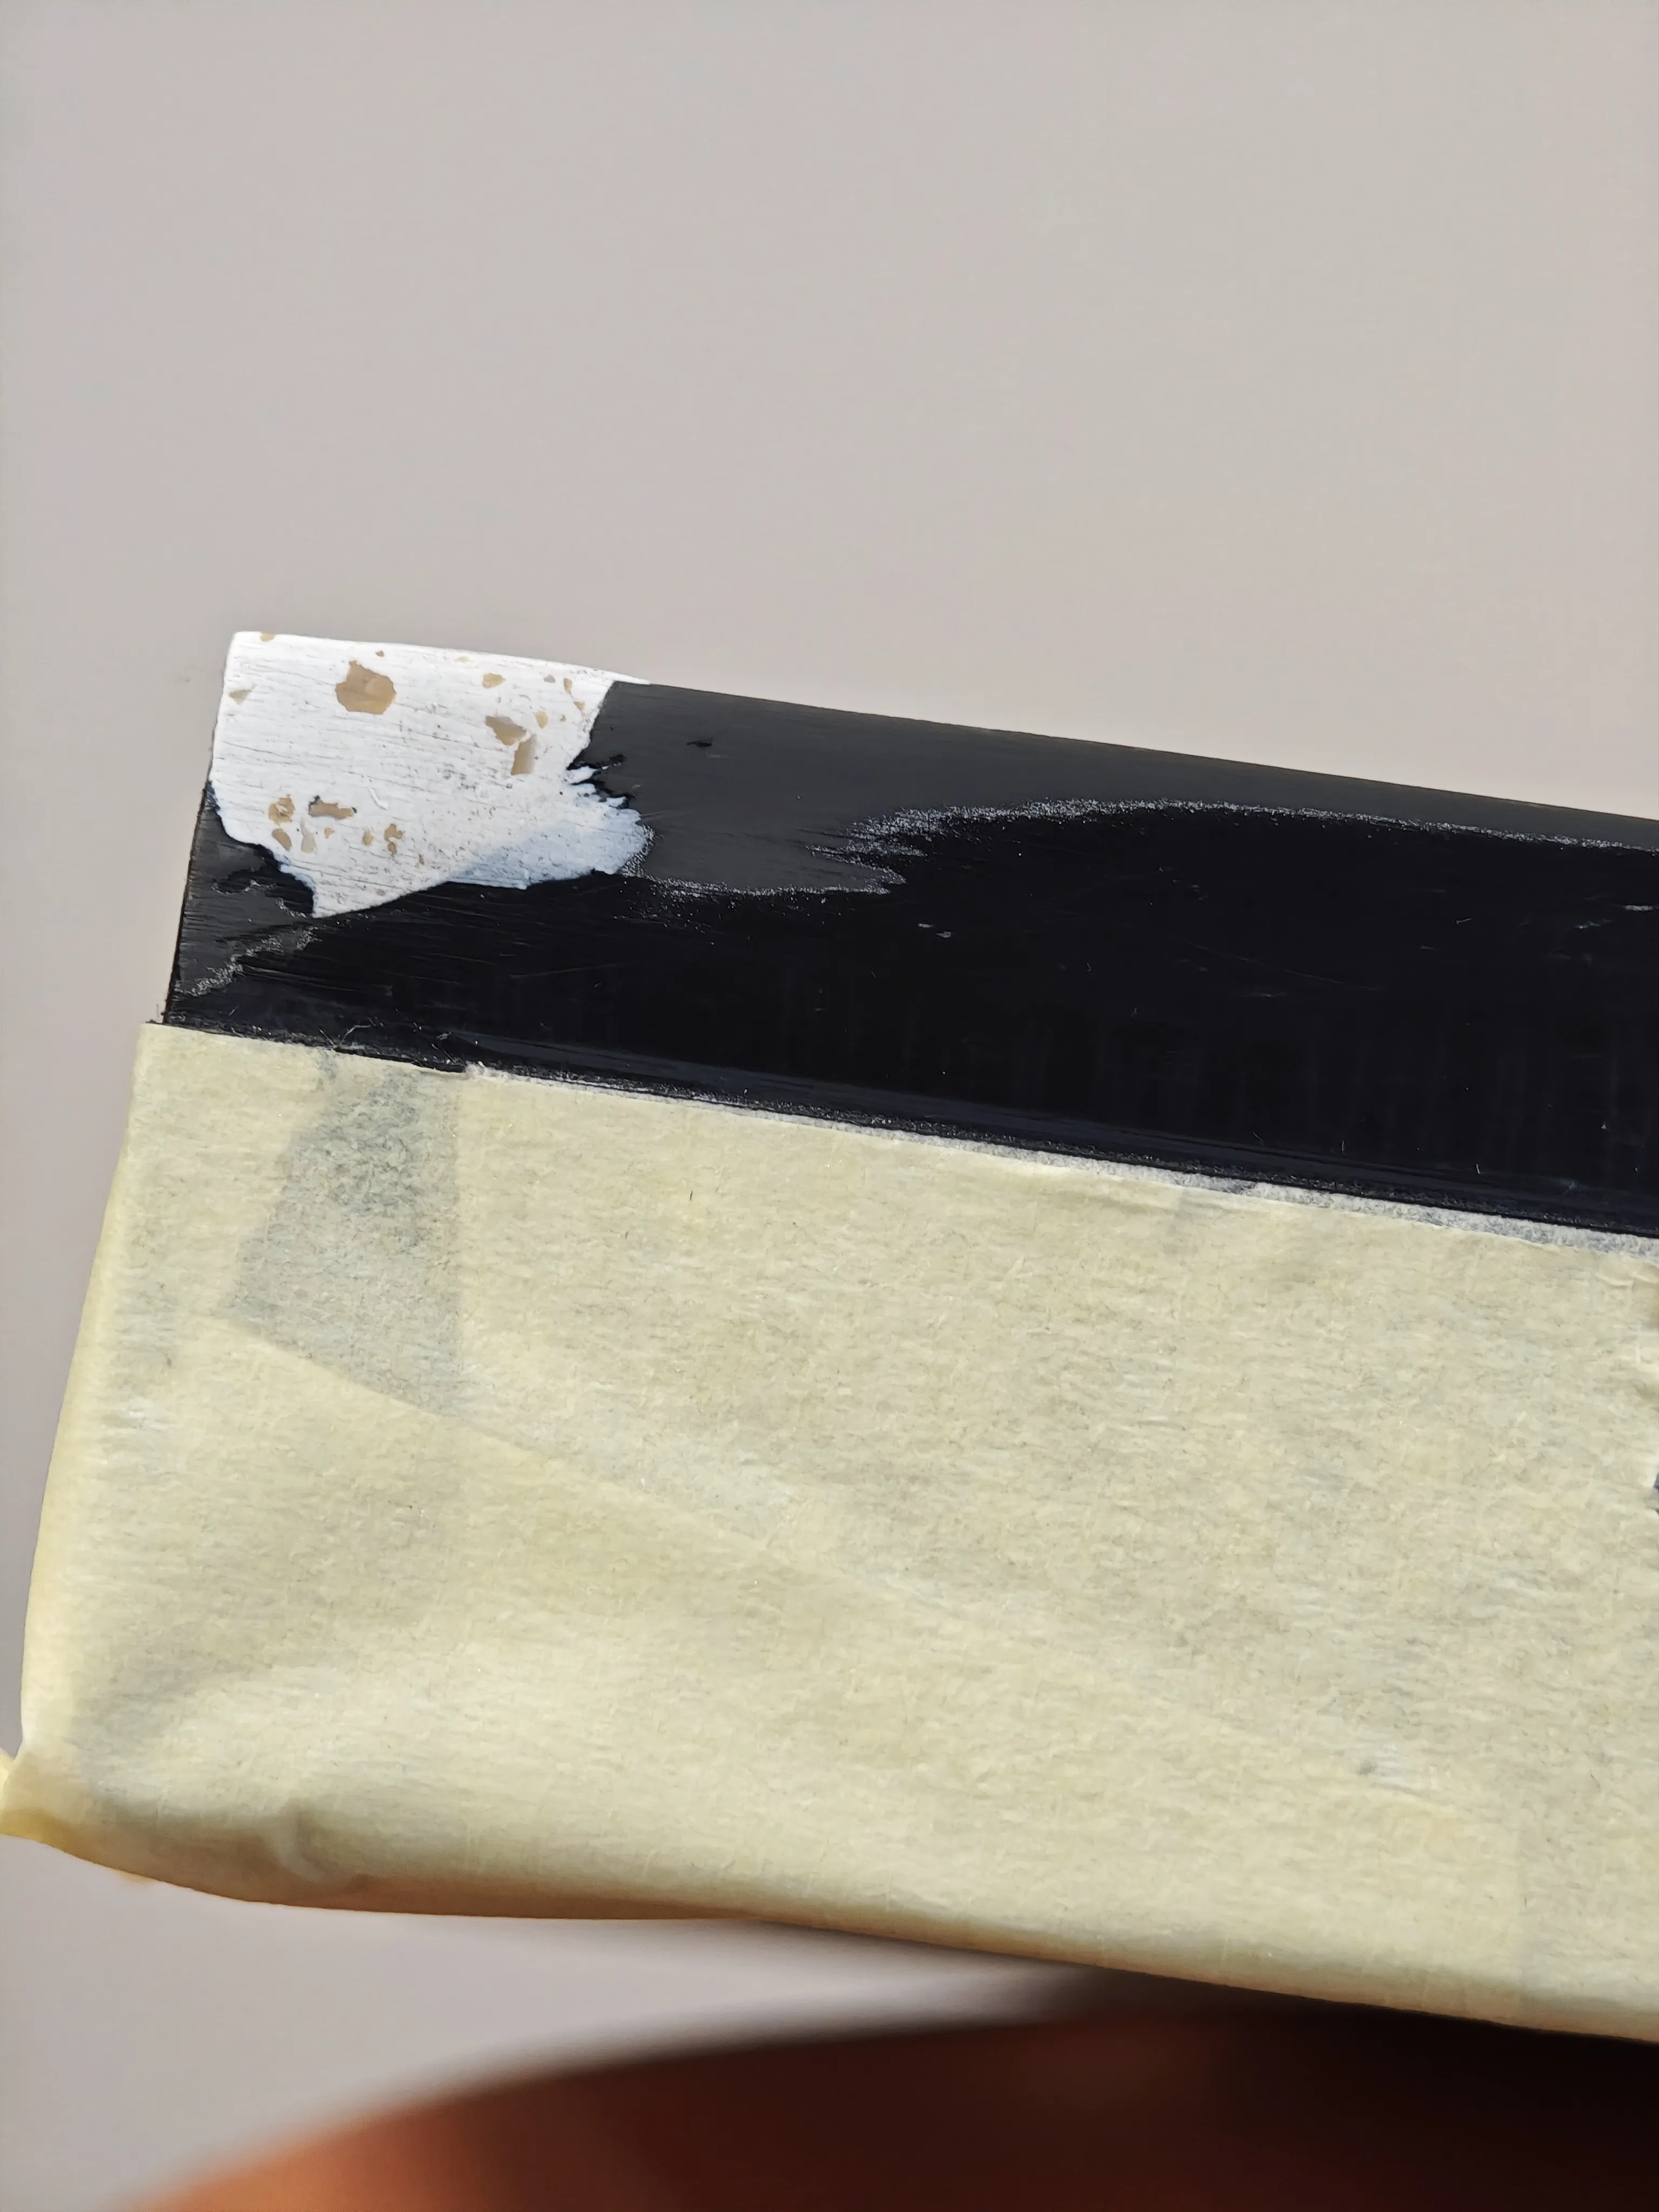
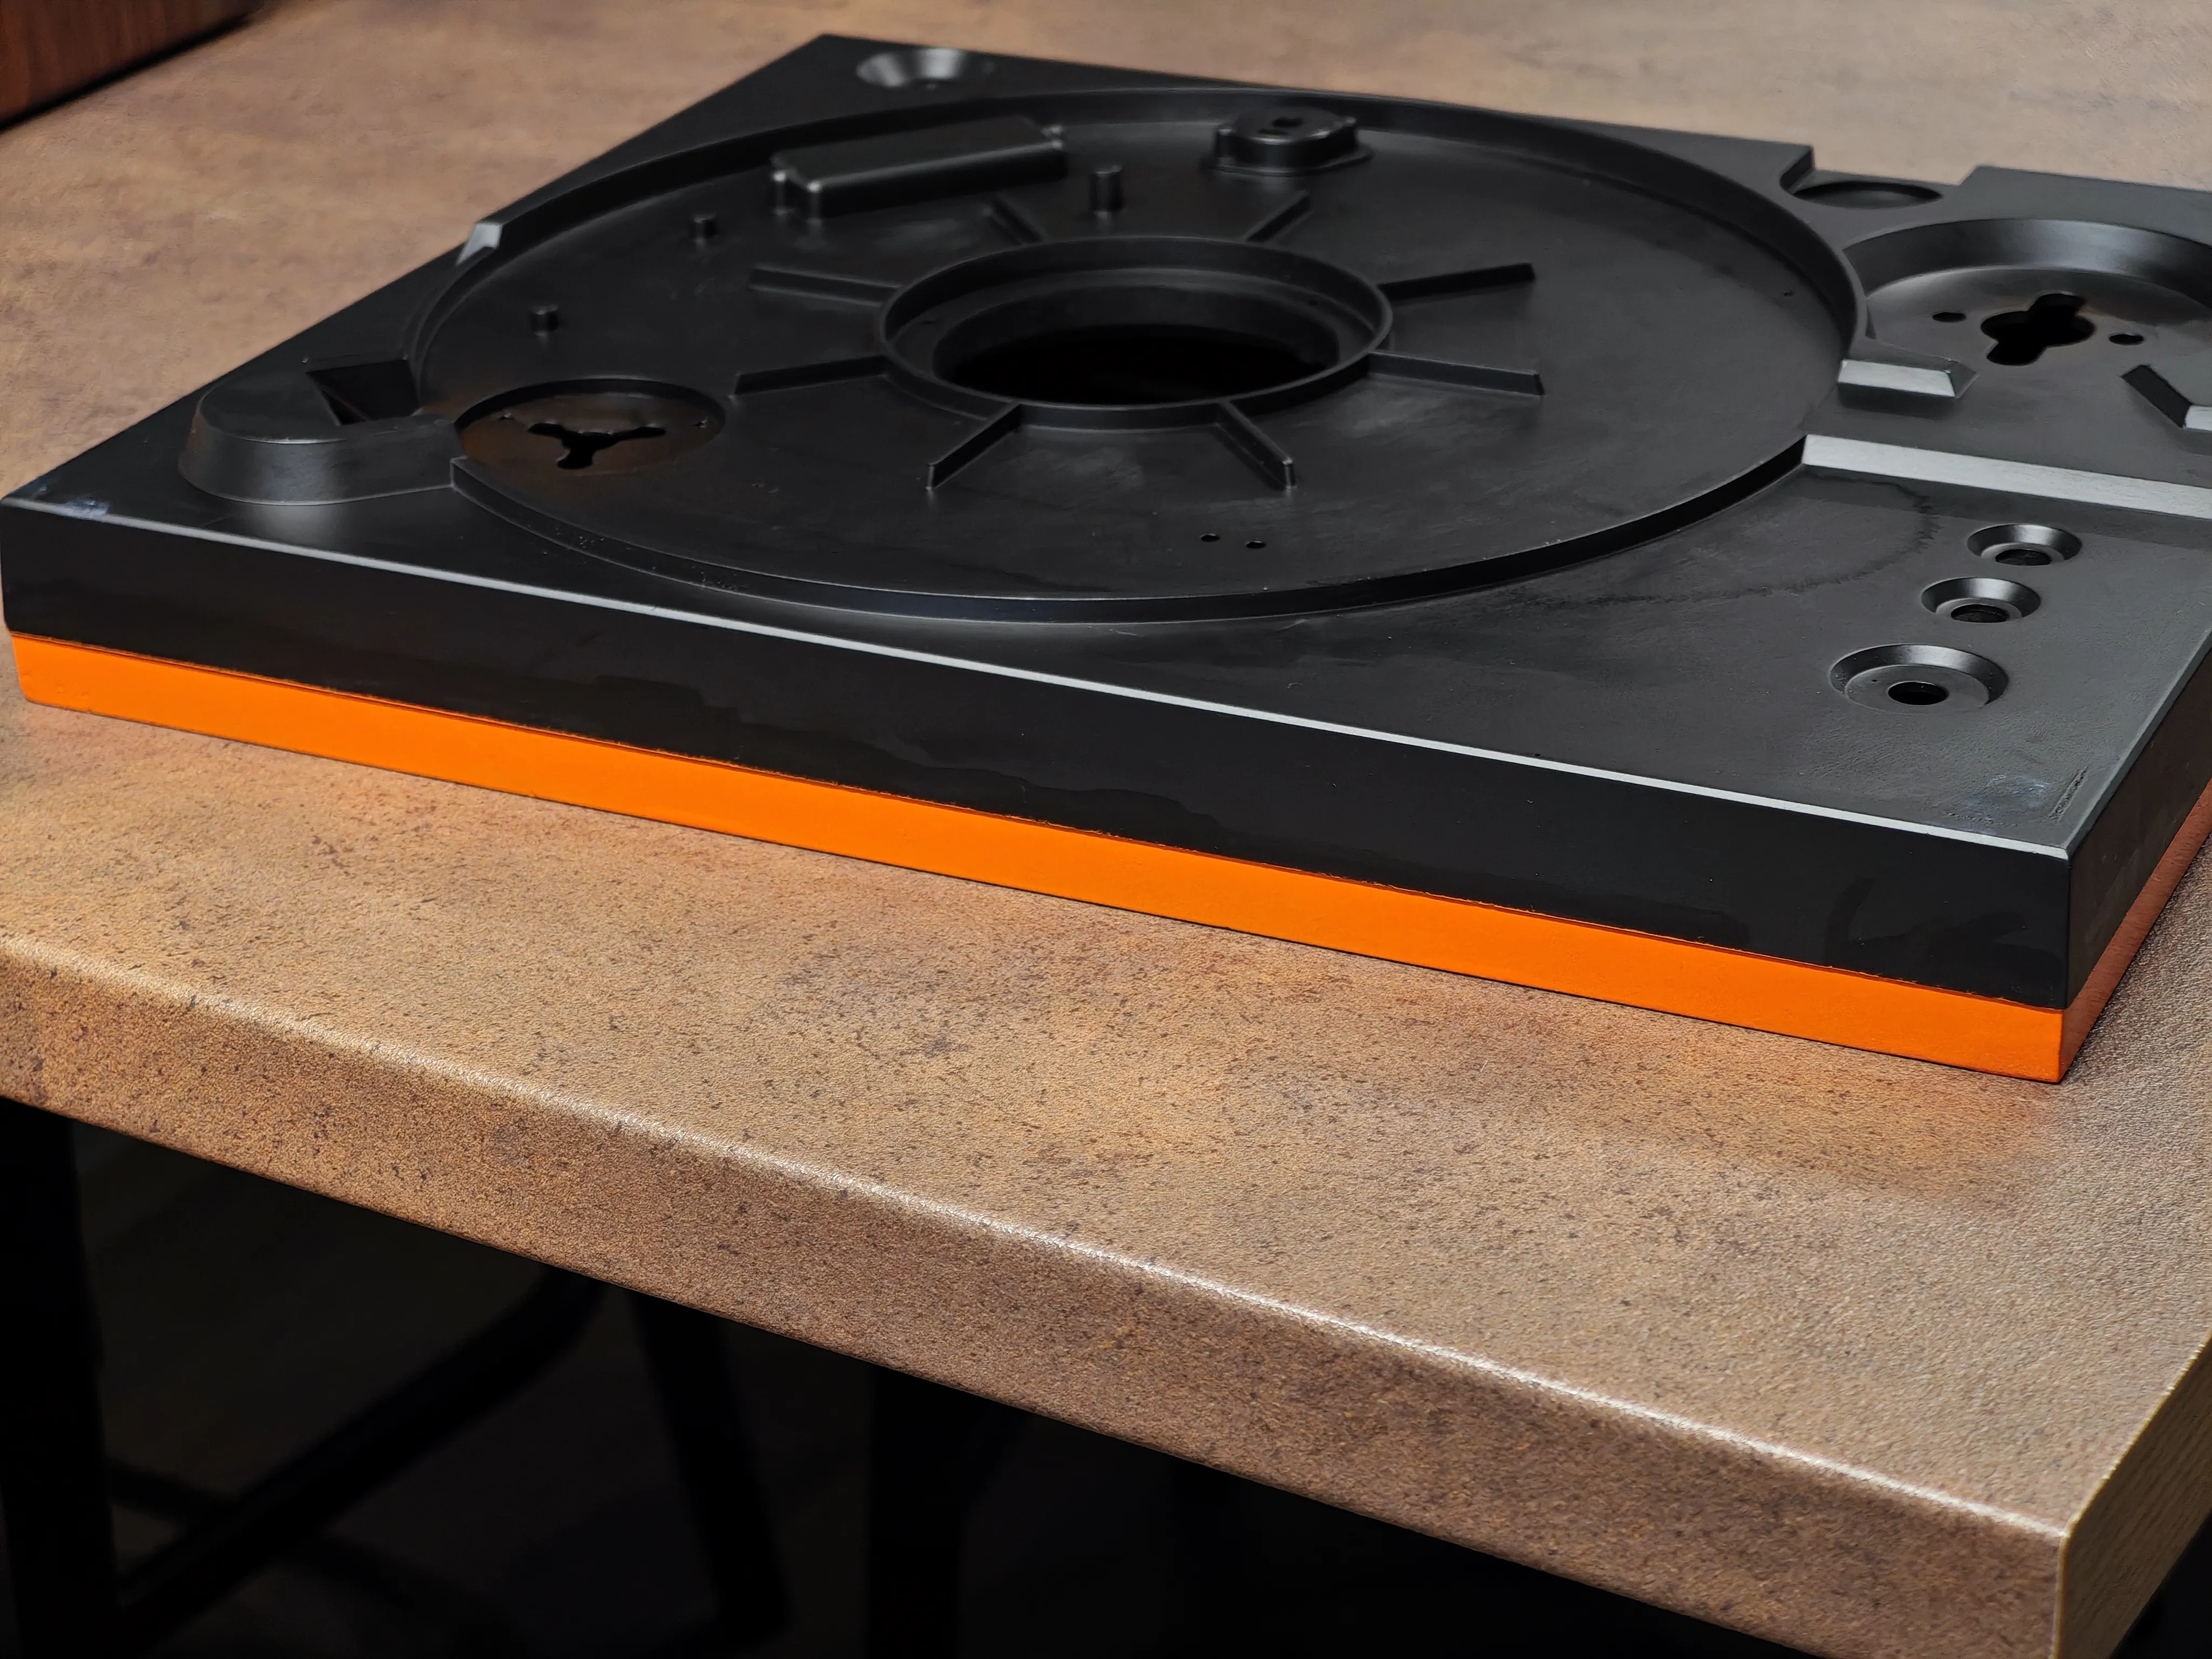
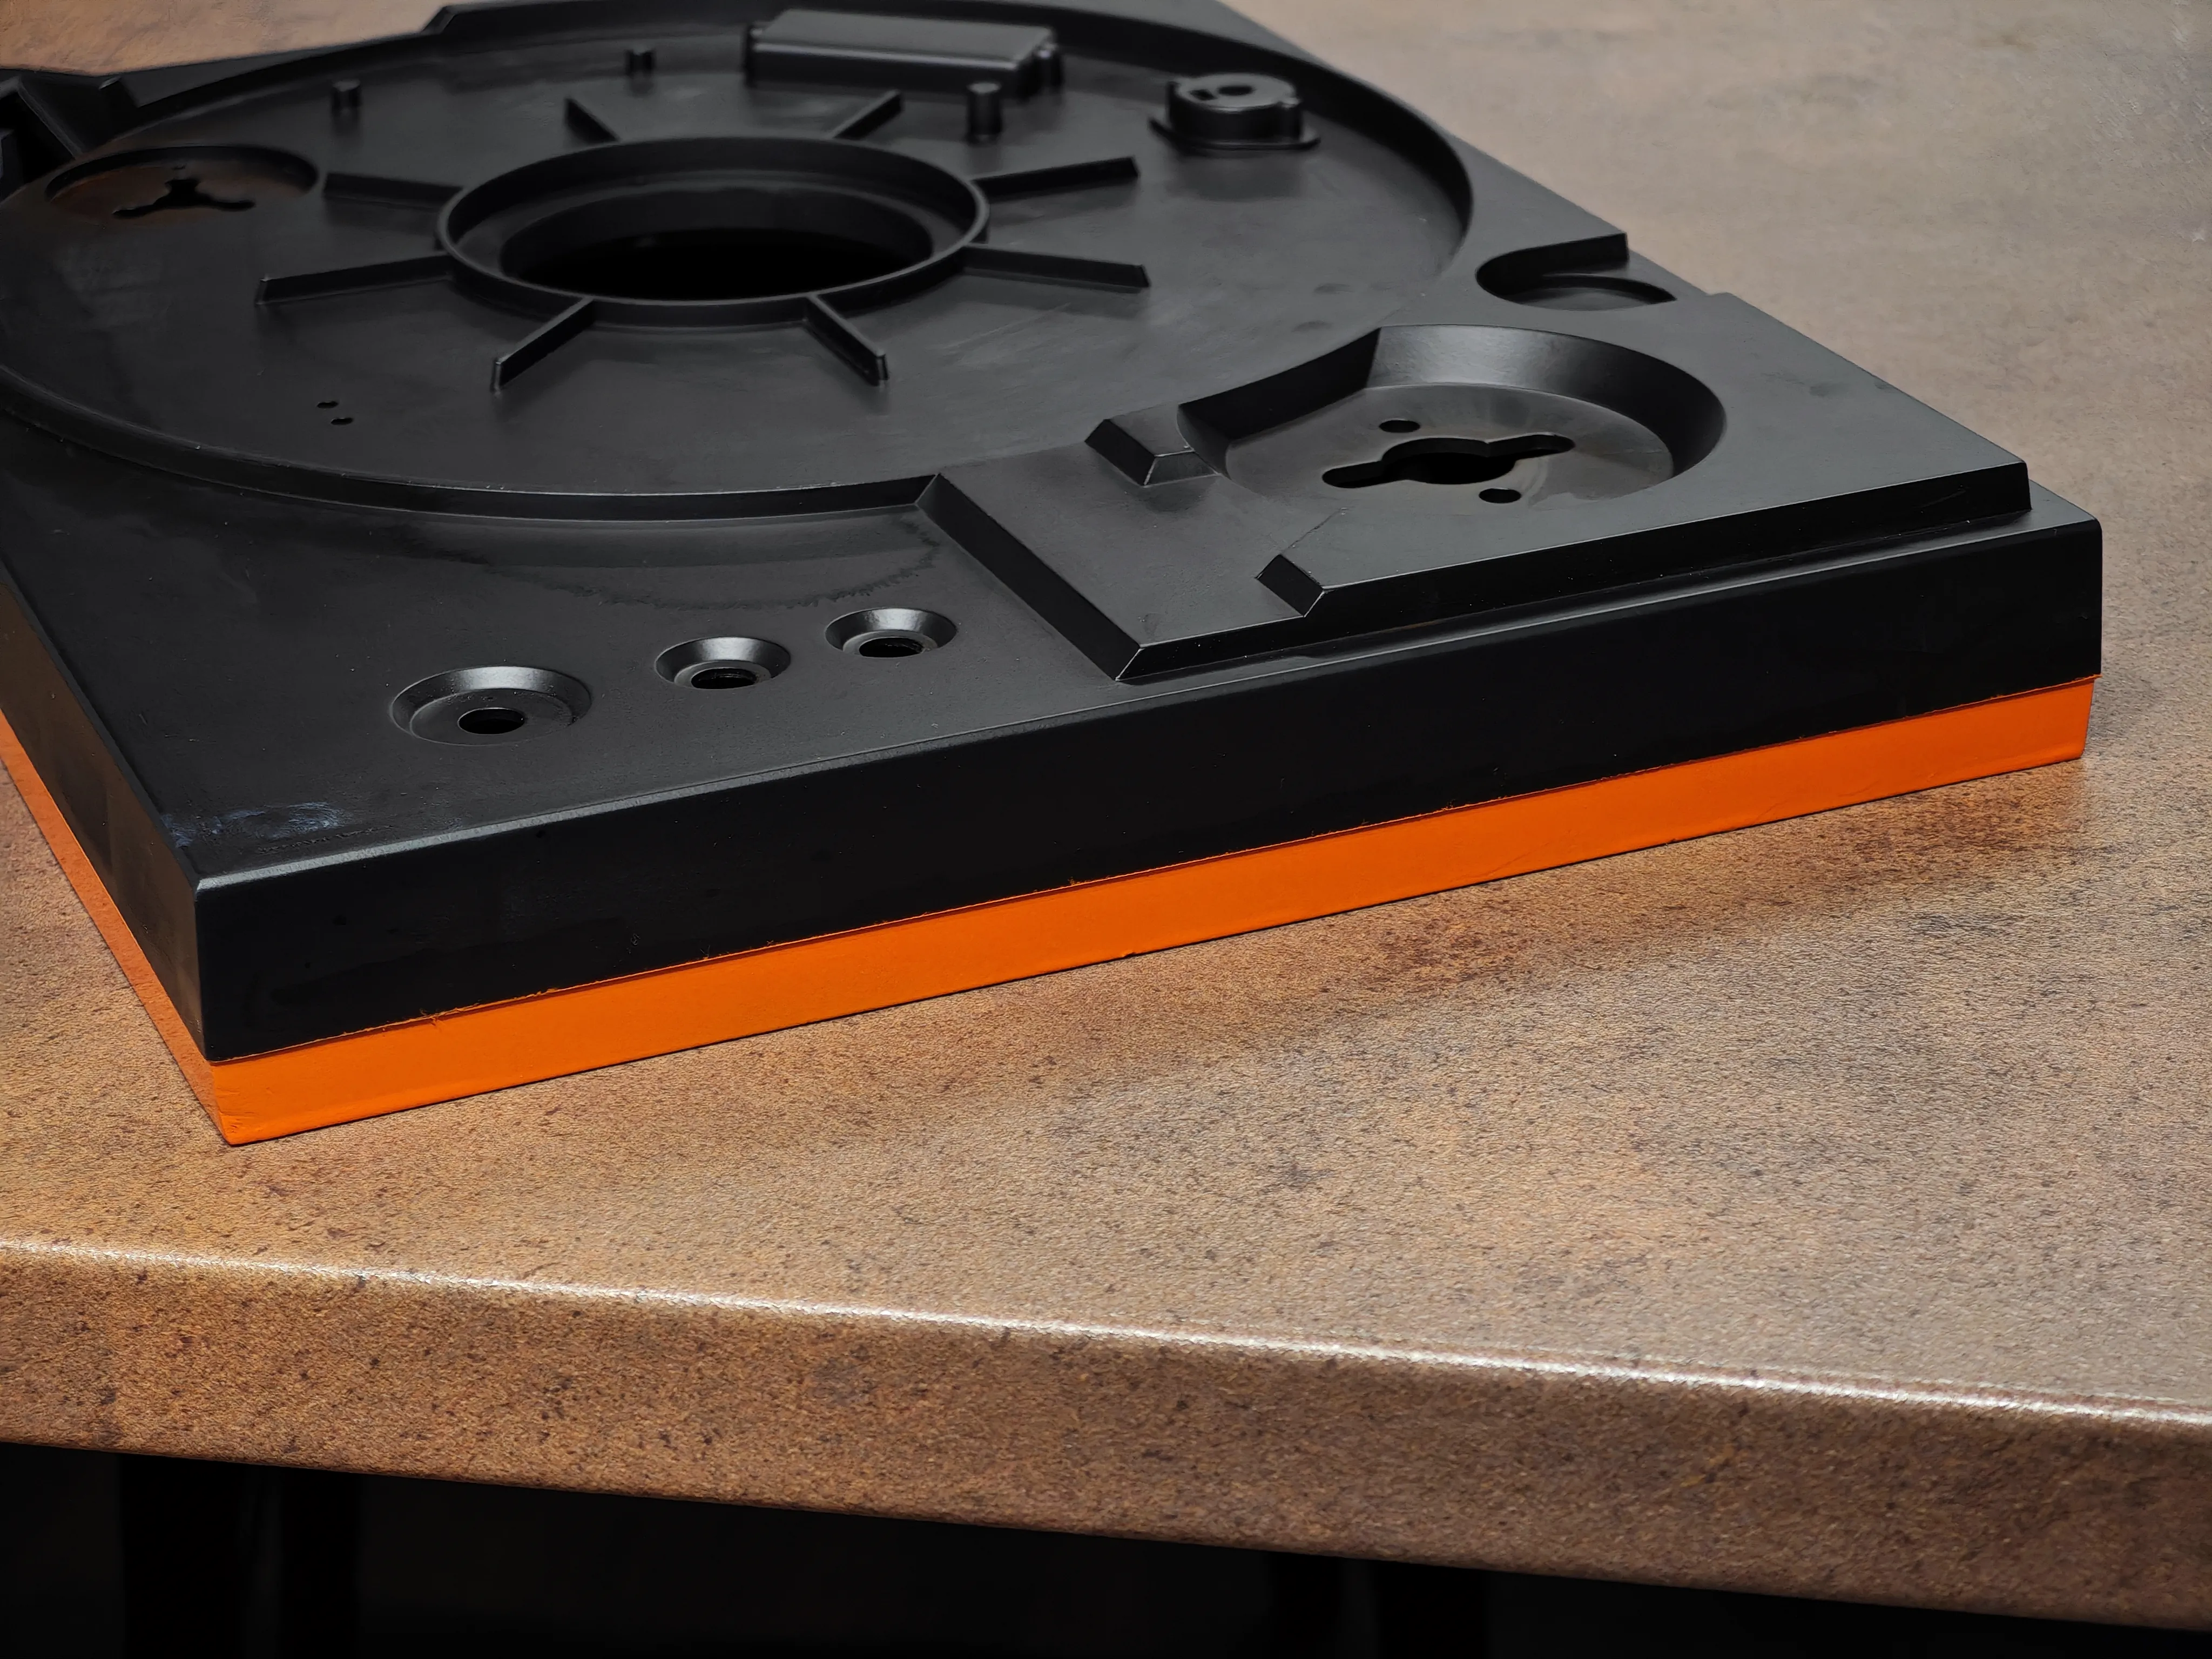
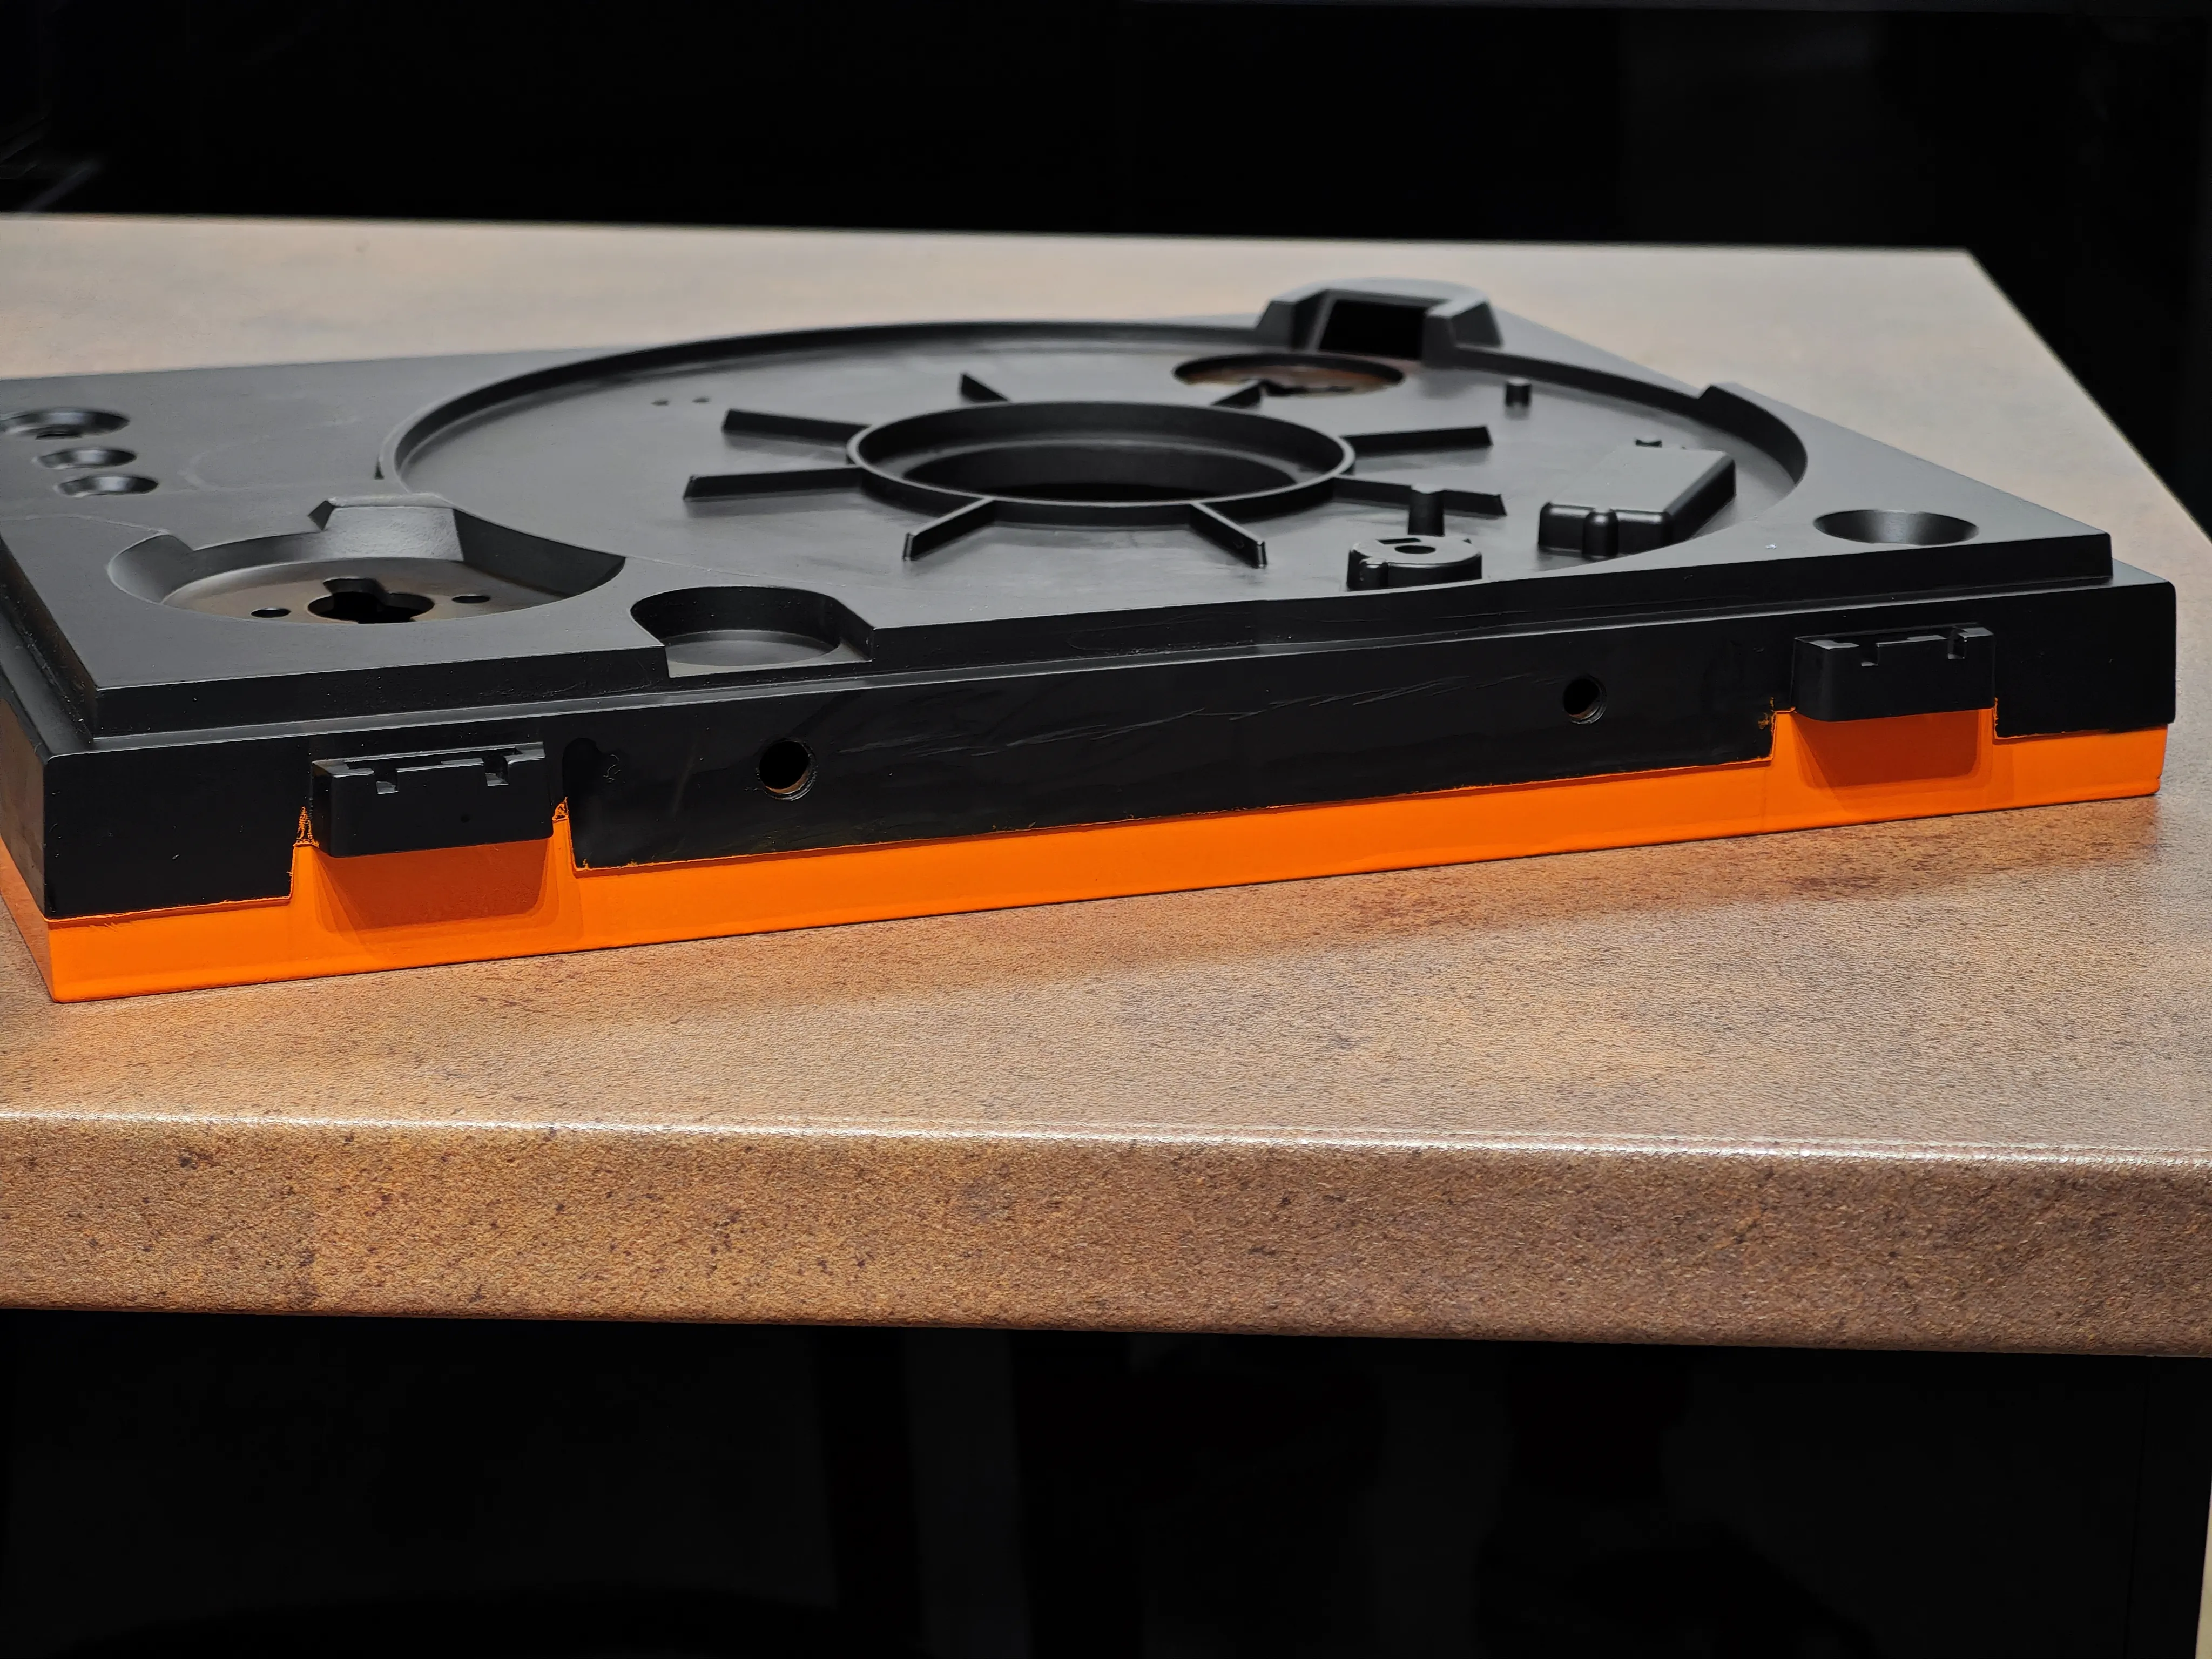
Obviously, I was not done, because now that part needed painting. I’ve figured I don’t want to paint it black again because anything I buy probably wouldn’t have the same tone as the rest of the case now and asking the guy who was supposed to fix it in the first place was out of the question. So instead I decided to paint the entire lower part of the case orange with a paint in a spray can. Black and orange always looks snazzy. Covering up the entire top part of the case so that I don’t mess it up wasn’t particularly easy.
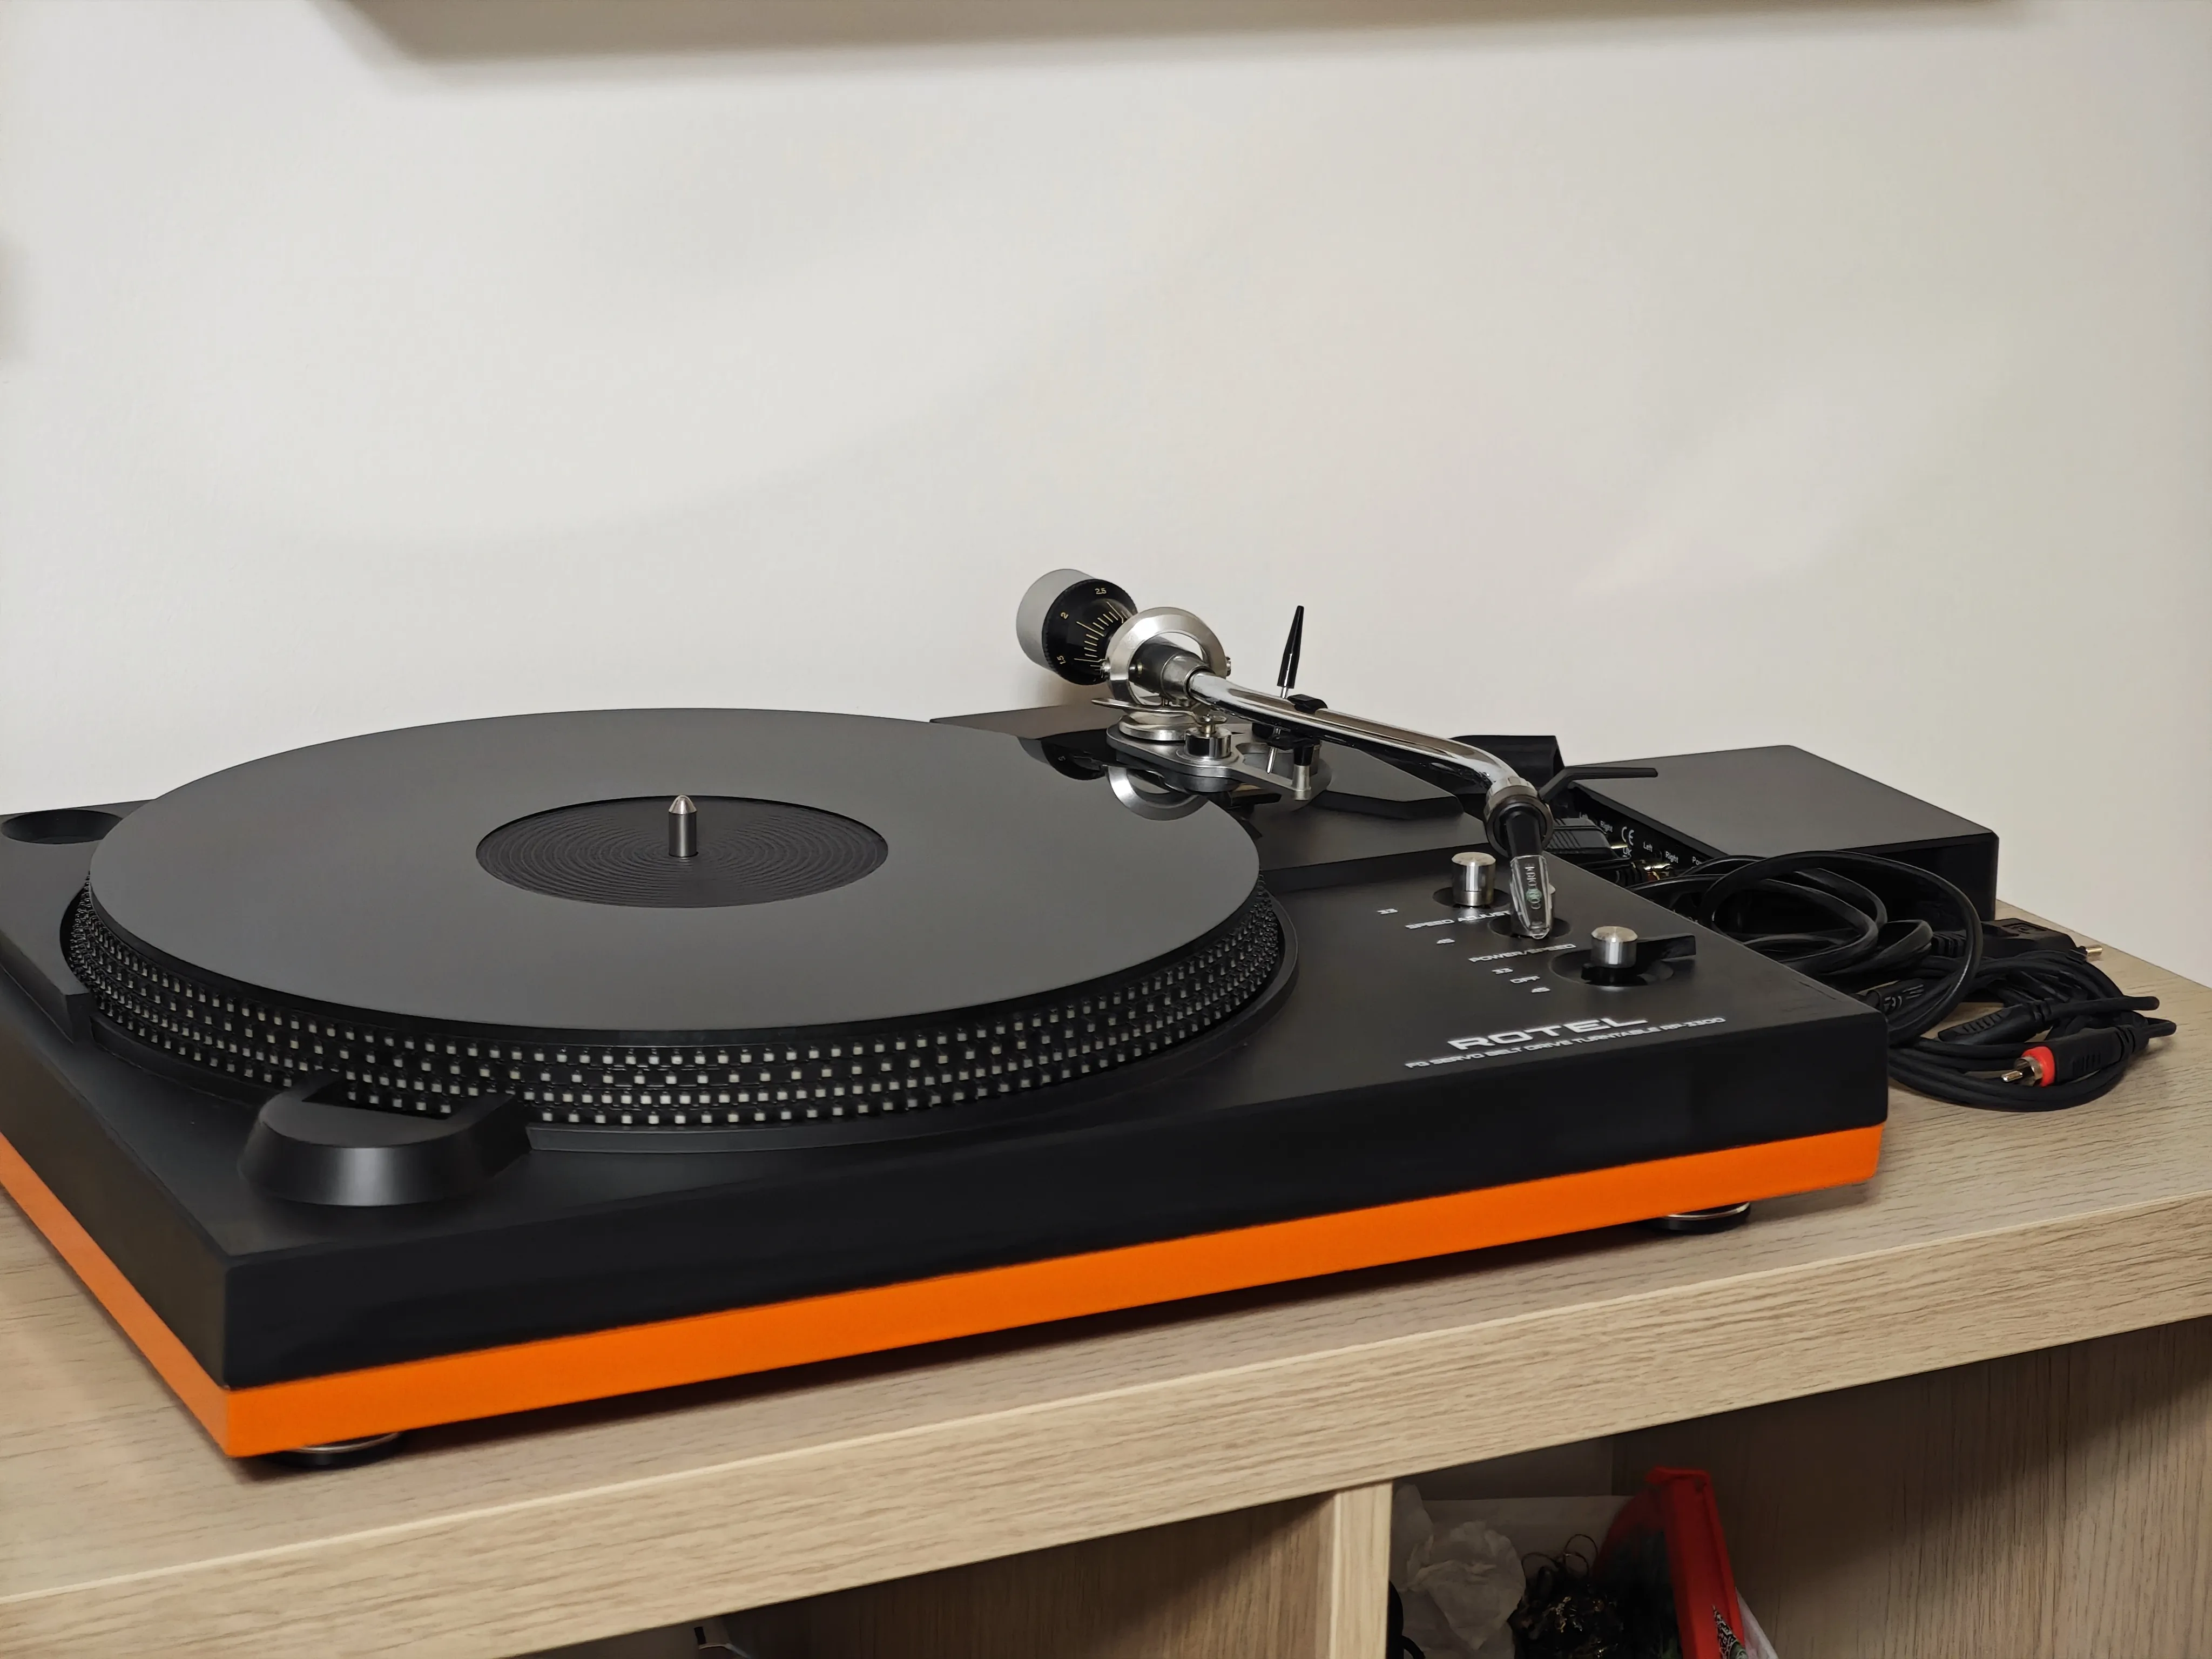
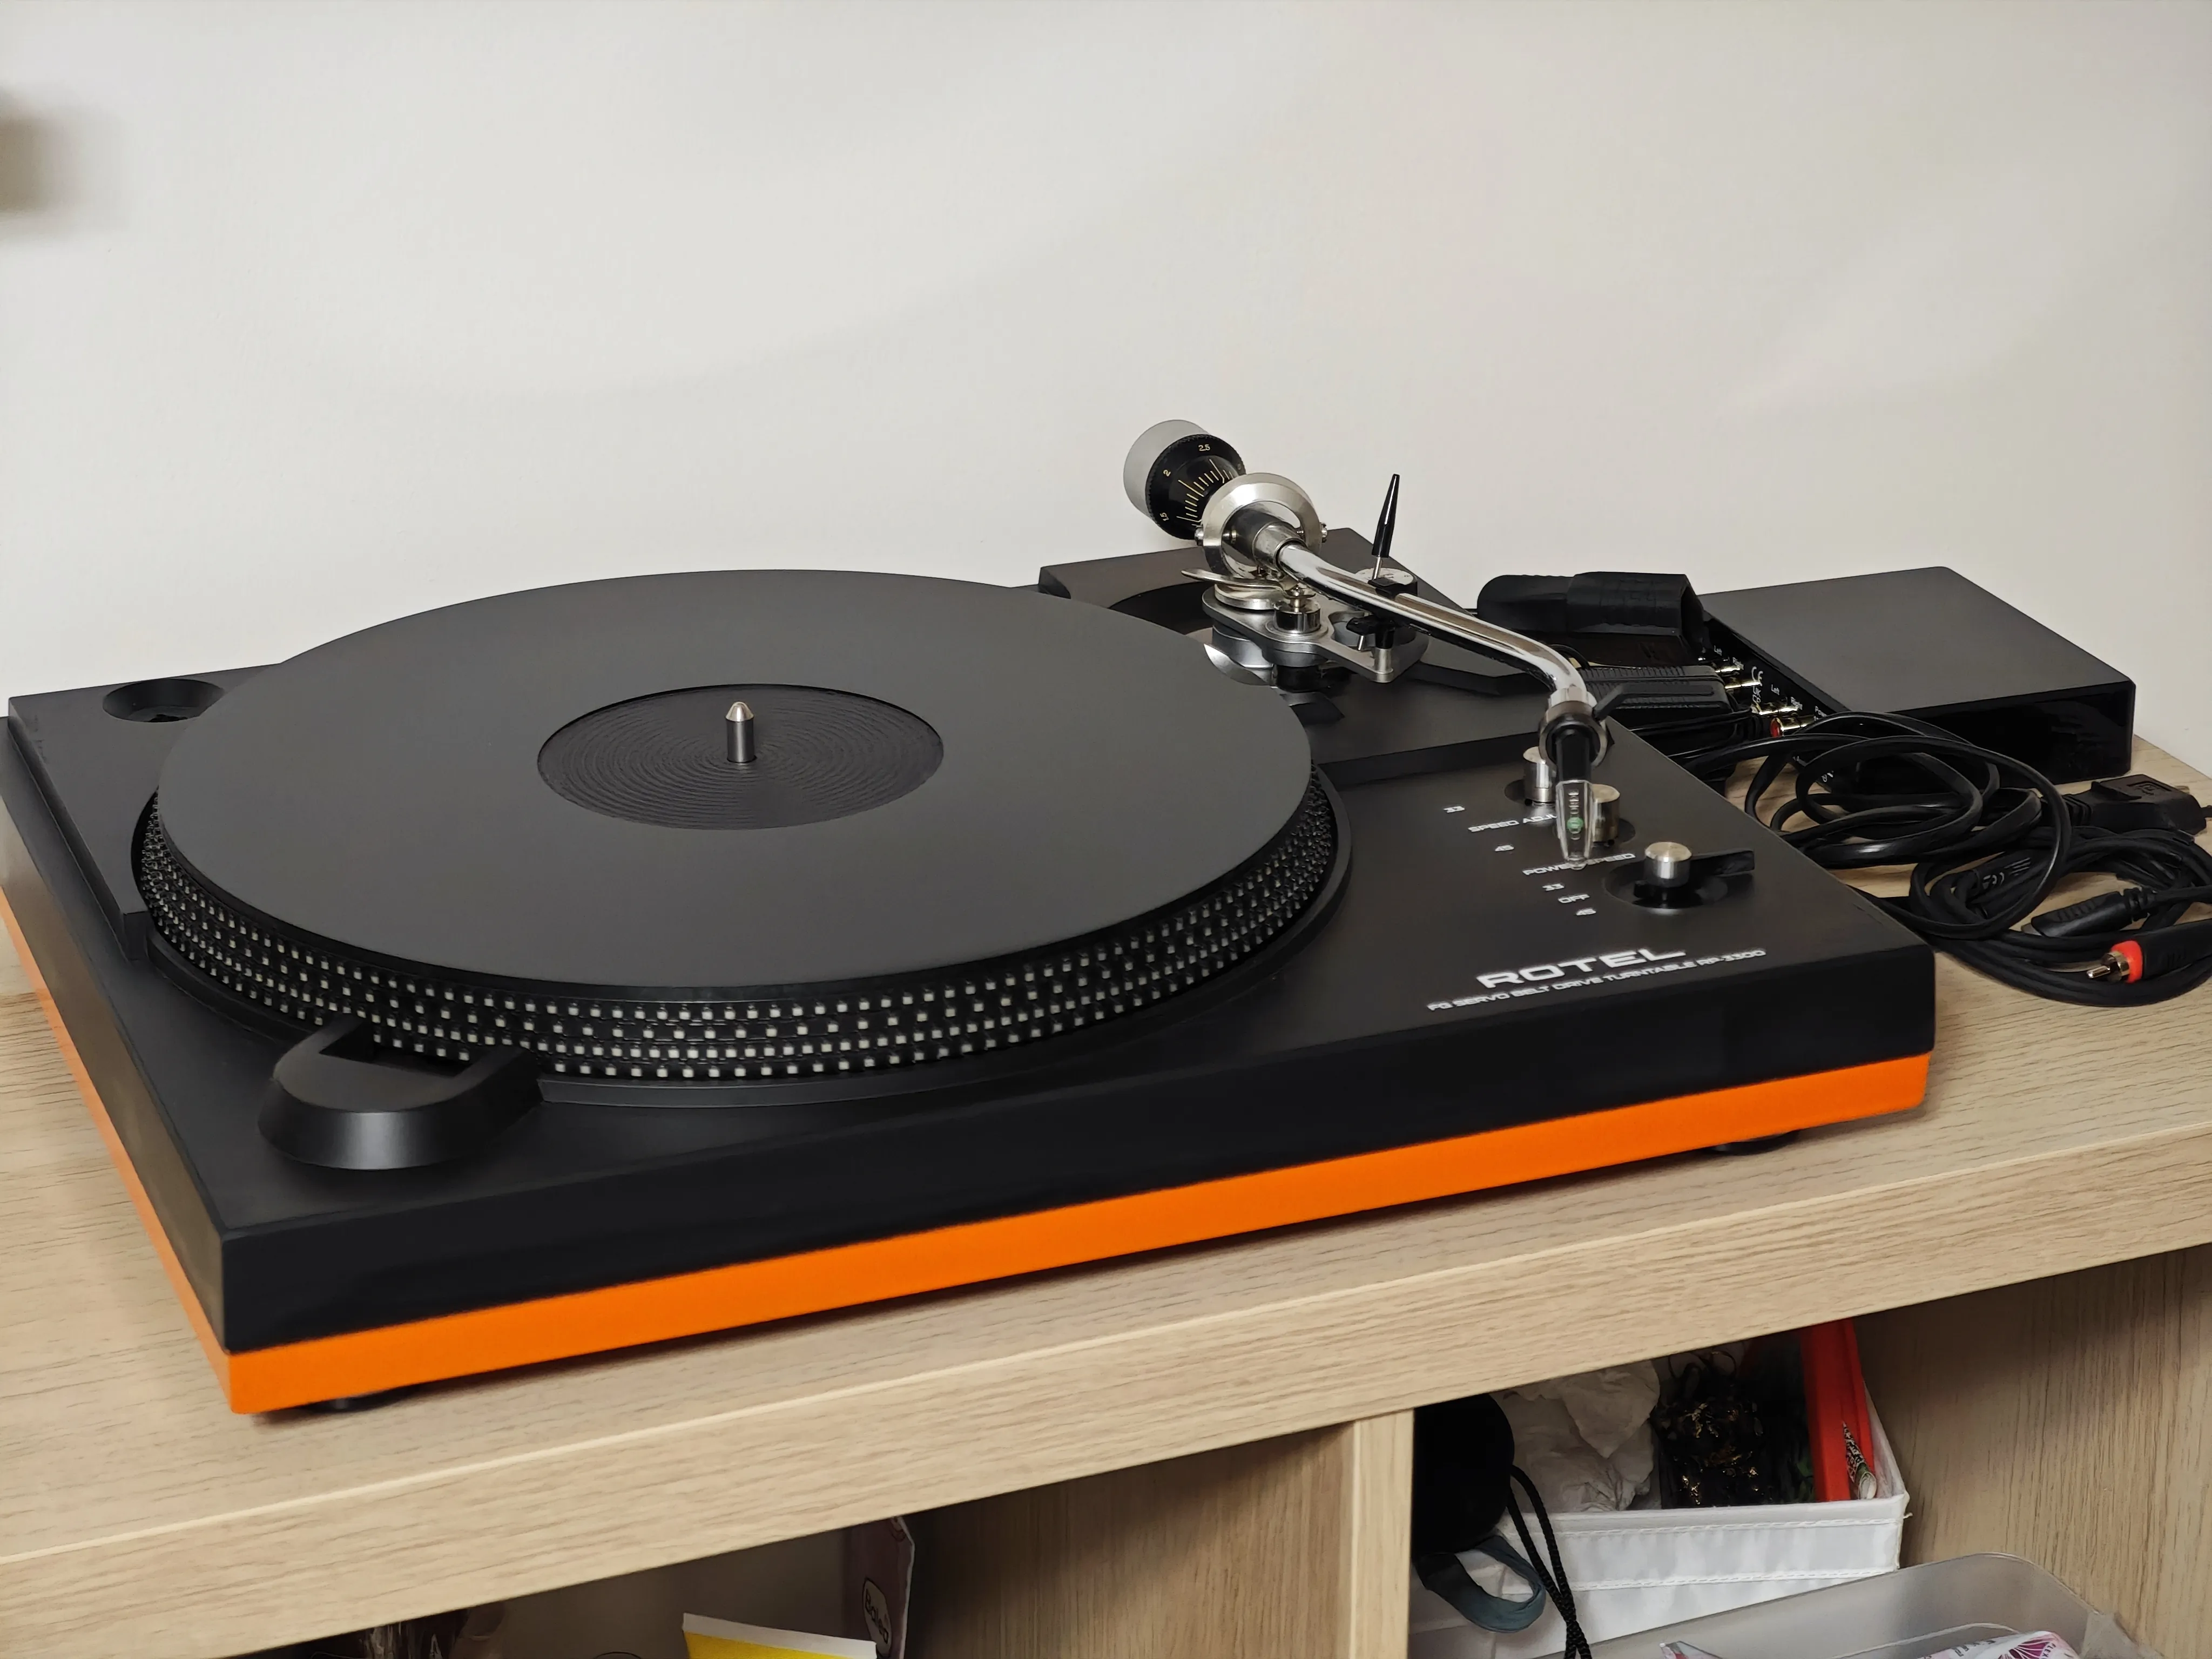
The end result wasn’t perfect, naturally, but it looked pretty good.

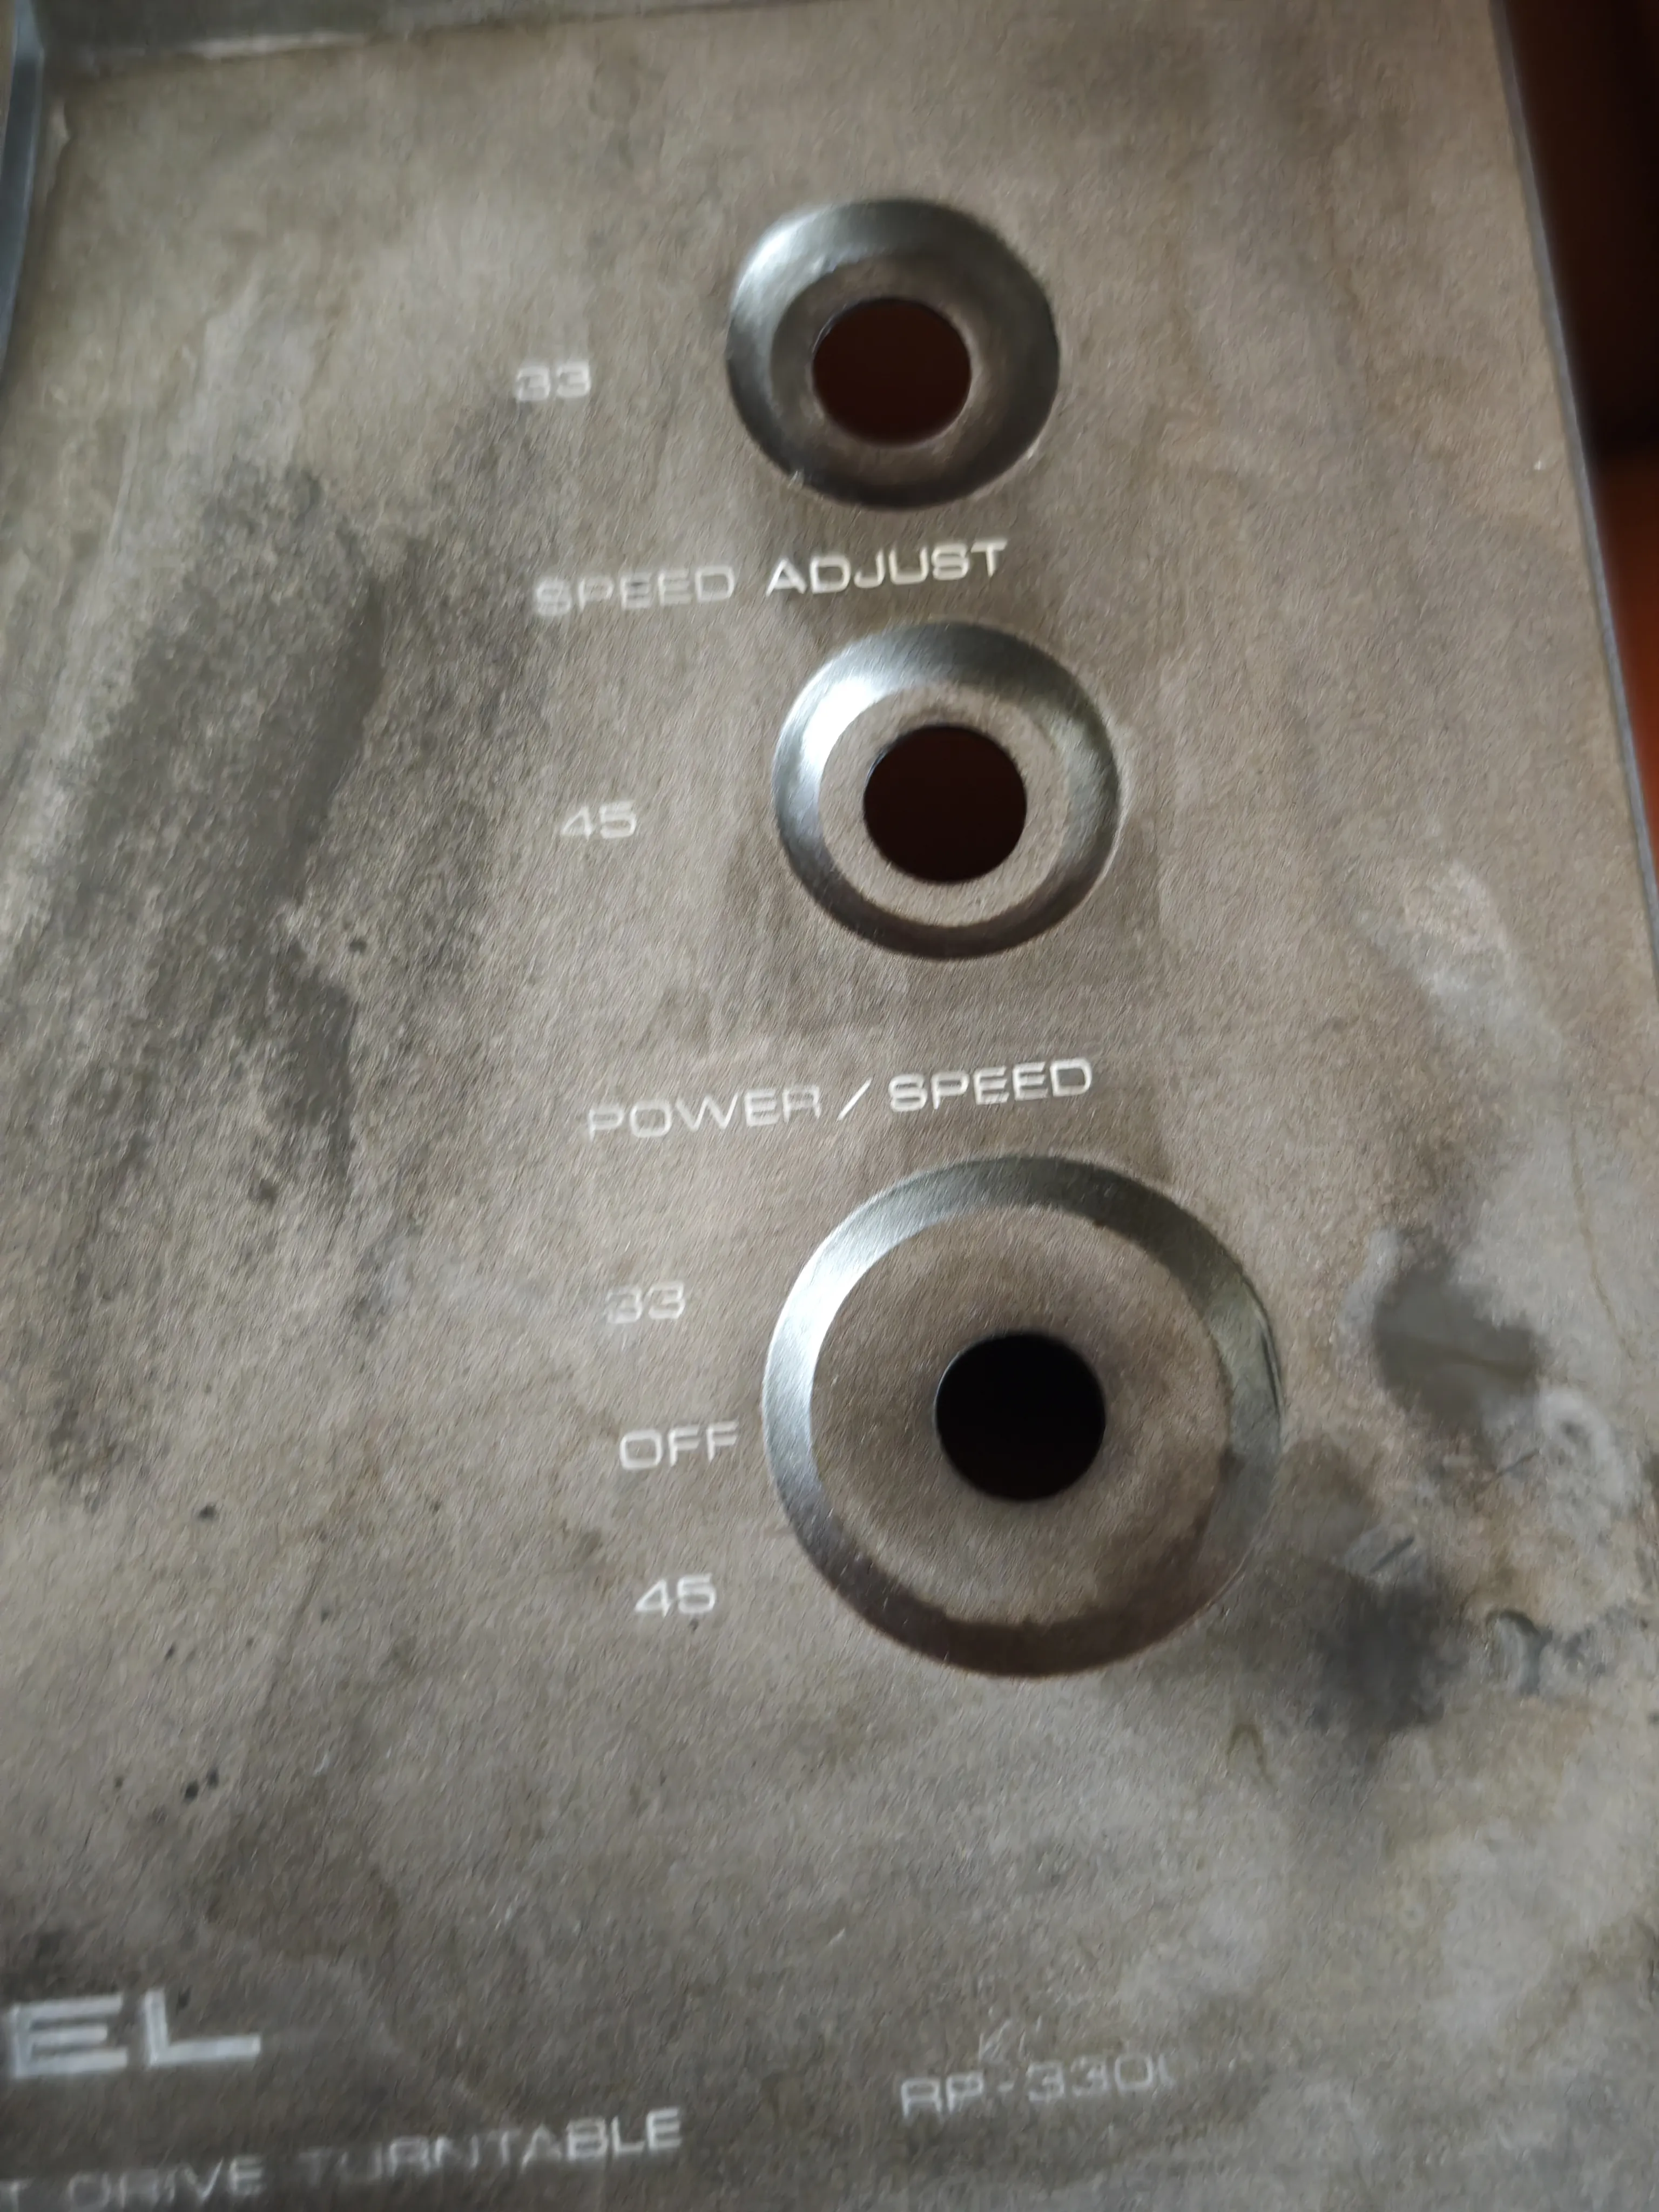
Next: lettering. This particular model doesn’t have too many inscriptions on it. Basically it boils down to model name, the two knobs to adjust speed and one combined power/speed selector switch. I’ve tried to find font that was similar to the original text, drew it on my PC and asked a company I do contract work for can they print it directly on the case with UV flatbed printer. They could and they did. Again, this wasn’t perfect because the case isn’t flat. The part with the inscriptions is somewhat recessed and you can’t just lower the print head there because it will slam into the rest of the case. As a result that text is somewhat blurry but really, it’s not such an issue. Compared to how it looked before this was fantastic (picture at the end).
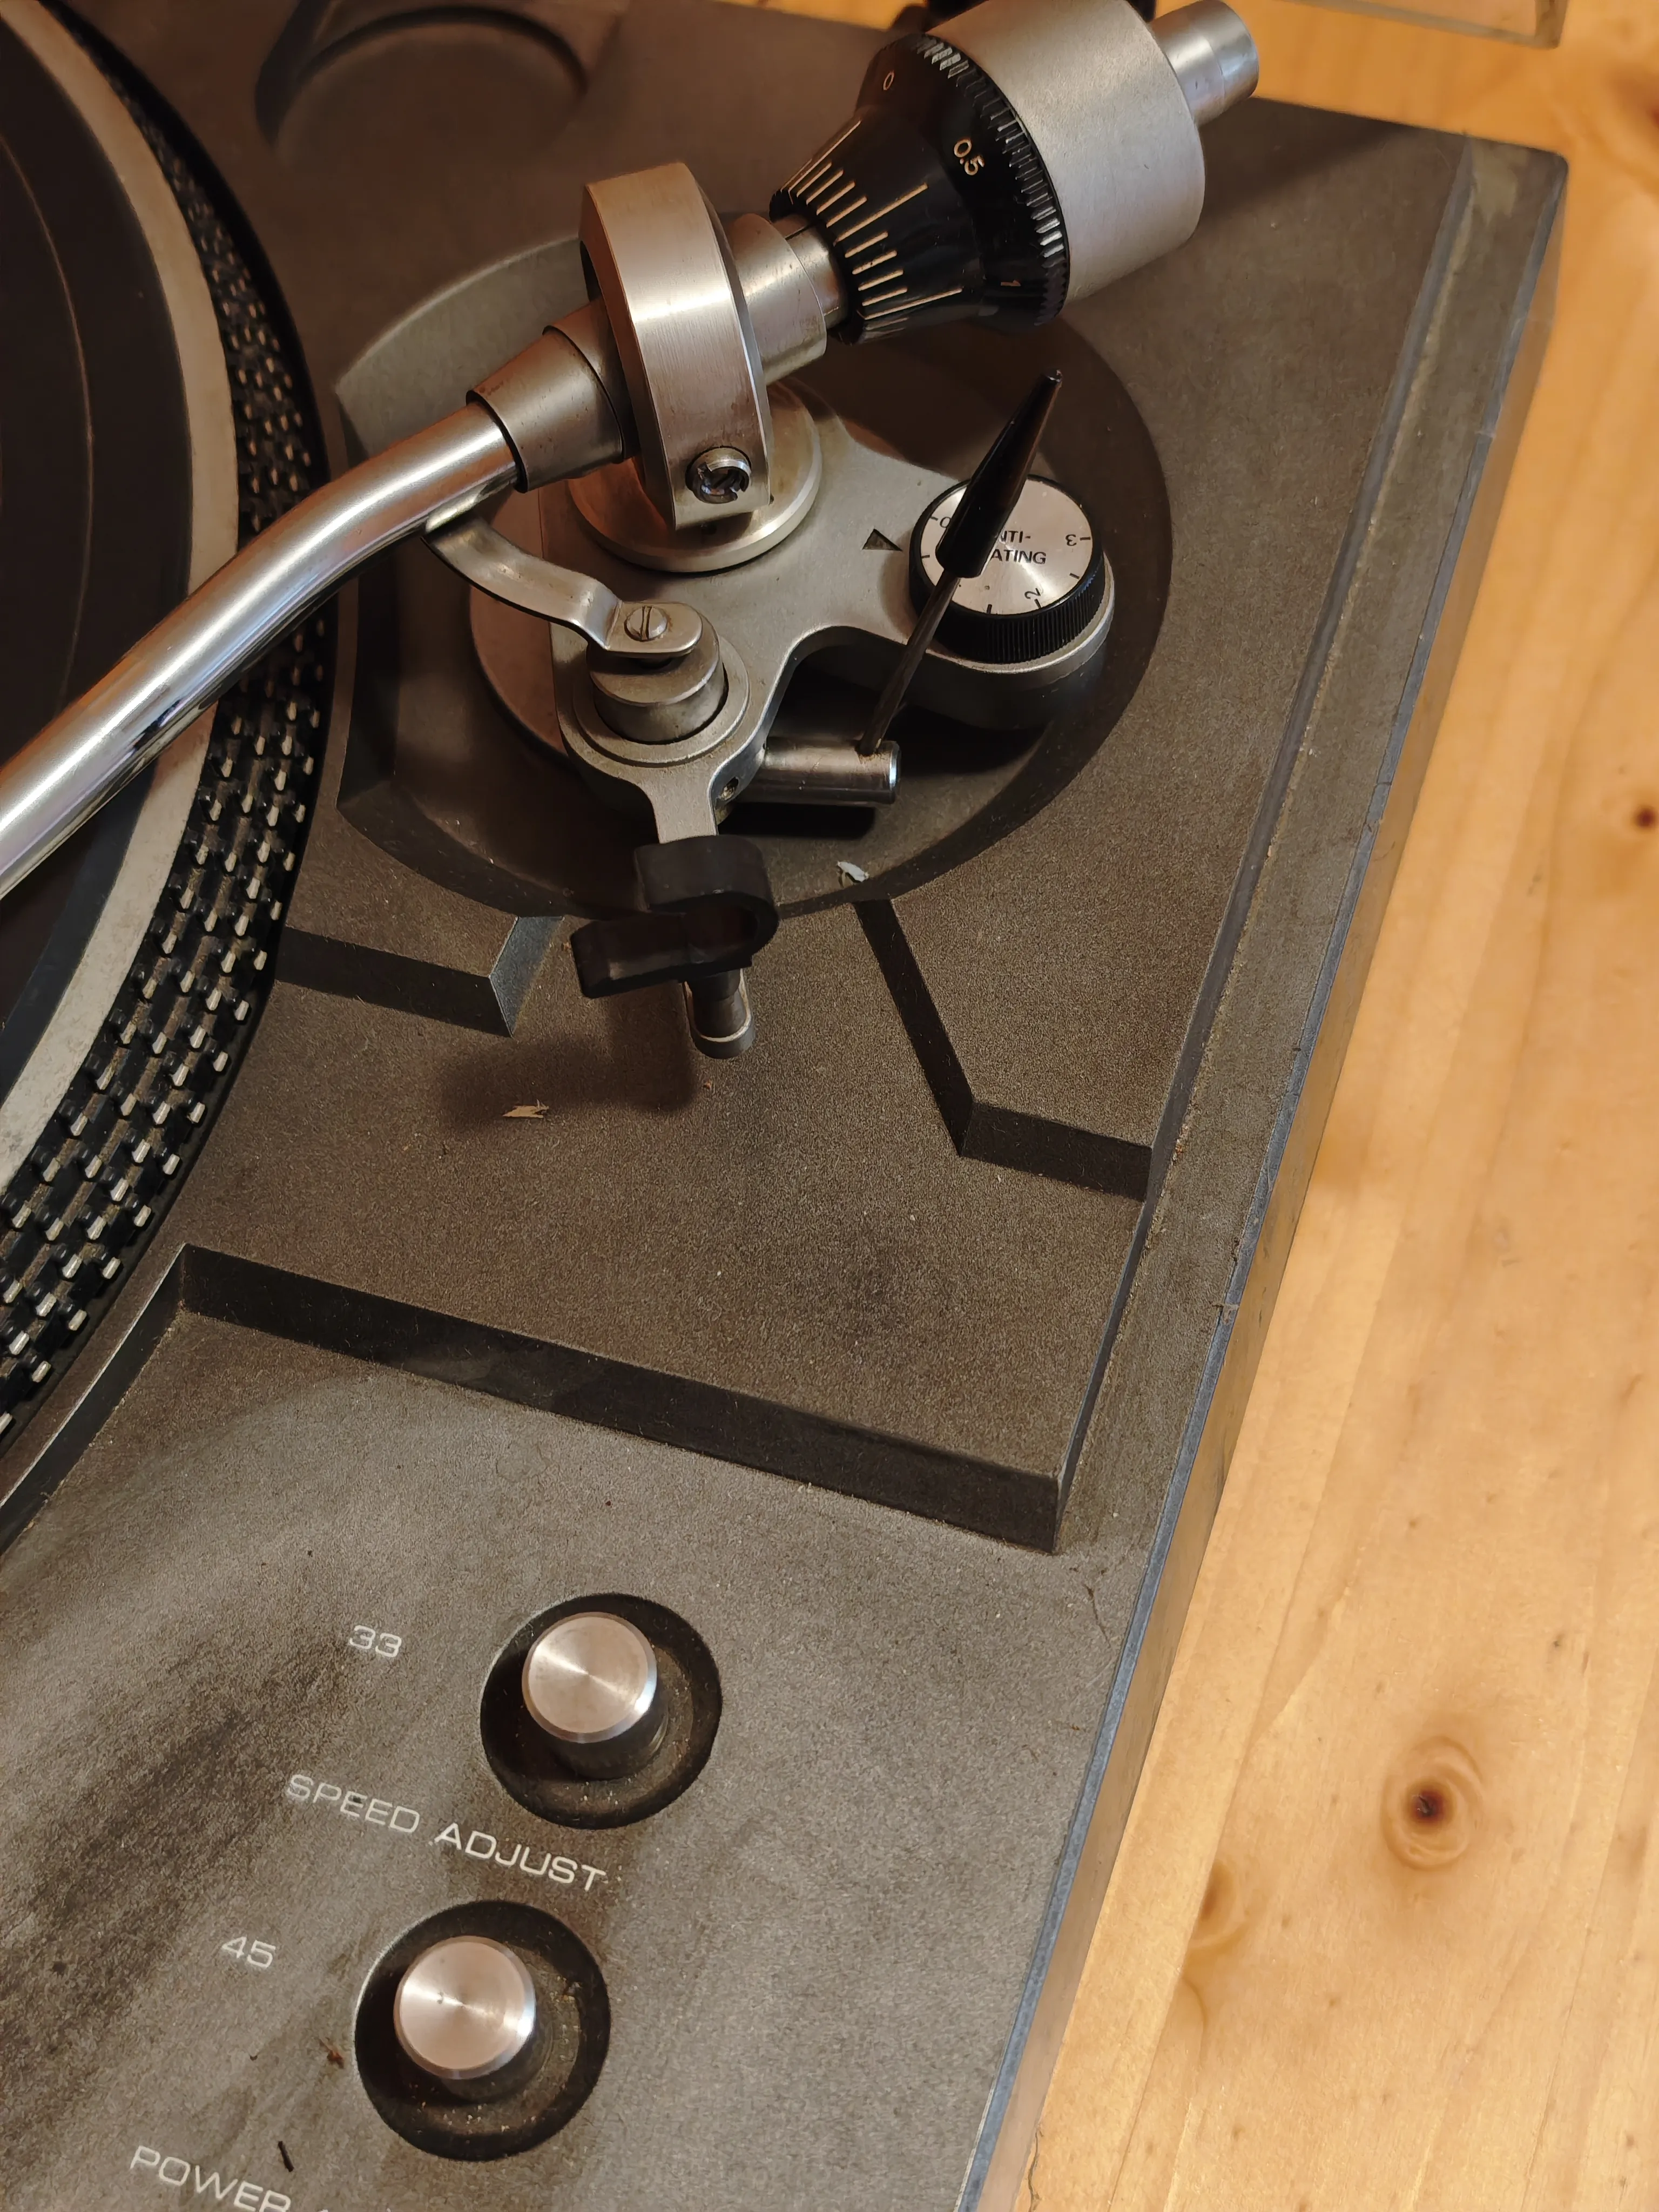
Putting everything back together gets messy fast. First, I’ve polished the tonearm with a polish paste and cleaned its contacts and bearings (those were crackly and induced noise into the output when the tonearm was touched).
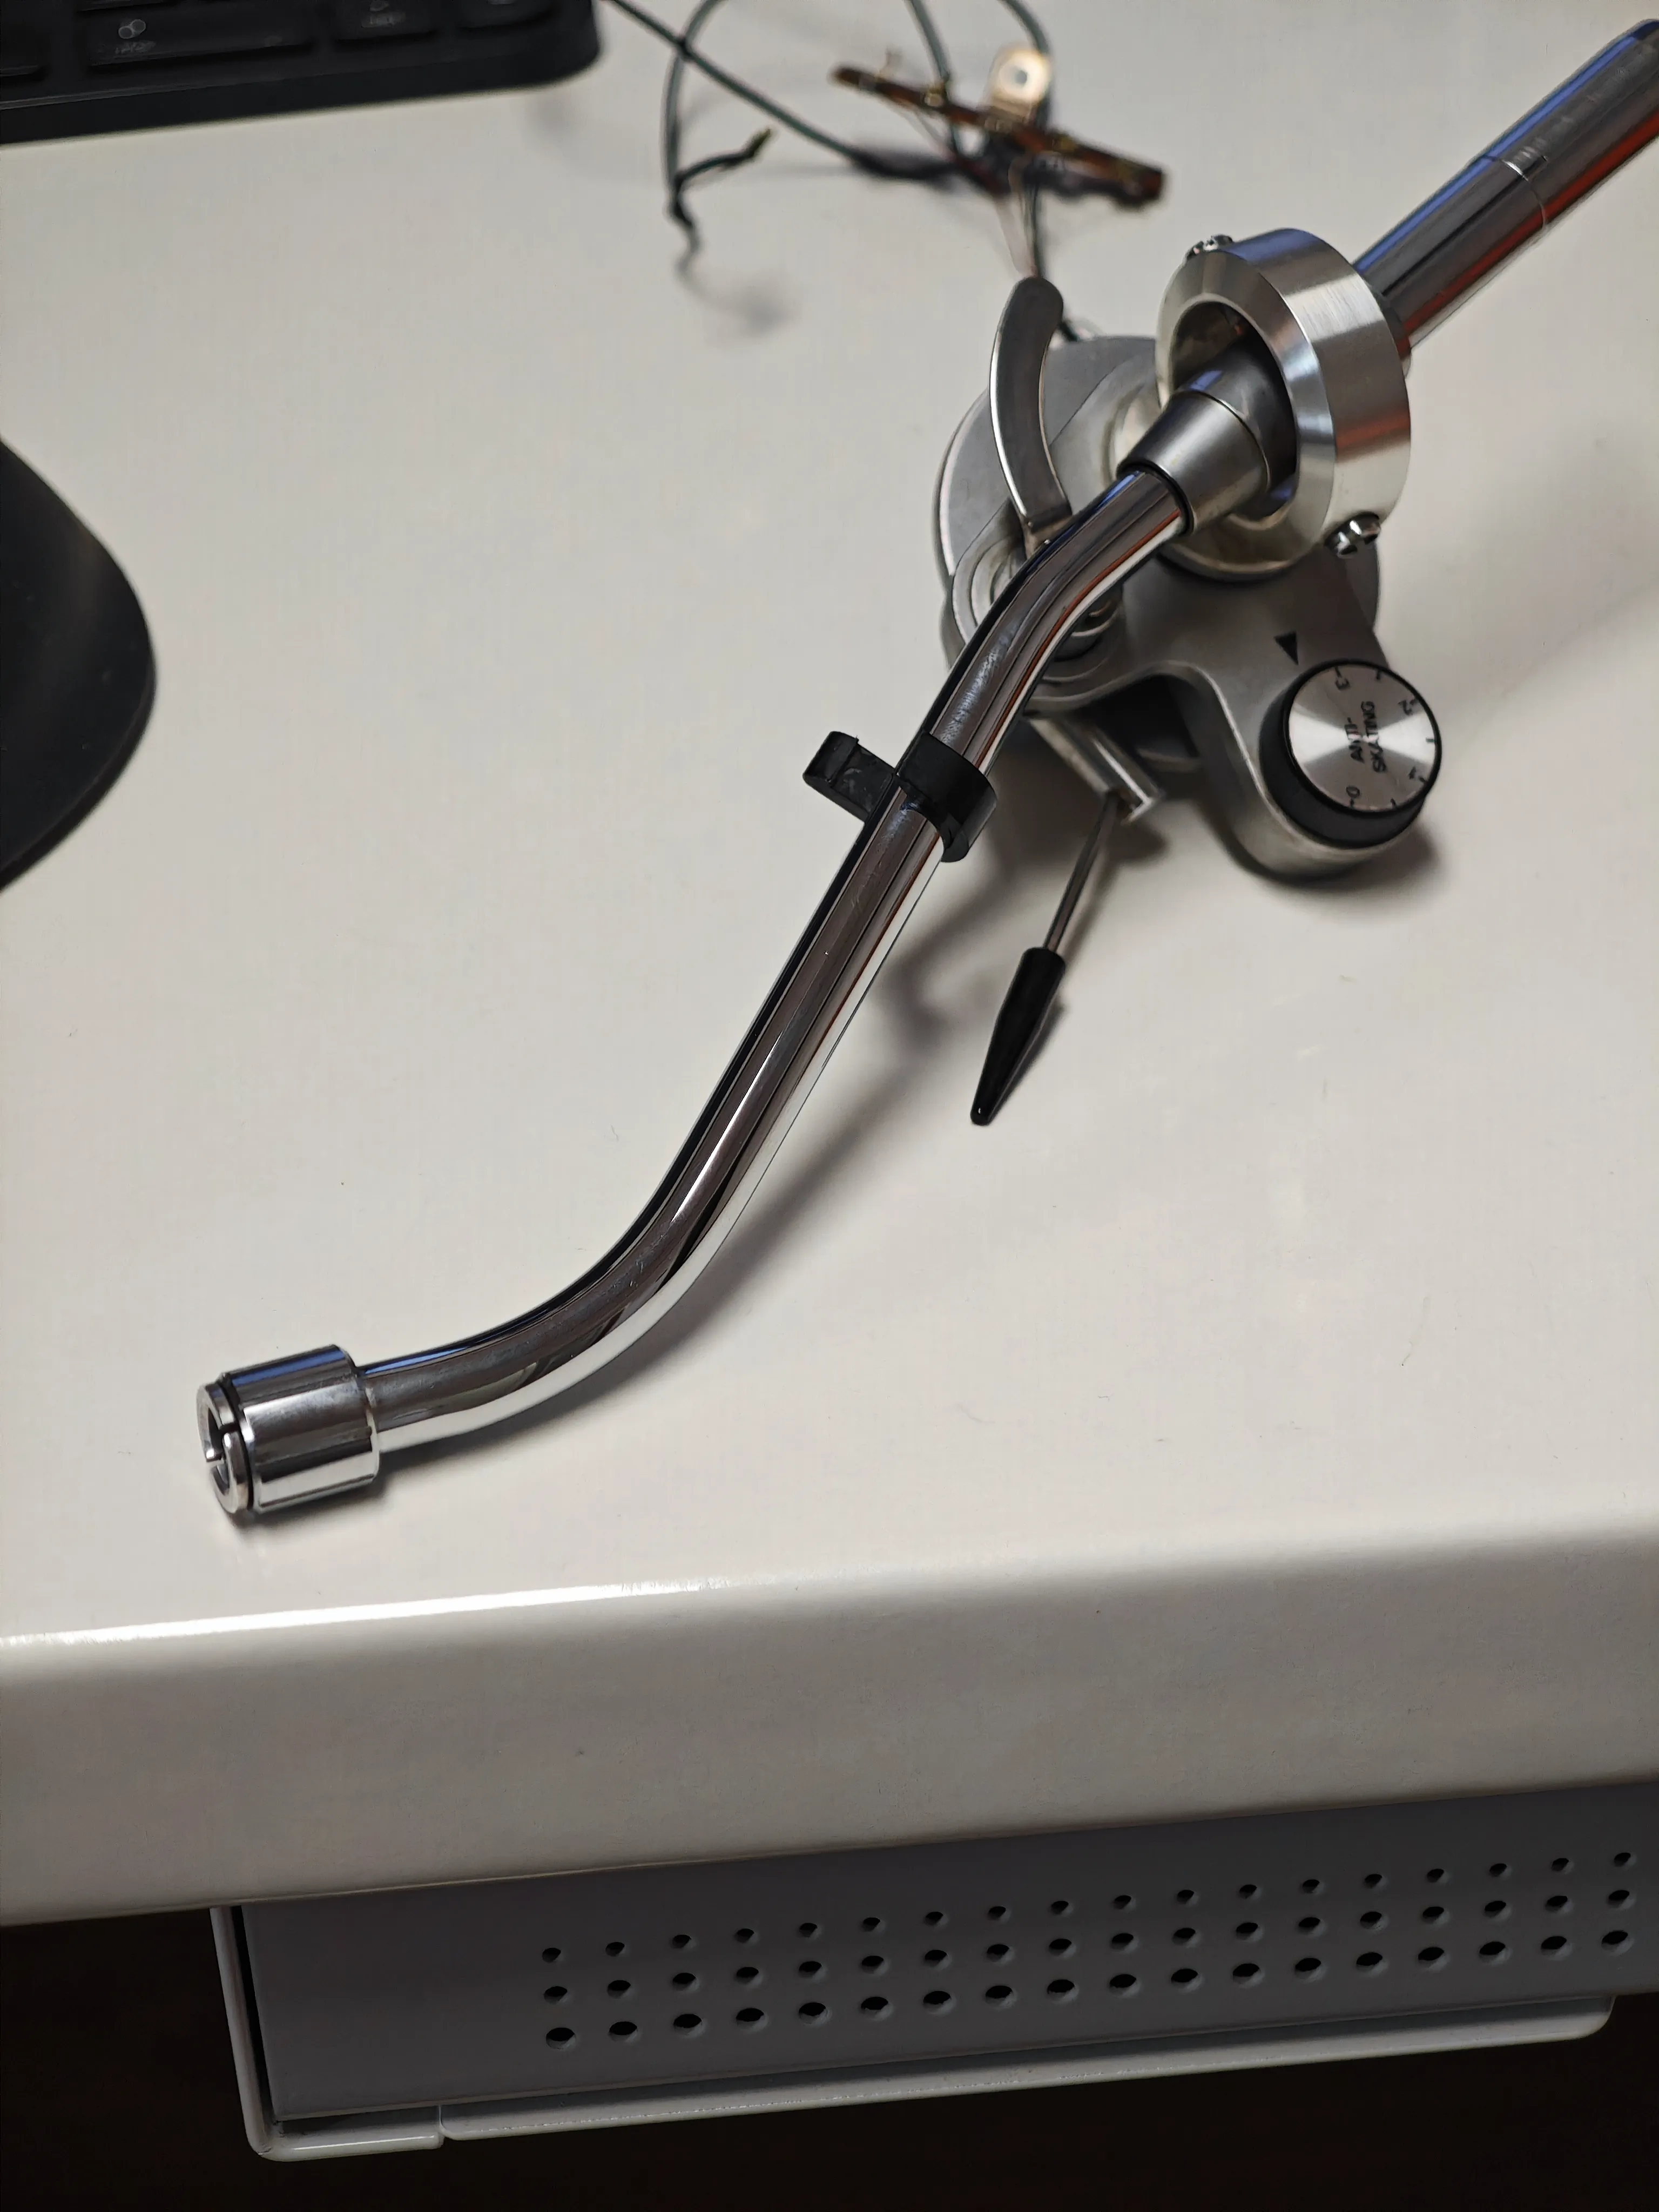
Next: cartridge and preamp. After some deliberation I’ve settled on the Pro-Ject Phono Box E preamp and the Concorde Mix MkII cartridge.
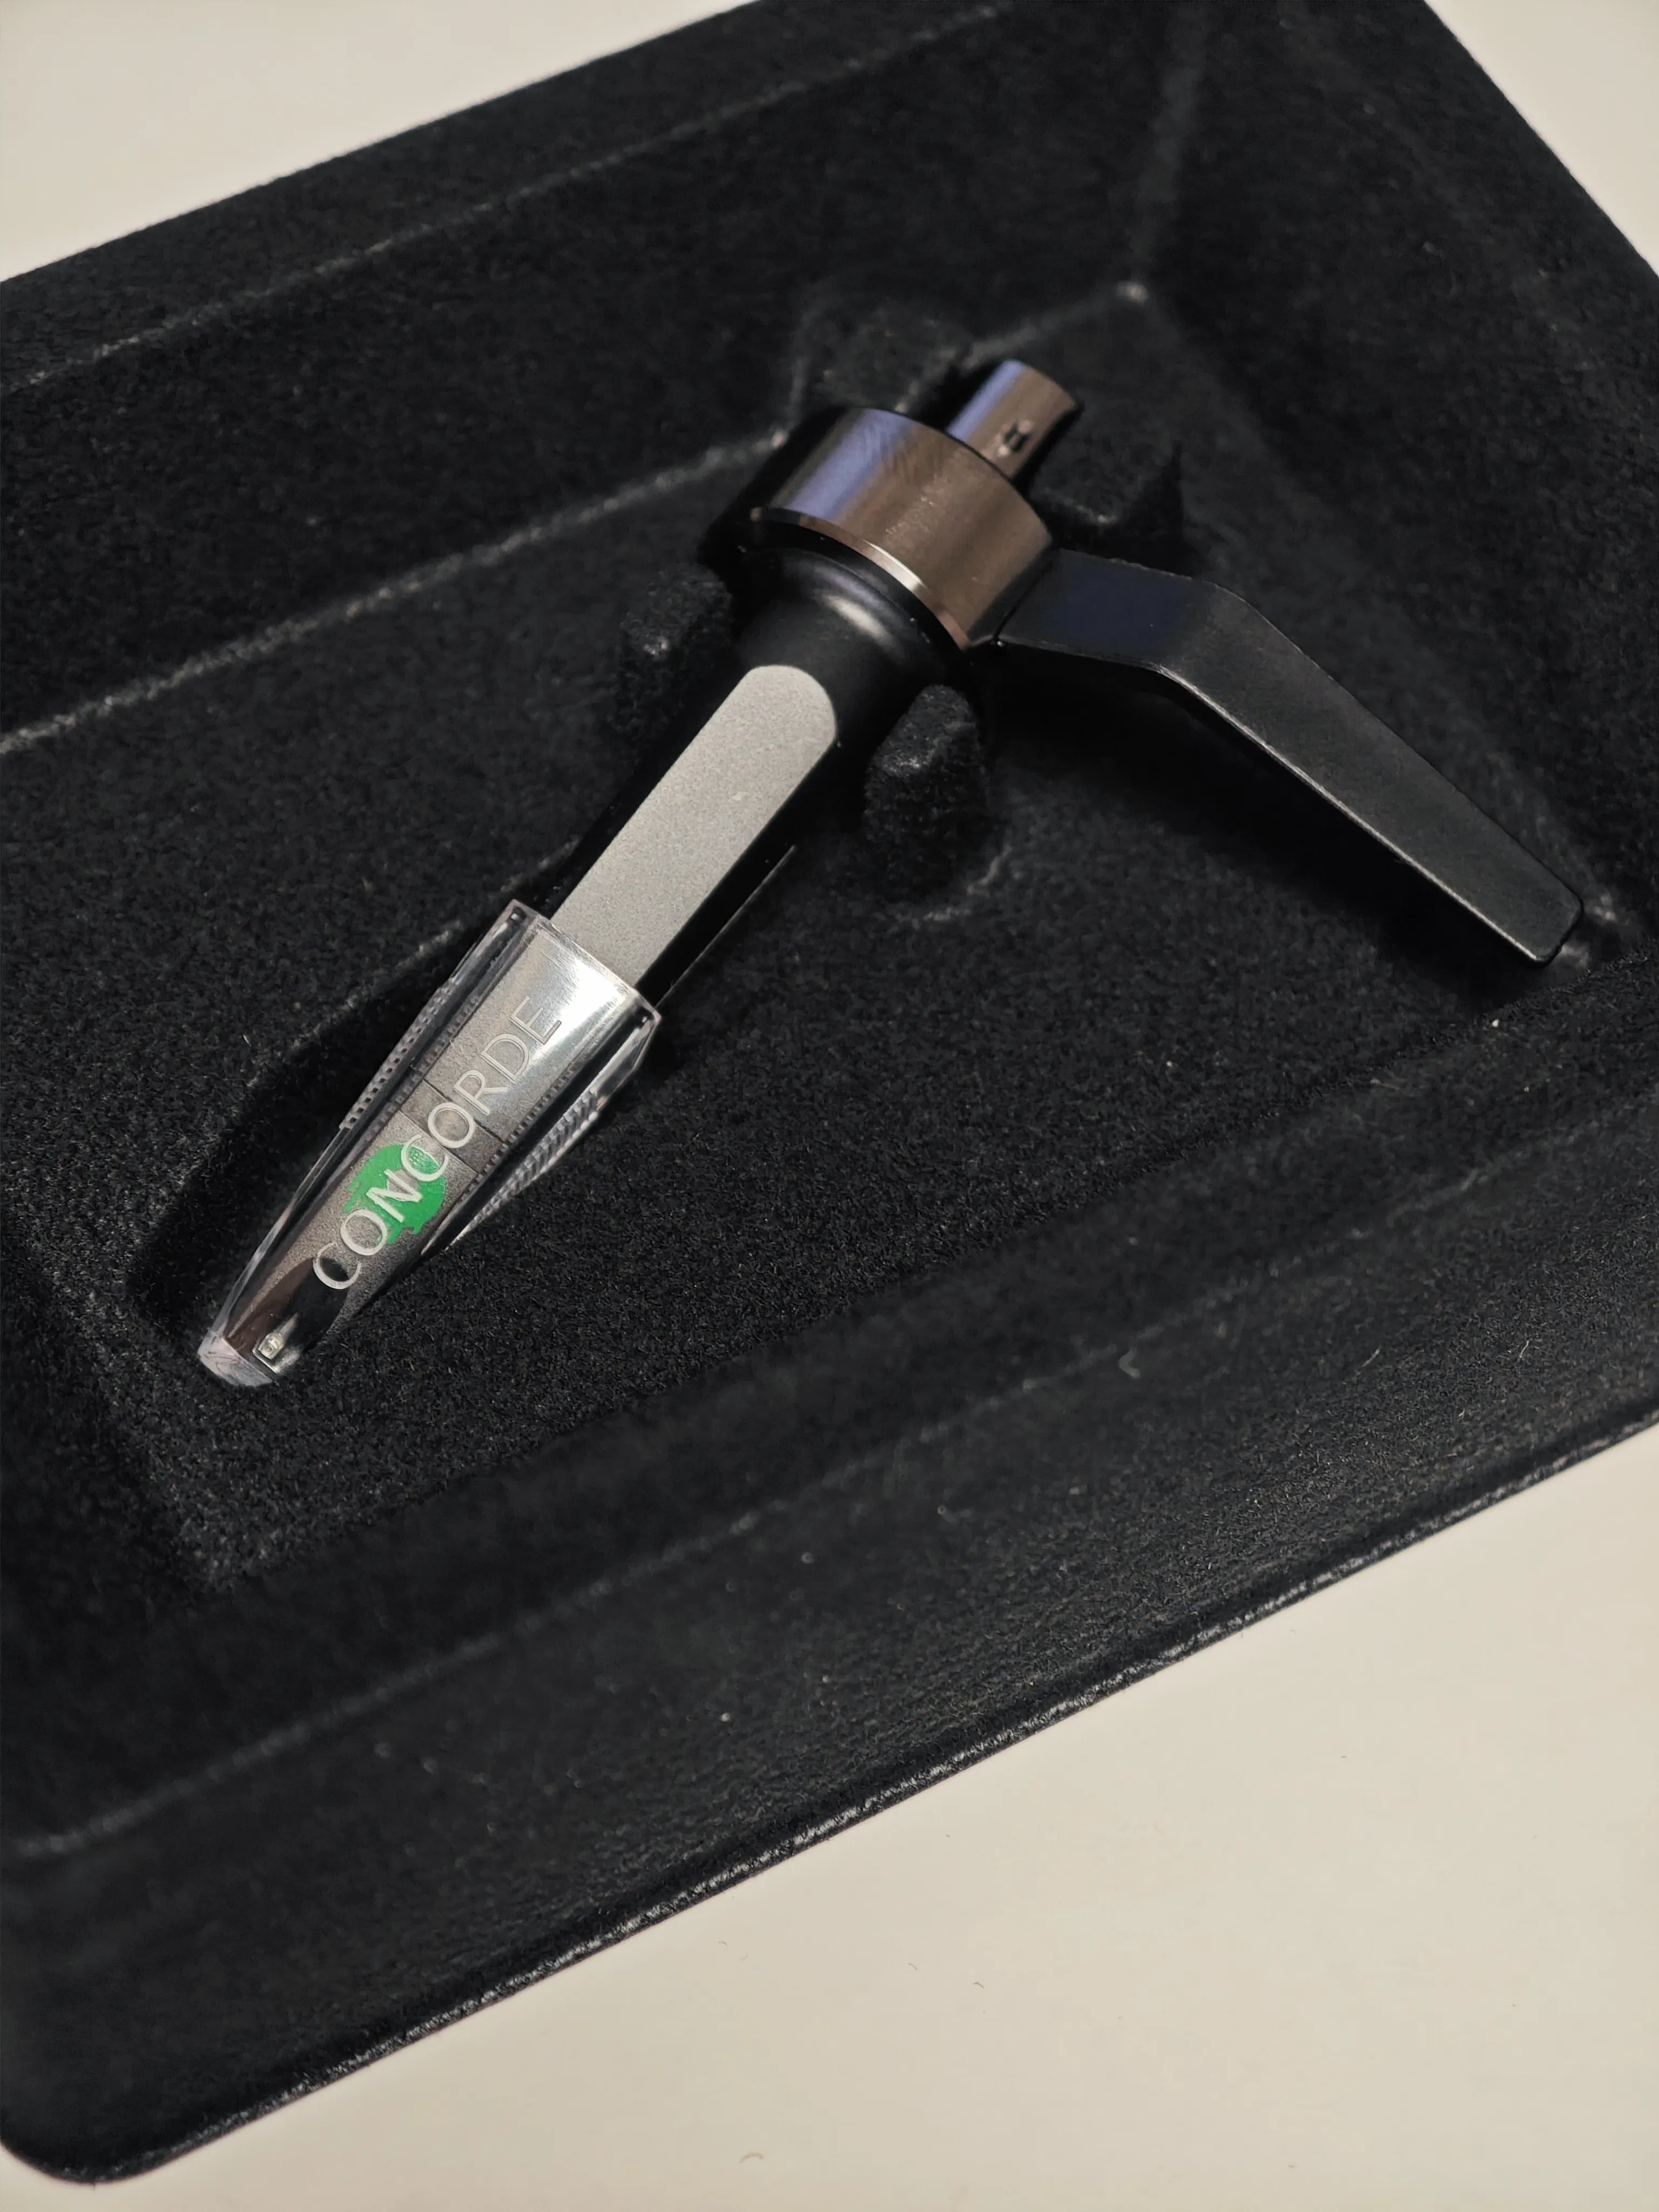
I’m a big fan of those Concorde carts because of how dead simple they are to mount and they sound really good.
Minor tweaks
Both the power cable and the RCA cables looked horrible. I threw both of them away and replaced them with new ones. However, I’ve also added the Y-split to the power cable to be able to plug the phono preamp in it as well. This way there was no need for two power cables.
This is a very old turntable so I’ve also replaced all the electrolytic capacitors inside (luckily there were only a few), and I’ve also replaced the two pots for speed adjustment. I could’ve cleaned the original ones, but since I already had two brand new pots, why bother?
The power switch was also somewhat creaky so I’ve cleaned the contacts on it as well.
Lastly, the turntable has strobe light which has died, so I’ve replaced that as well. Unfortunately I couldn’t find one with matching specs in the same dimensions so it’s far from ideal. Seemed like a minor thing anyways.
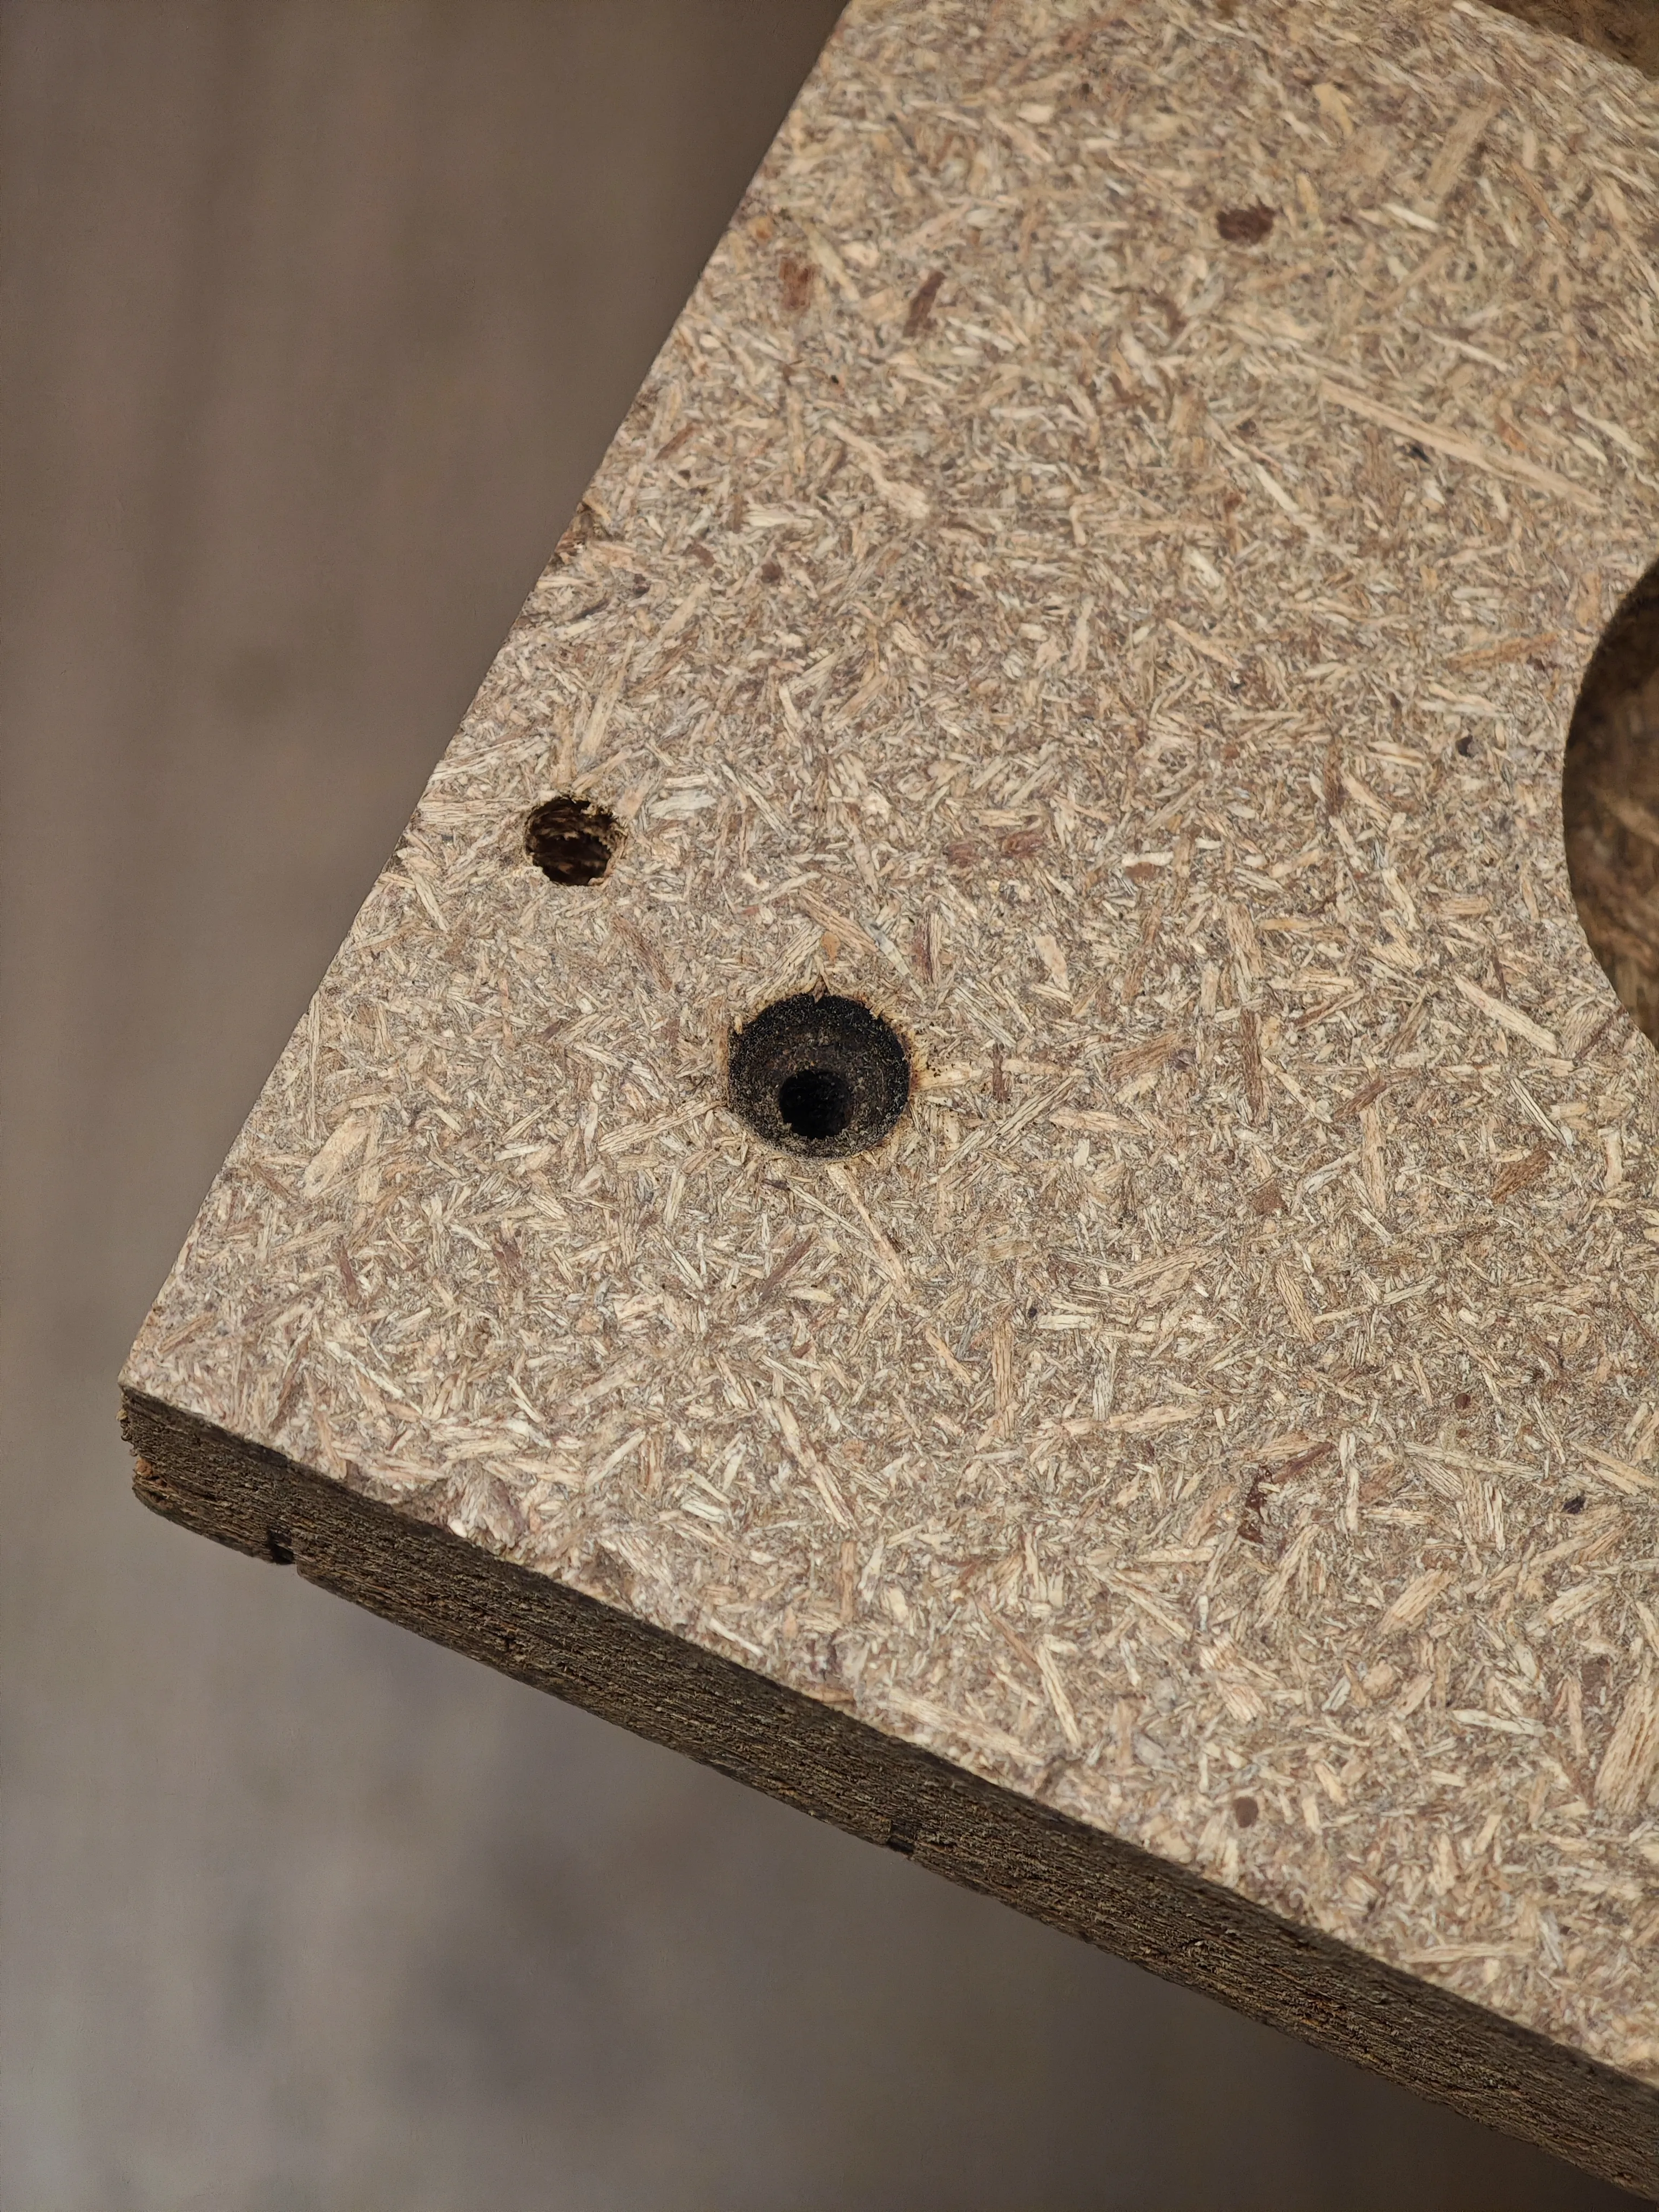
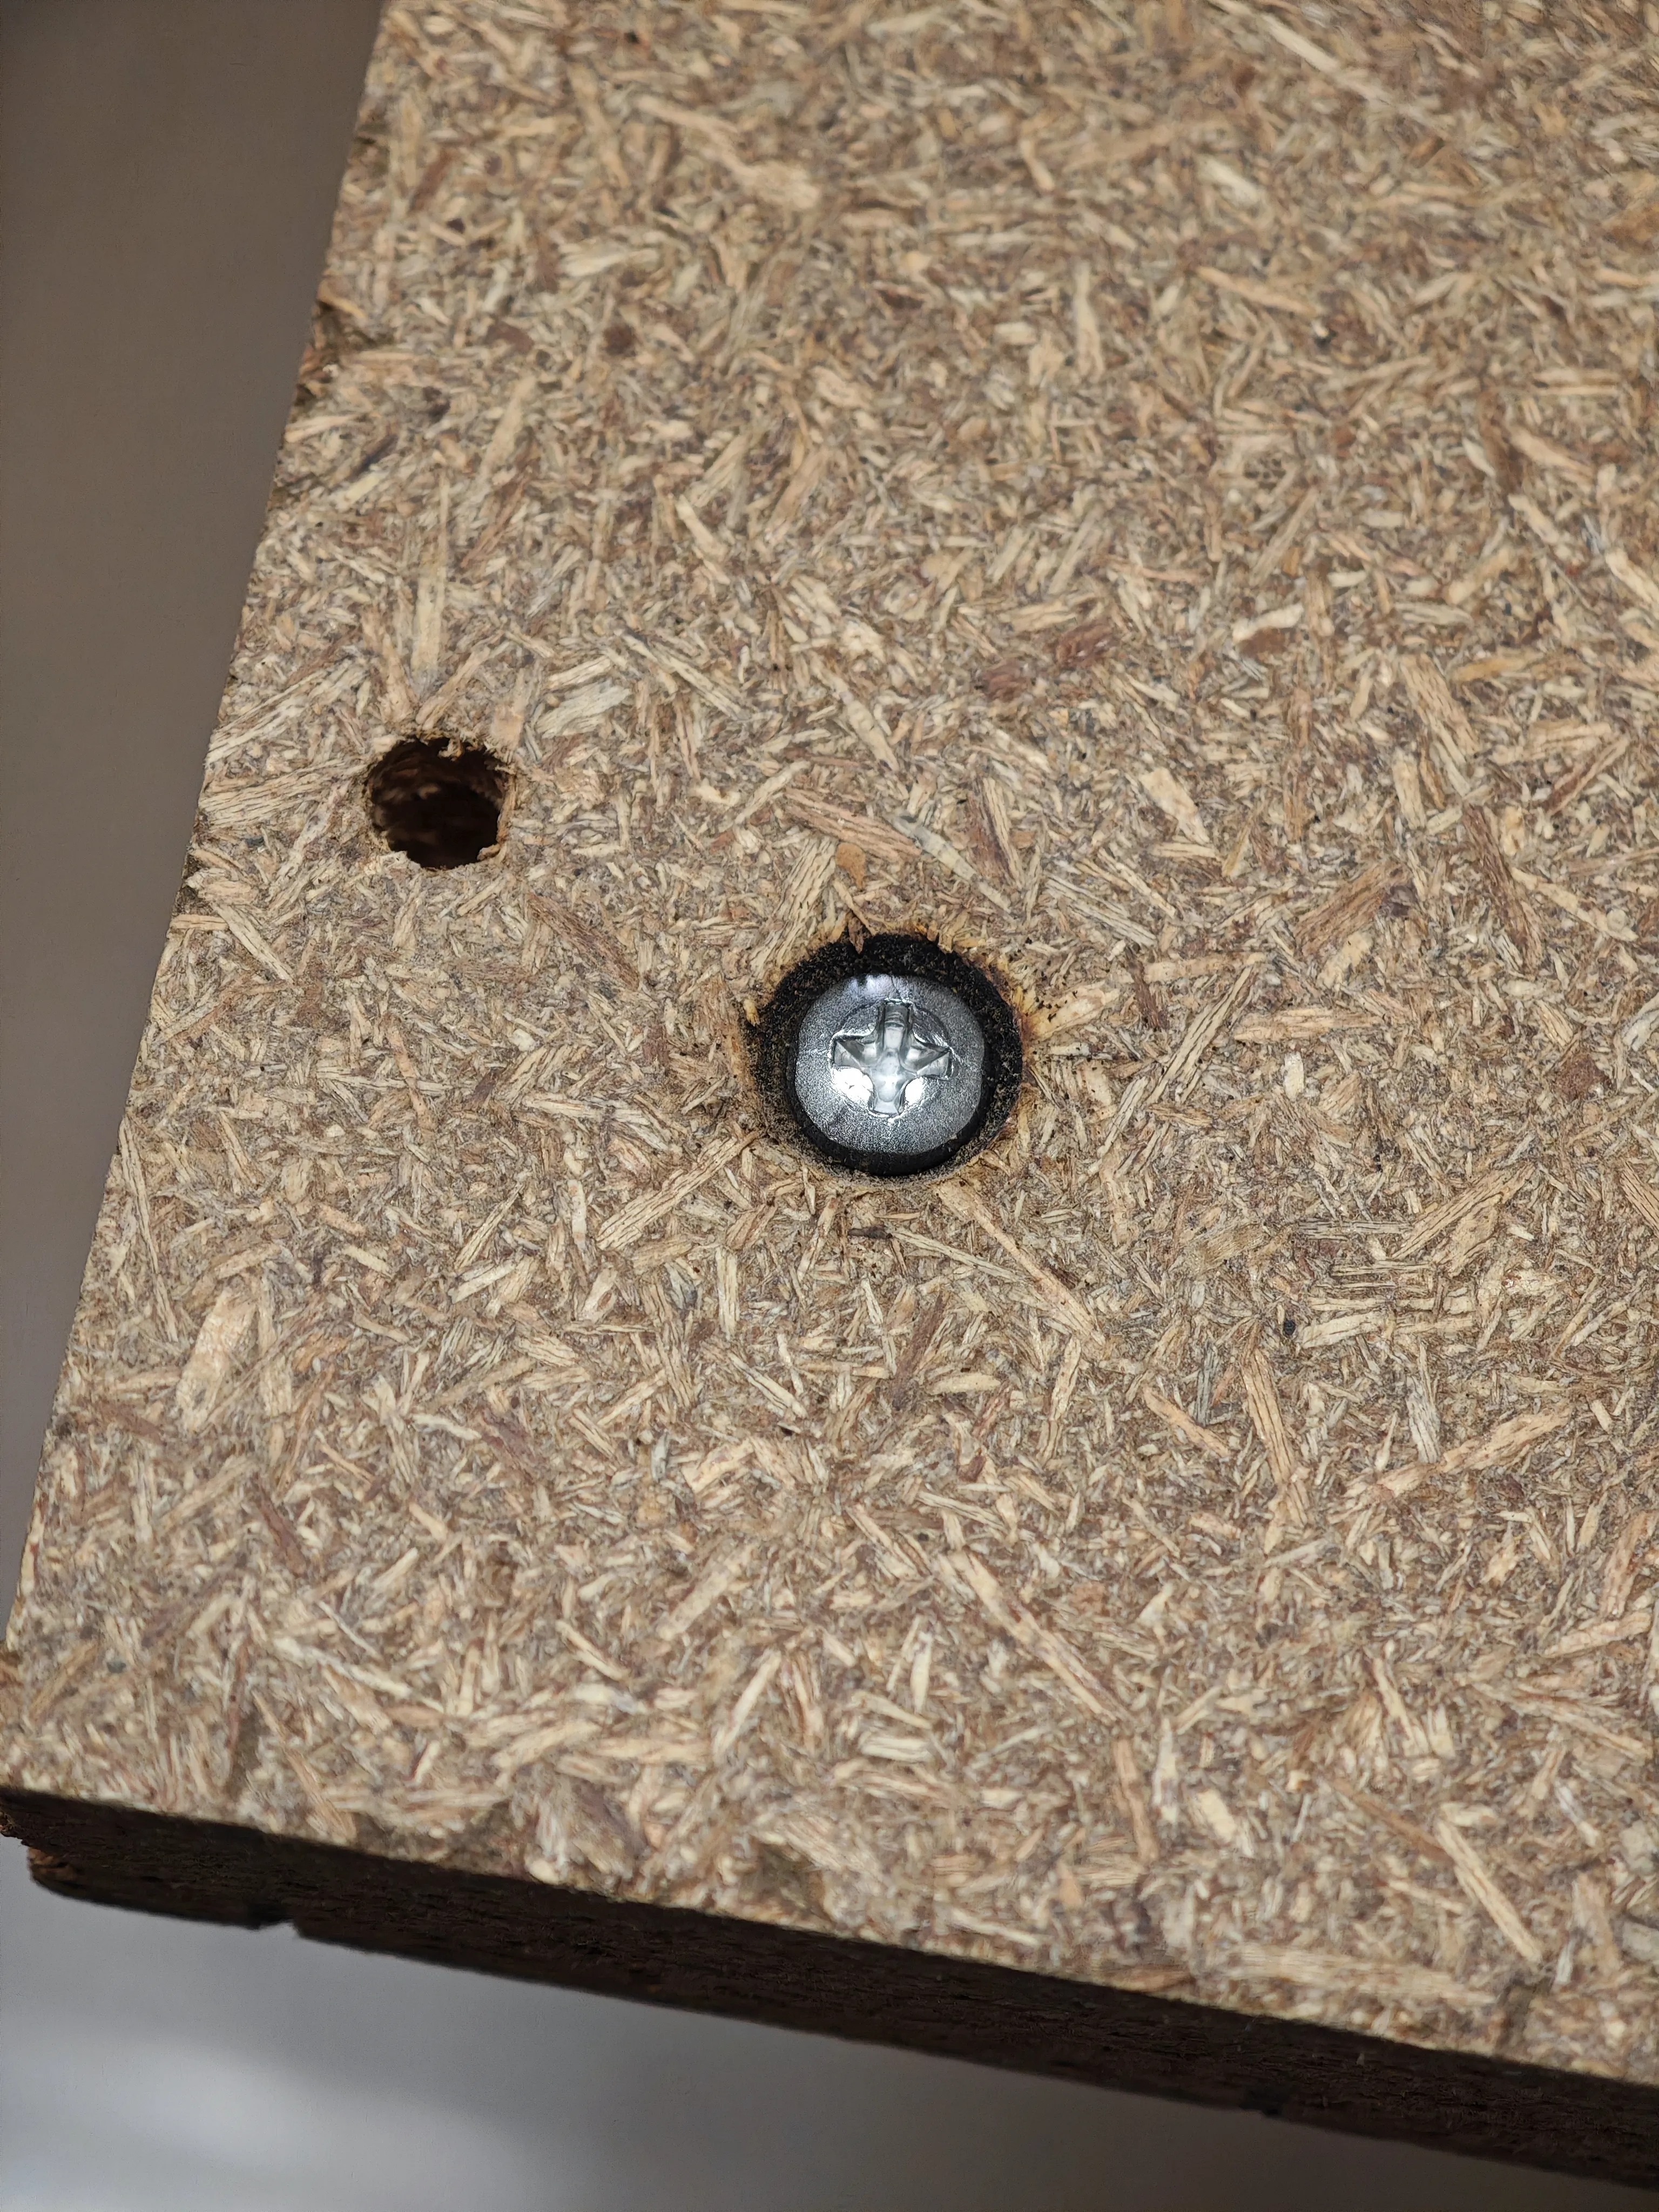
Like I’ve mentioned earlier, the feet needed to be replaced as well. I’ve found some nice looking ones on Amazon. The screw to mount them was slightly wider than the original ones so this required a bit of drilling the wooden bottom.
I’ve also used the rest of the orange spray to paint the bottom. Completely unnecessary.
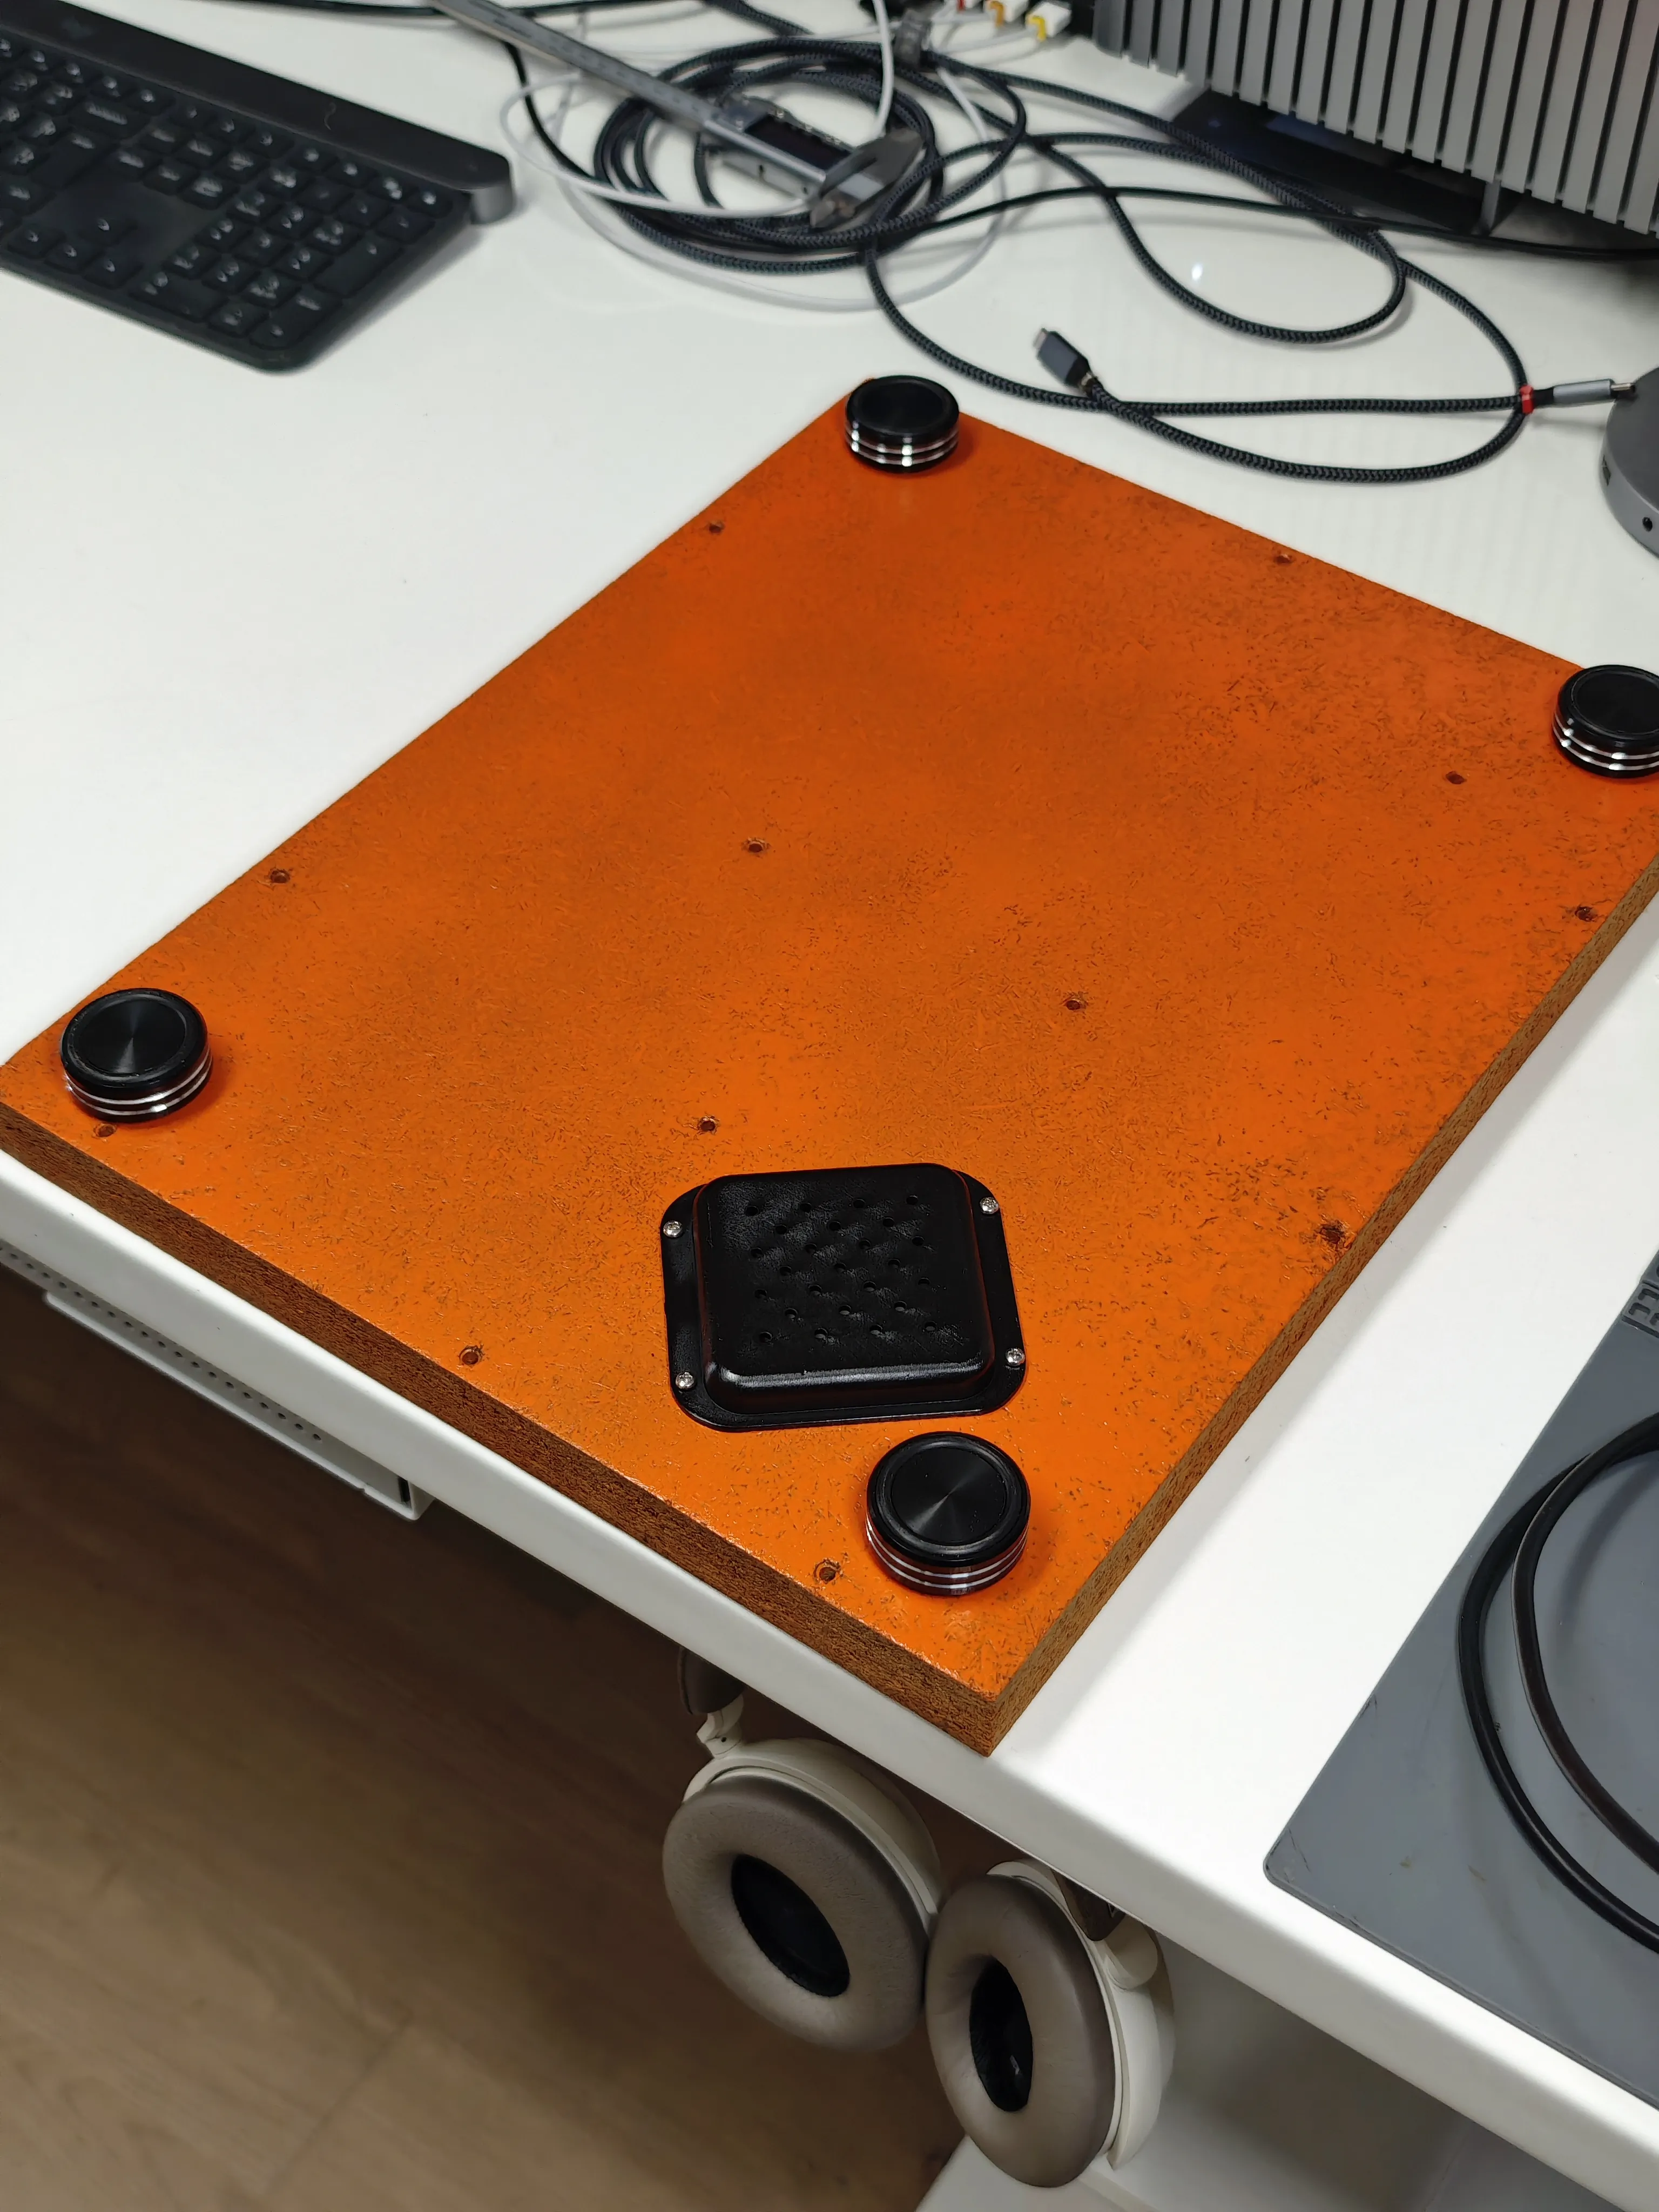

I also wanted to replace the mat. I’ve always found rubber mats a pain to clean, so I got an acrylic one in black which looked gorgeous on the platter.
The very last thing was the dust cover - the original one was cracked at multiple places, but more importantly, yellowed to the point of no salvage so it looked pretty horrible. Threw it away and bought a simple dust bag cover. I would’ve gotten the original one but I couldn’t find it anywhere and there are no really generic ones since each turntable is a bit different.
End result
So with all this, the turntable is back in business. It plays records well, the tracking is stable, there are no ground/hum issues with it and the motor speed isn’t drifting. Not bad for something made almost 50 years ago. My cousin is very happy with it.