Unitra M3015 tapedeck restoration, Part 2
The more I worked on this deck, the more I began to question my life choices. Money and time ceased to matter, and the entire endeavour began to resemble a fool’s errand. If that sounds somewhat grim, it is, but in the end I got what I wanted.
Fixing the recording properly
As hinted in the first part of this saga, the mechanism the deck uses to switch into recording mode resembles a Rube Goldberg machine, and I just couldn’t get it to work with that original design at all. So I decided to rip out the entire thing. The first part explains the mechanics of it. What I needed was:
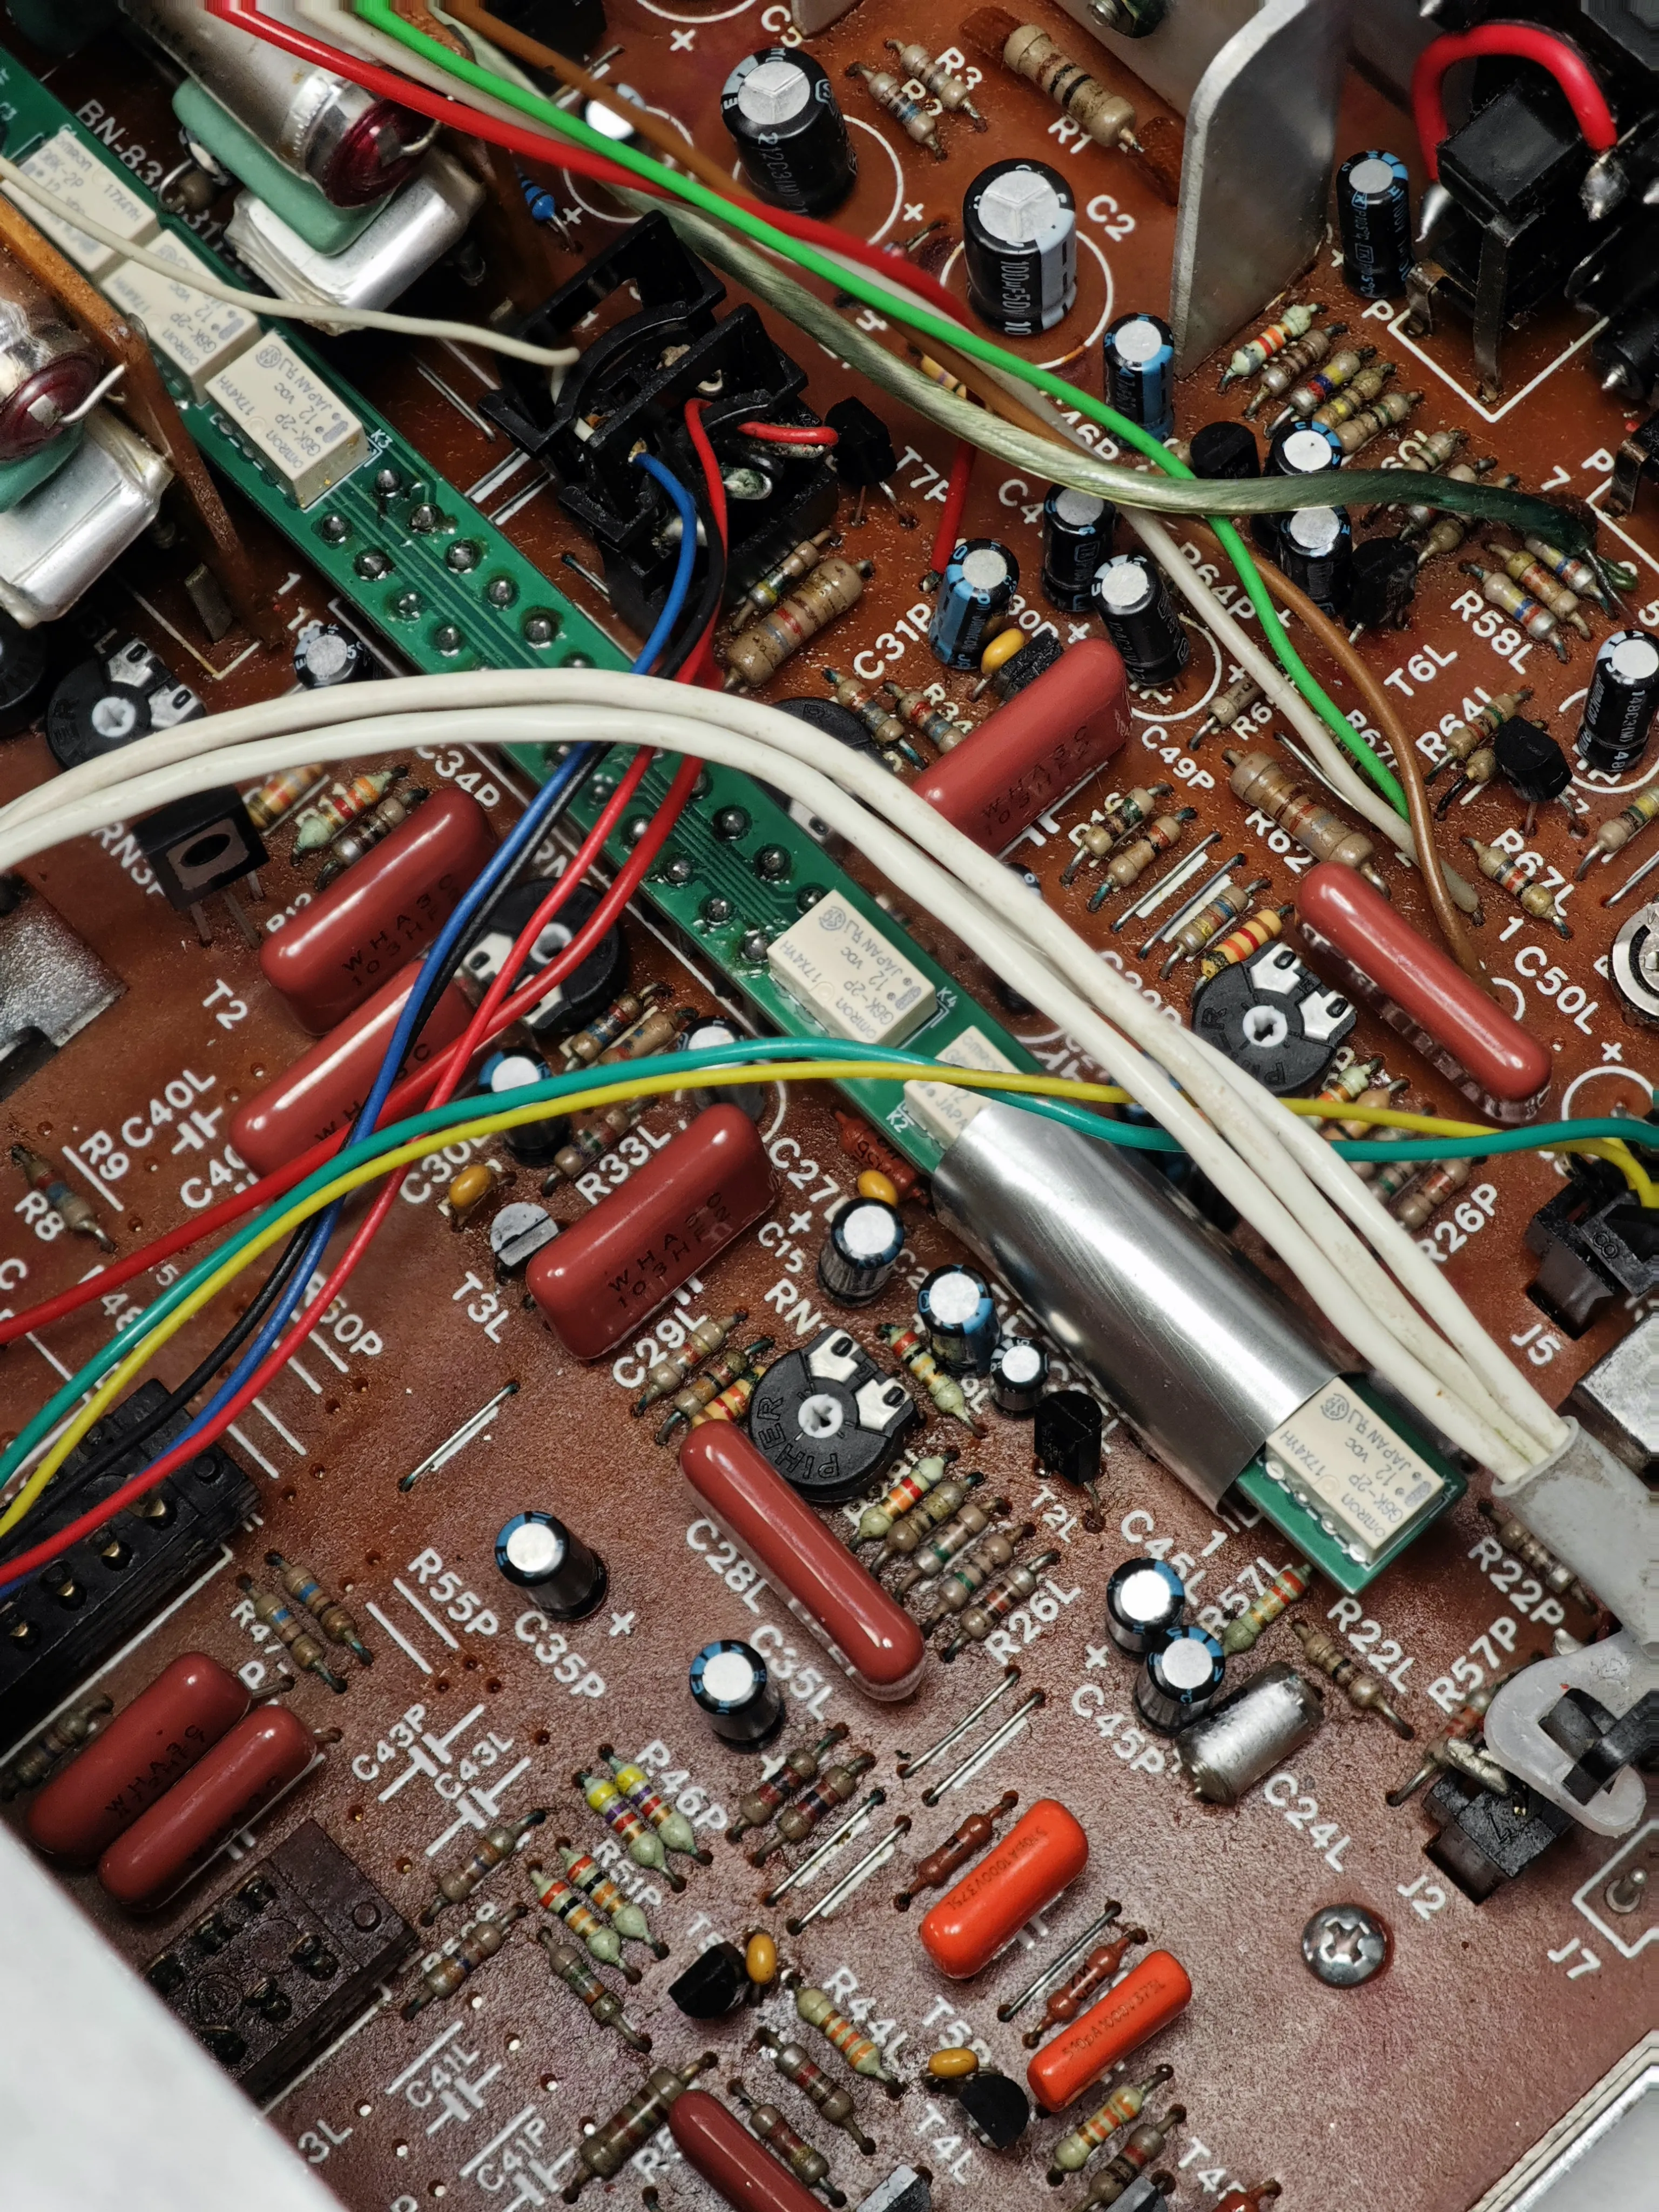
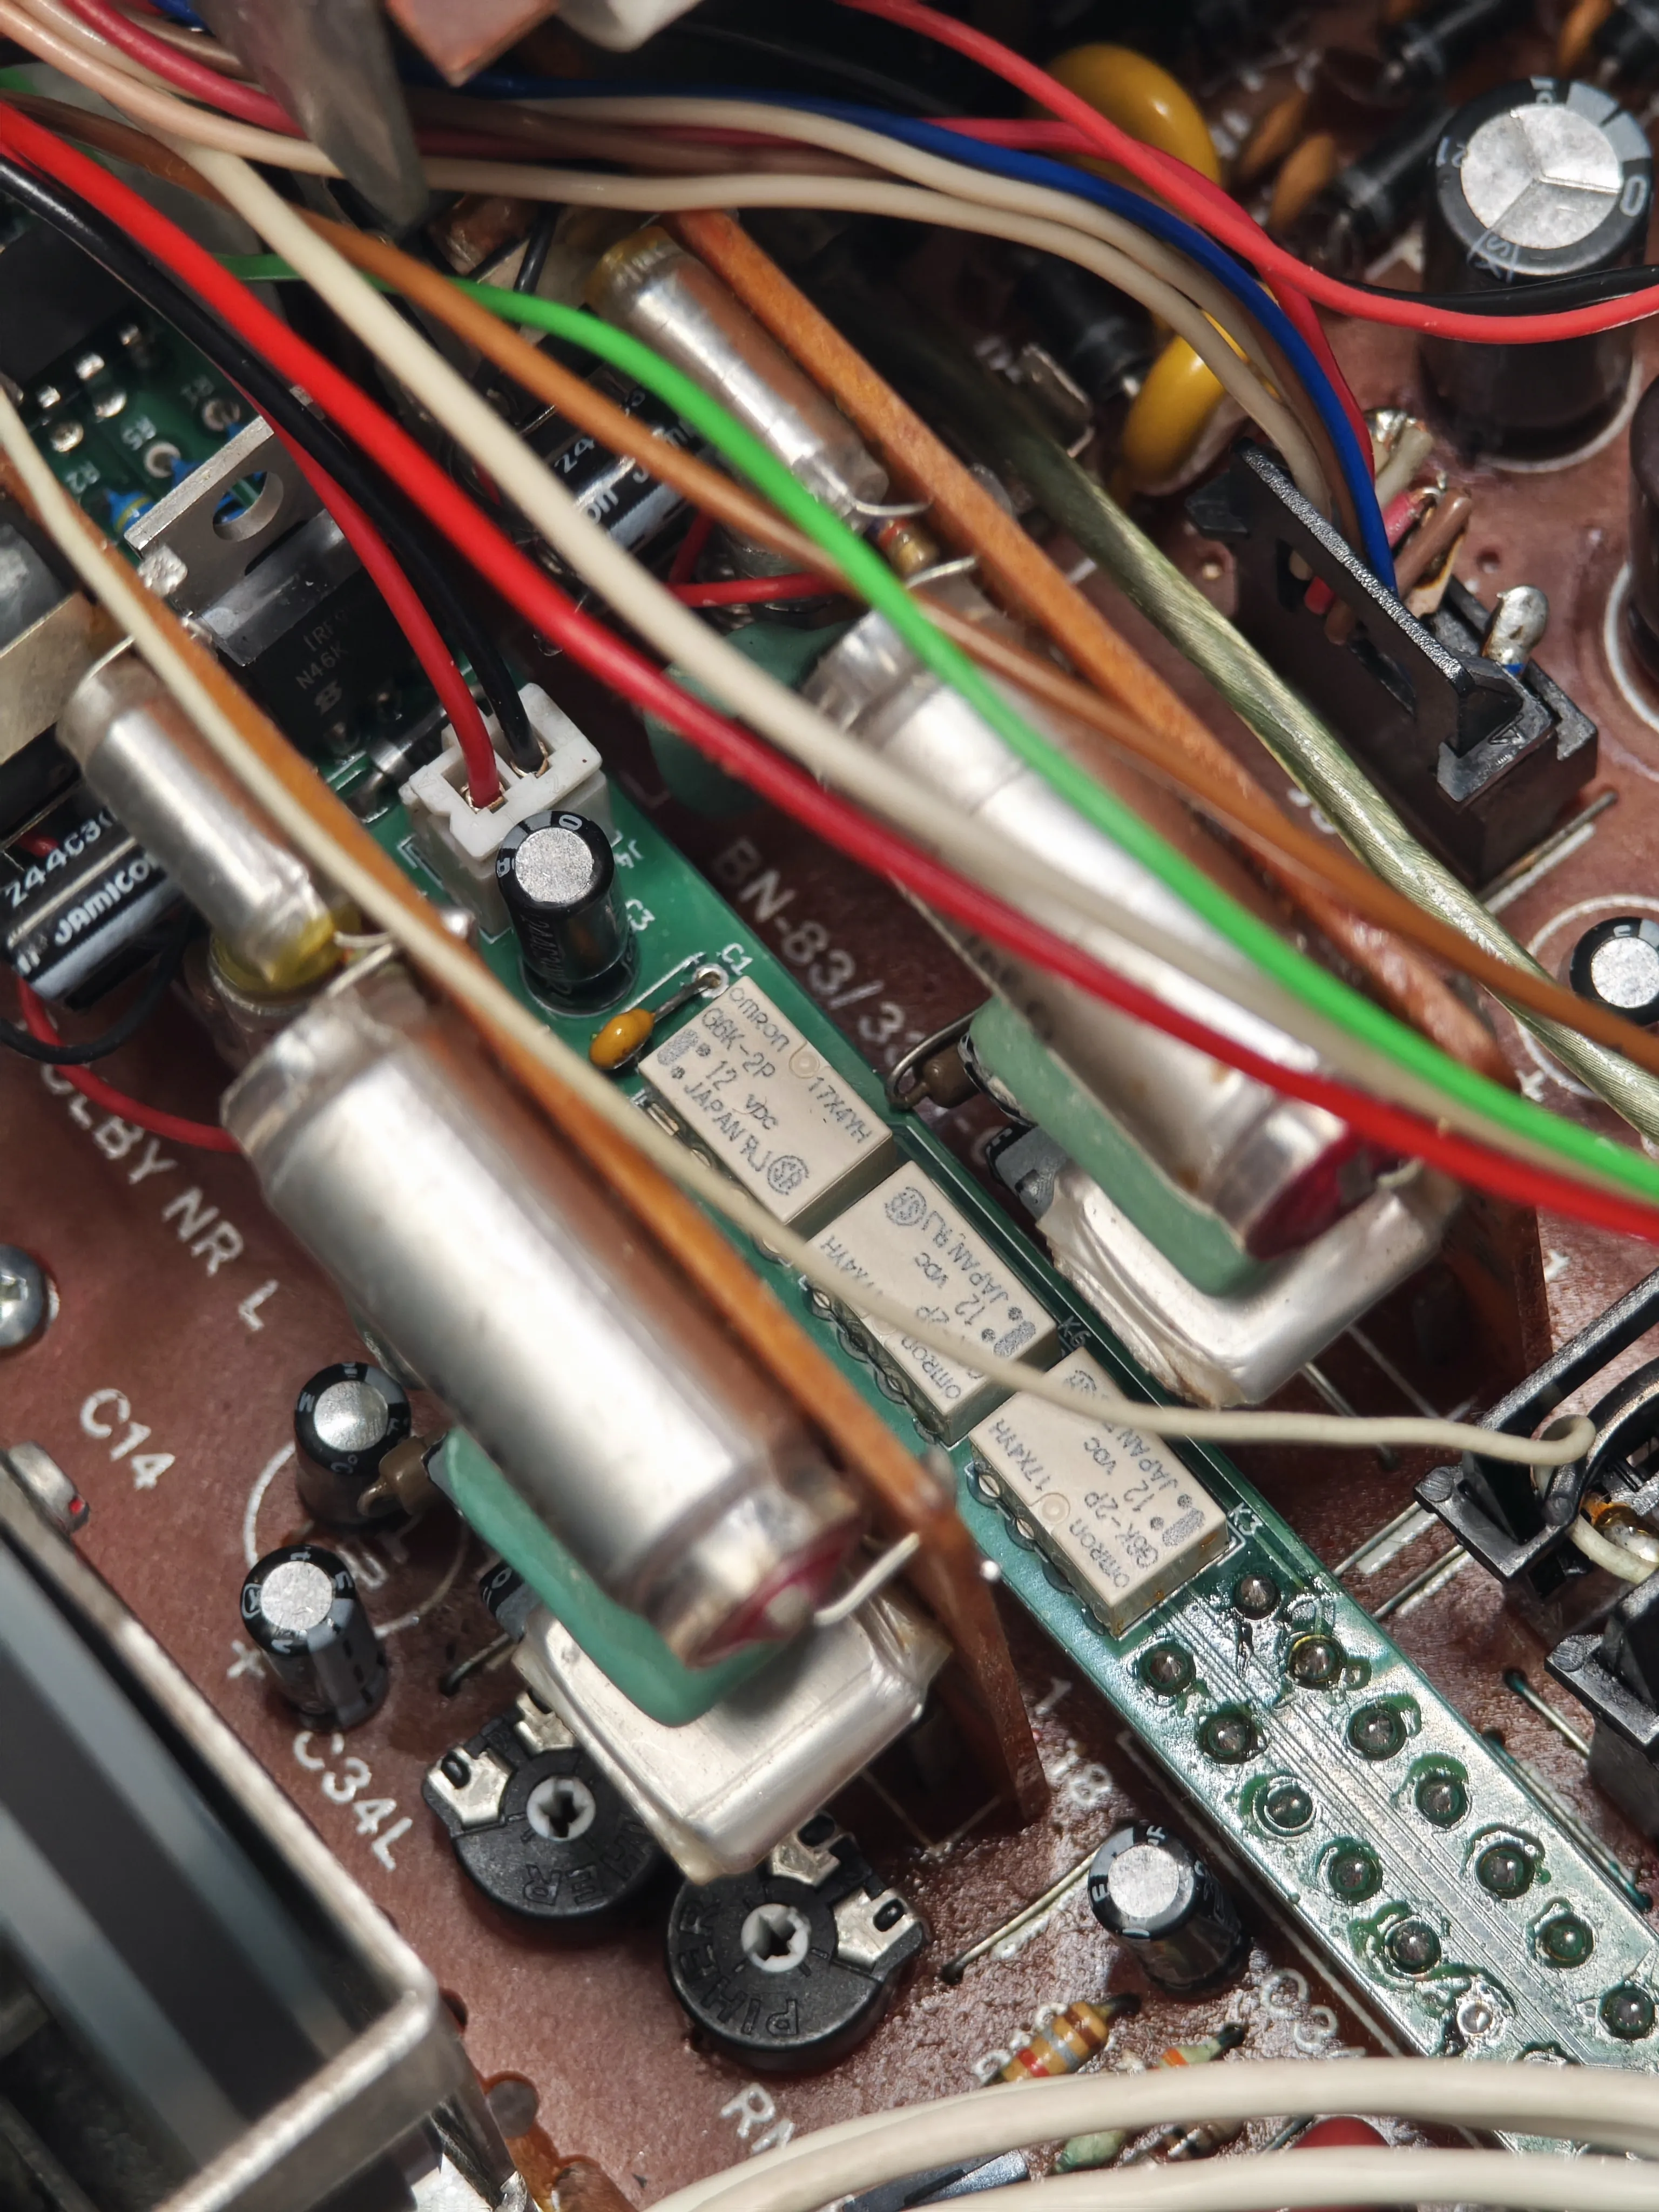
- A set of mechanical relays which would perform the same function as the original switch. In total I needed 4 DPDT relays.
- I needed to power them. The deck had 14V on one of the connectors, so I just used that.
- I needed a signal which would indicate which mode should be active: playback or record. This is the most relevant part of the entire thing.
The entire schematic boils down to this:
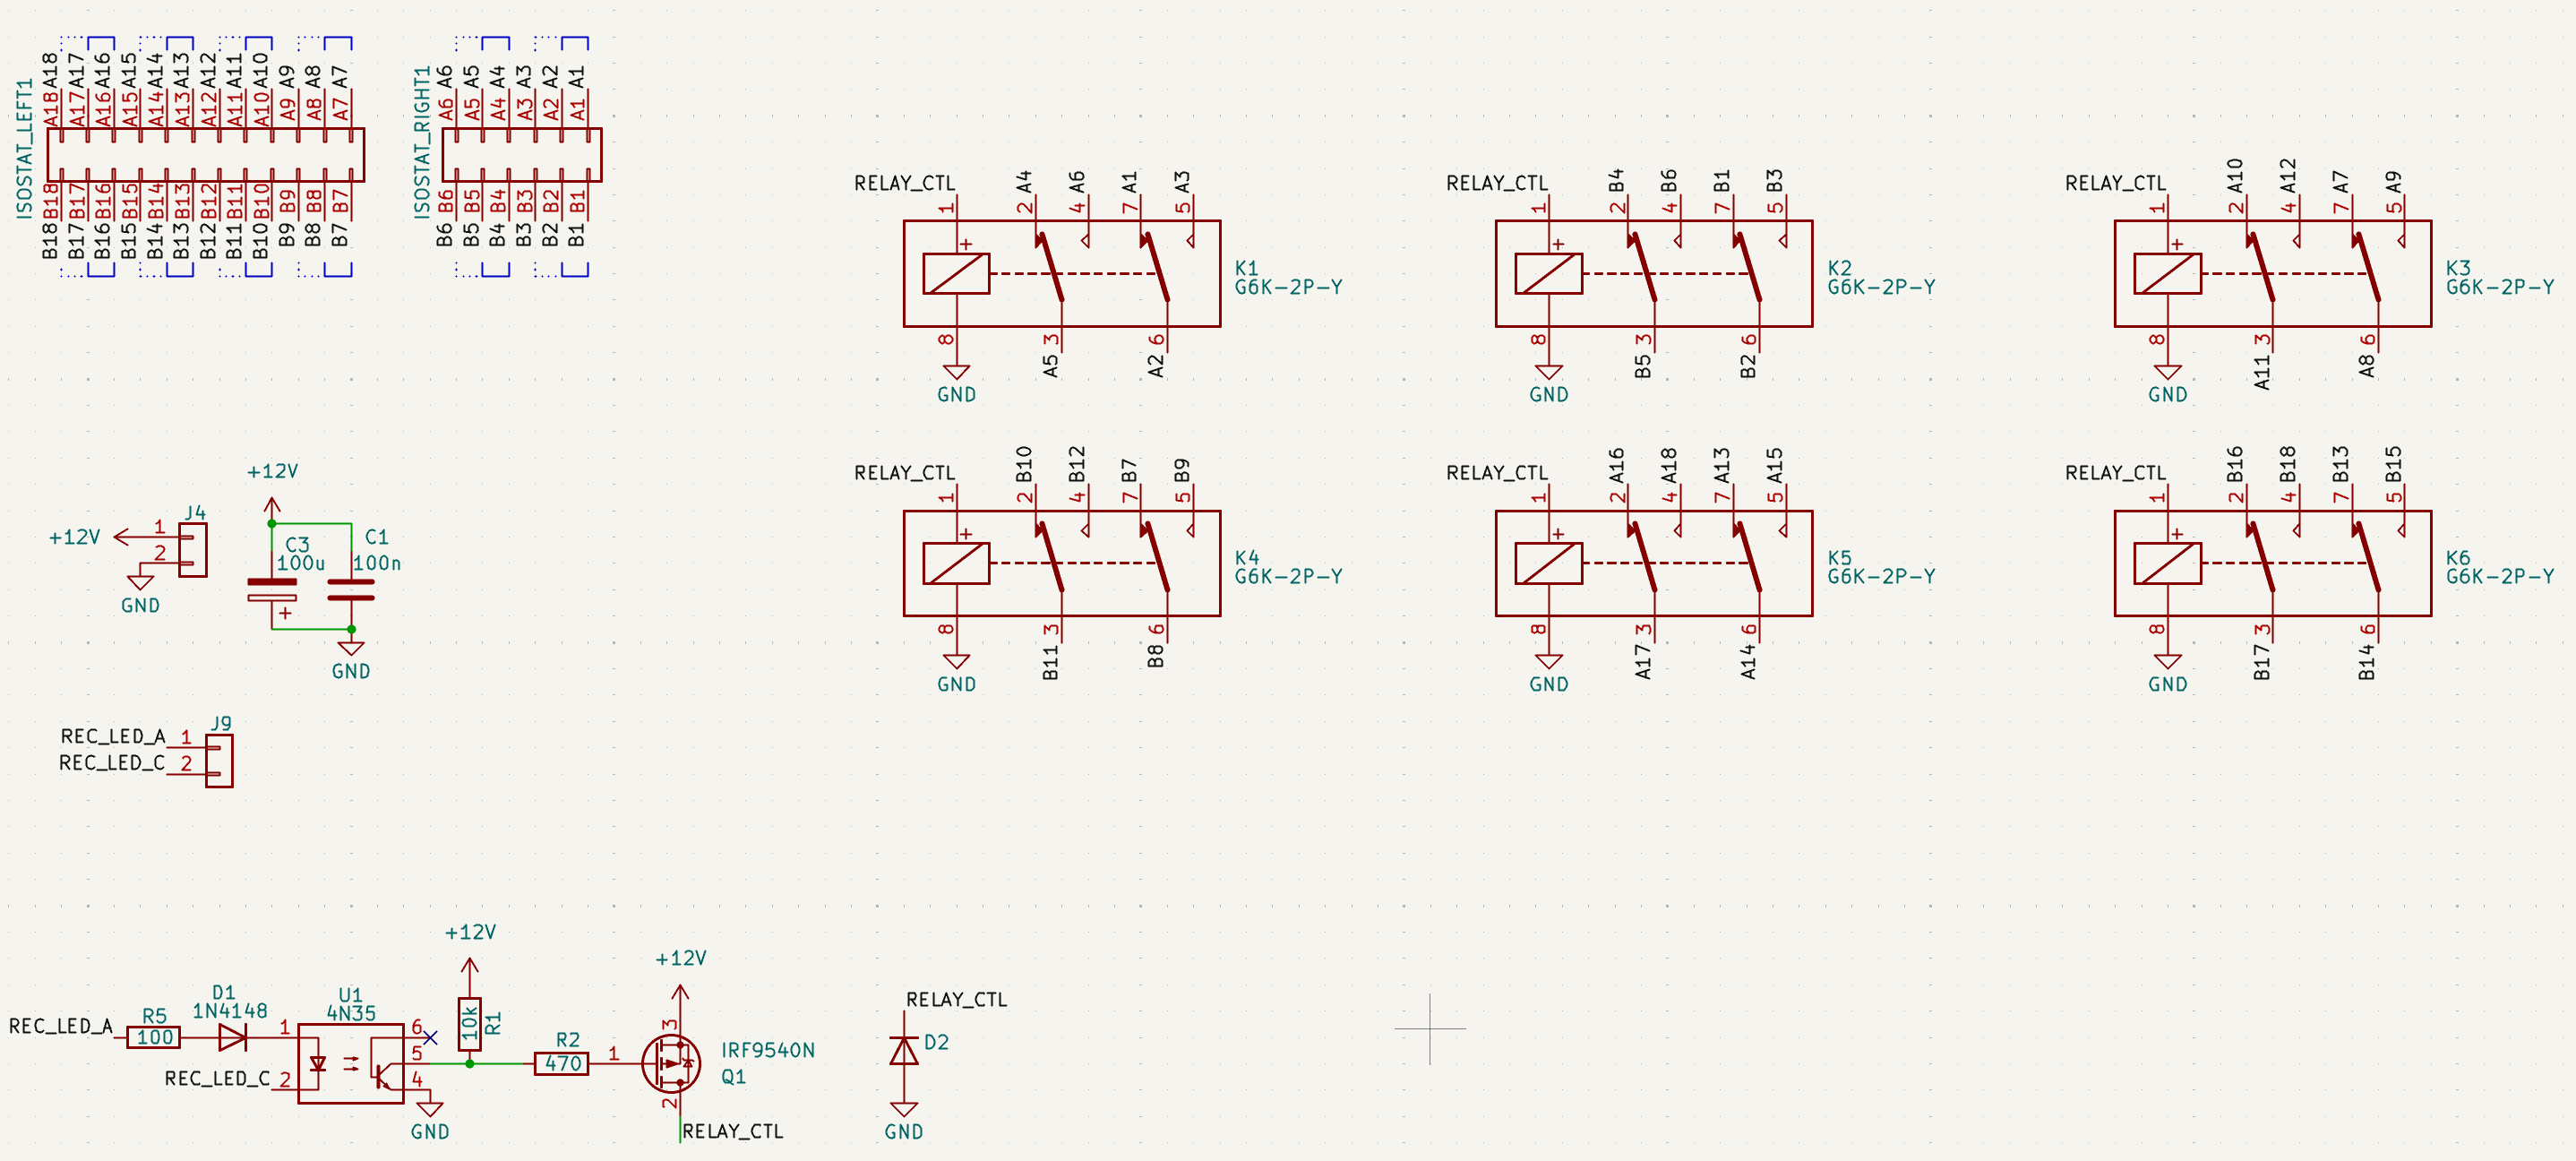
When the record button is pressed, levers inside the transport move in such a way as to activate the record LED. So, because the transport in this deck is linked with the electronics only via mechanical movement, this LED is on even when the entire record switch is ripped out. With the switch out, the deck would just continue working in playback mode. There’s no real feedback loop; the entire thing depends on the record switch properly working. Now that it was no longer there, I could just use that LED signal as an indicator. I connected the record LED in parallel to an optocoupler which then, depending on the LED state, turns a MOSFET on or off, which in turn turns the relays on or off, or in other words, the state of the LED alone controls whether the deck is in playback or record mode. This worked very nicely, although it was the second iteration I used. At first I went with a much more complex scheme involving a microcontroller and some code which turned out to be completely unnecessary, plus I had some stability issues with mounting that. The second revision, however, turned out to be the winner. It works every time, without a hitch. No more springs, paws, levers and whatnot.
One extra thing I did was to replace the original record volume knob because it was seemingly impossible to adjust it in a way that both channels have the same volume, so now instead of two independent knobs I have one. The only way I am ever going to record with this deck is via my PC, so it’s not like I need independent control at all; the levels are always perfect.
Eppur non si muove
Just as I was thinking how I had solved the last big hurdle when the recording started to work properly, the original motor simply died.
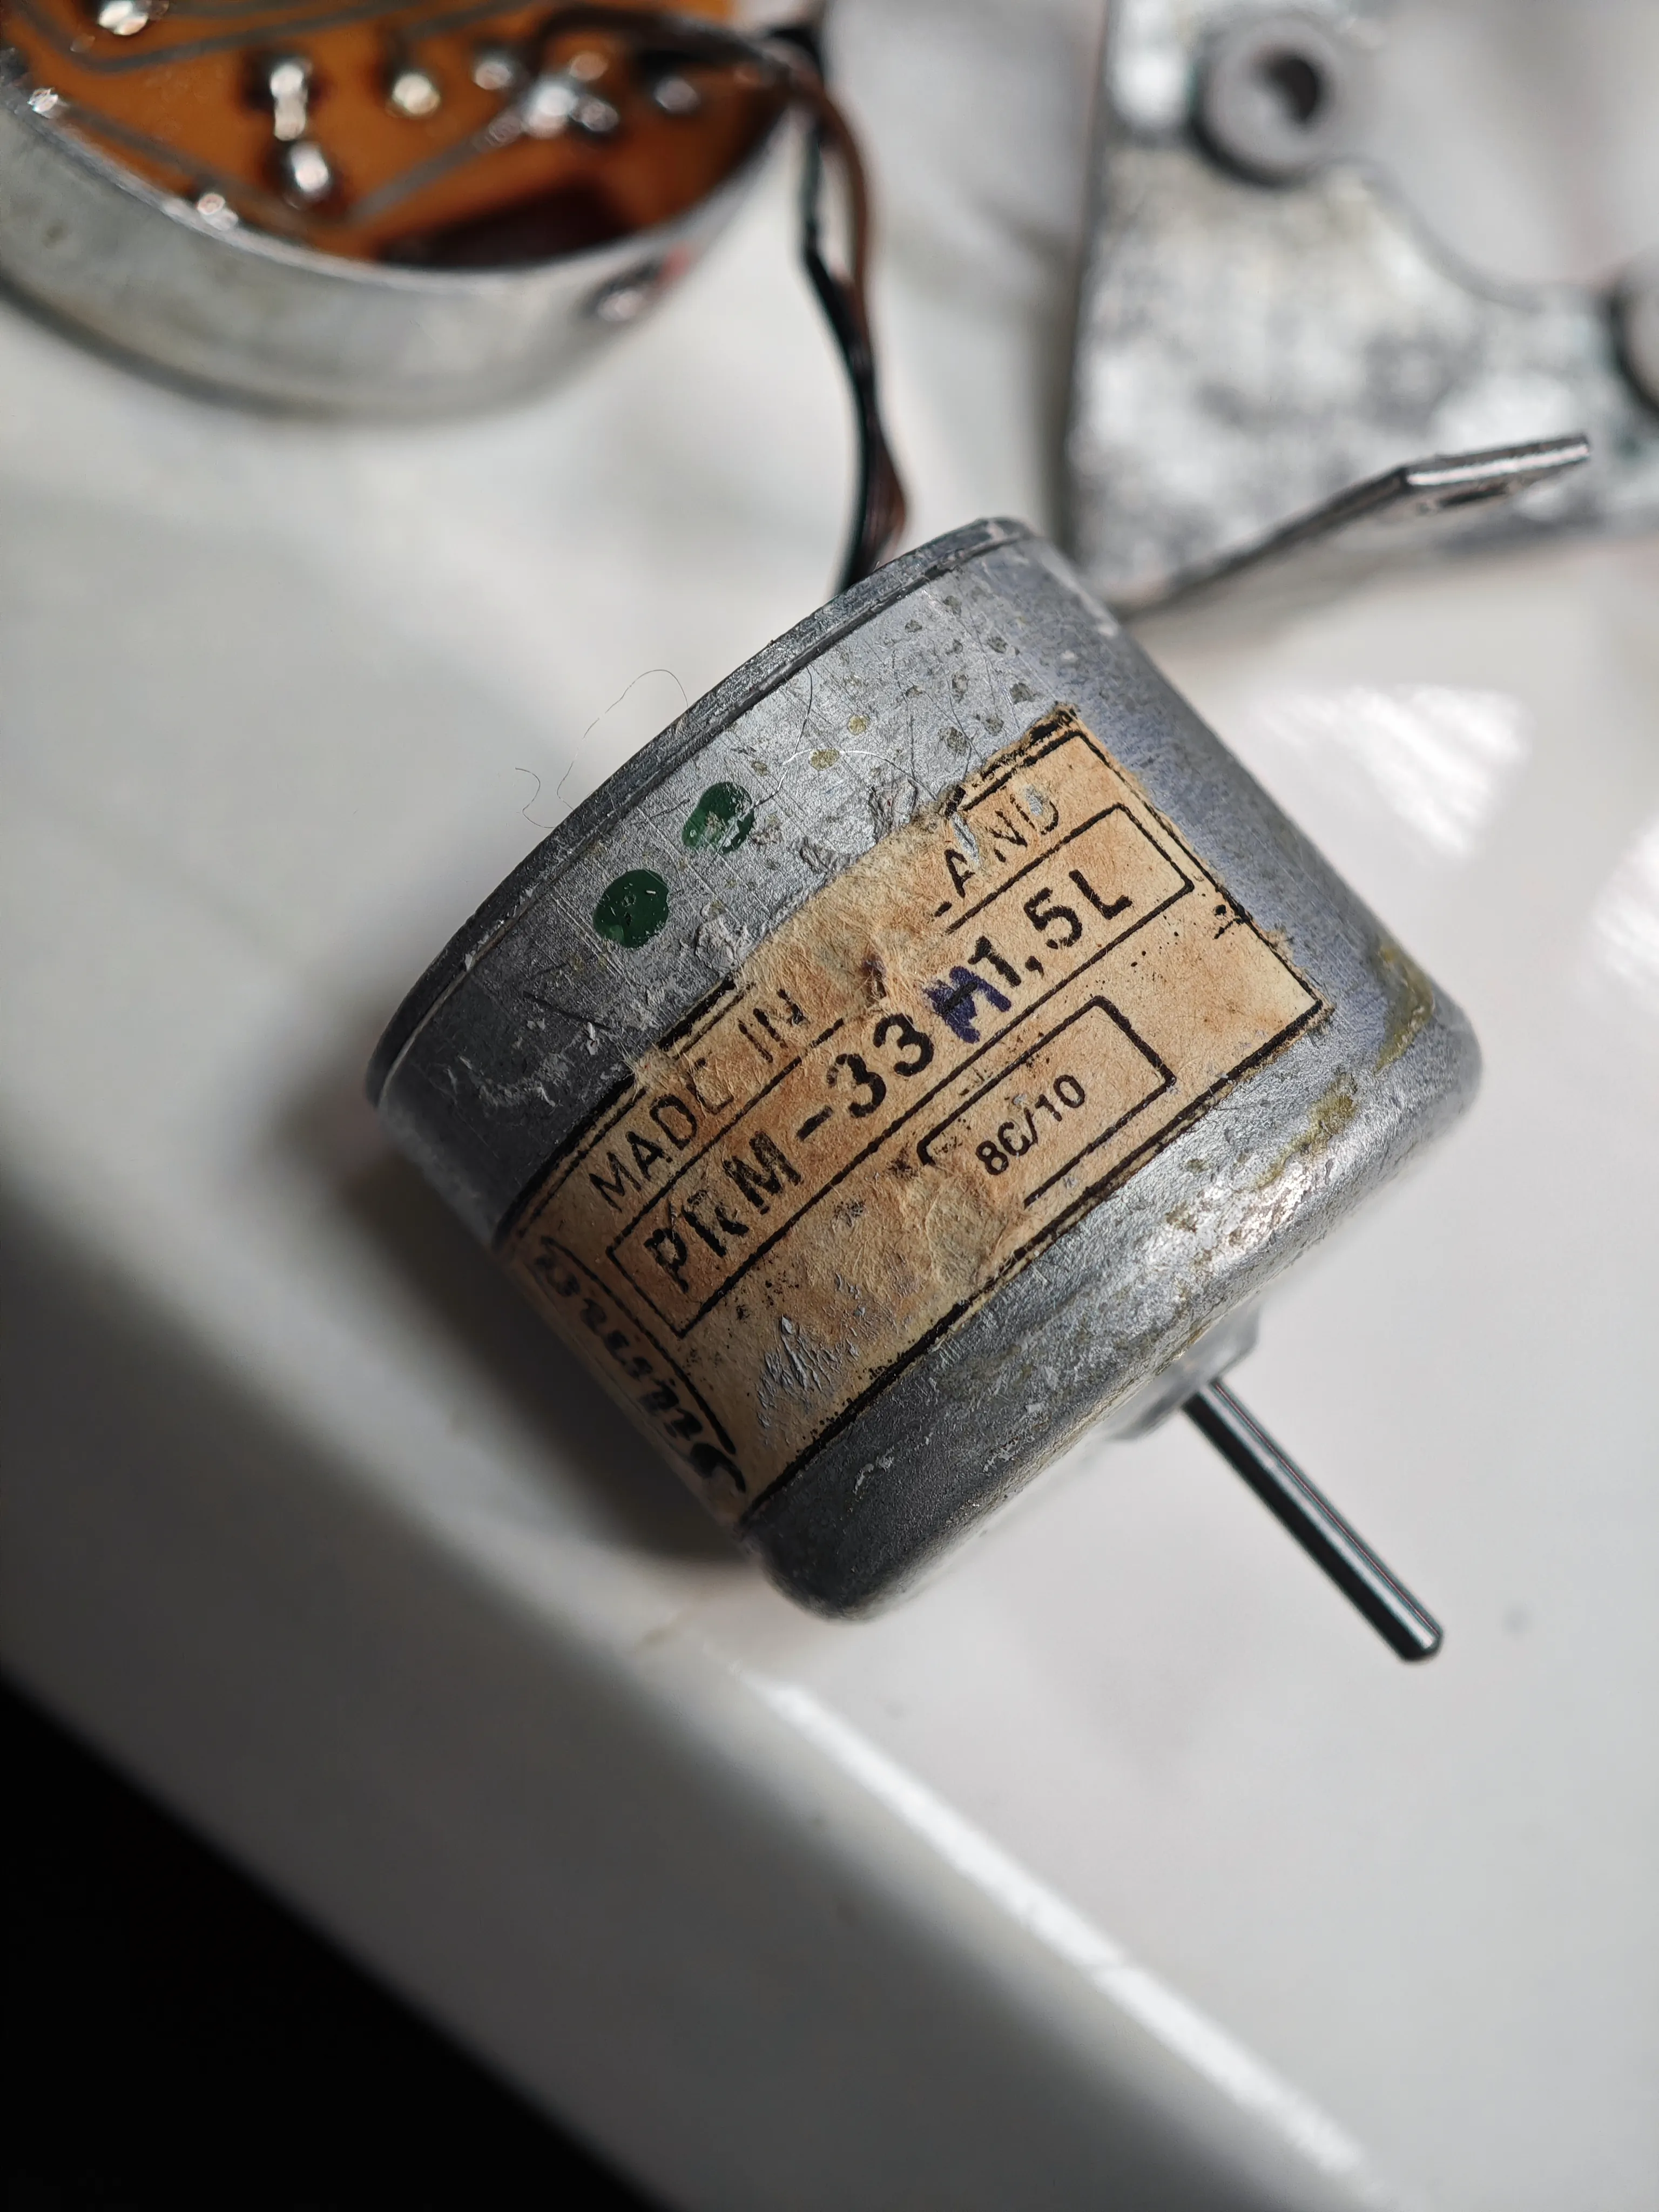
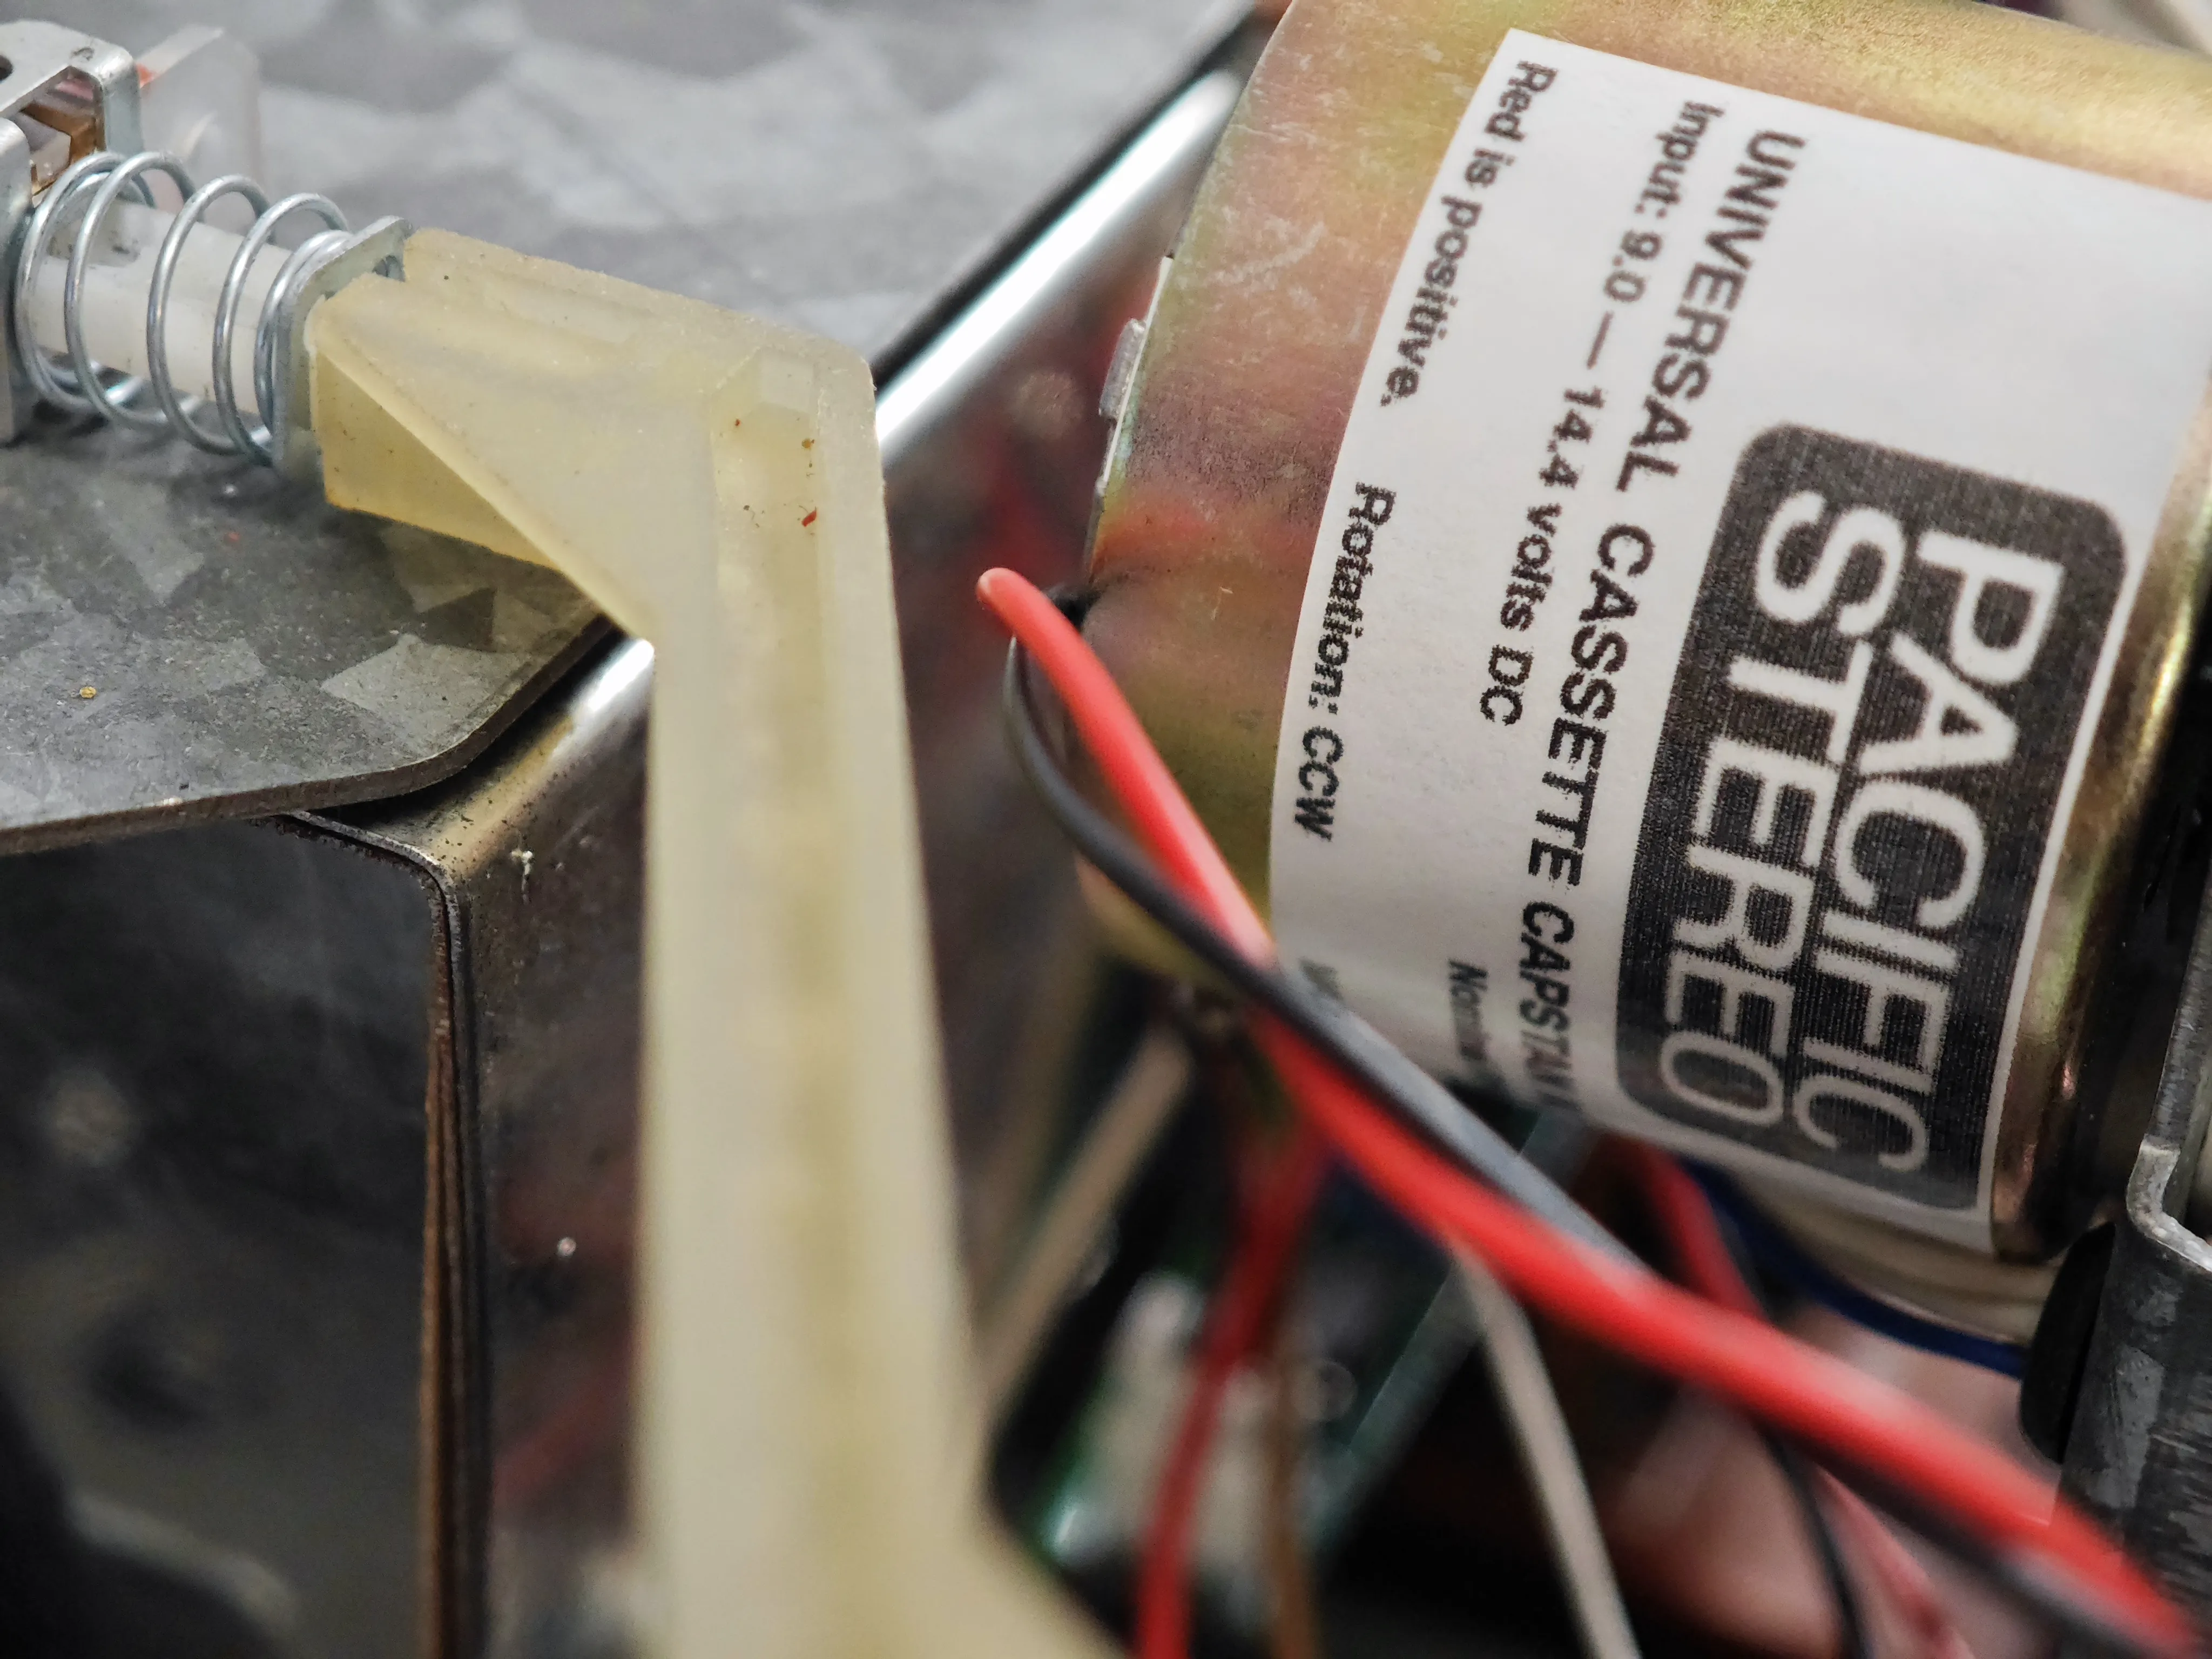
At some point it simply stopped spinning and that was it. I thought something inside was stuck, maybe the filling I added messed it up somehow, but no. I disassembled the whole thing, even replaced the capacitor inside, but nothing helped. So what now? It’s not like they make these motors anymore. That is, they do, but they’re mostly crap. Then I remembered that the owner of the Tapeheads.net forum was selling a universal capstan motor of very high quality (and price for that matter) and decided to just go along with it. I’d already spent so much time and effort on this thing. Giving up was not in the cards. So I ordered that and waited in the meantime. Not much I could do. Once it arrived, mounting and connecting it to the deck was pretty easy. The only thing I needed to do was to adjust the speed a little and the deck worked again, hooray! This motor has better specs than the original one, so at this point, the deck wasn’t just as good as new, it was better.
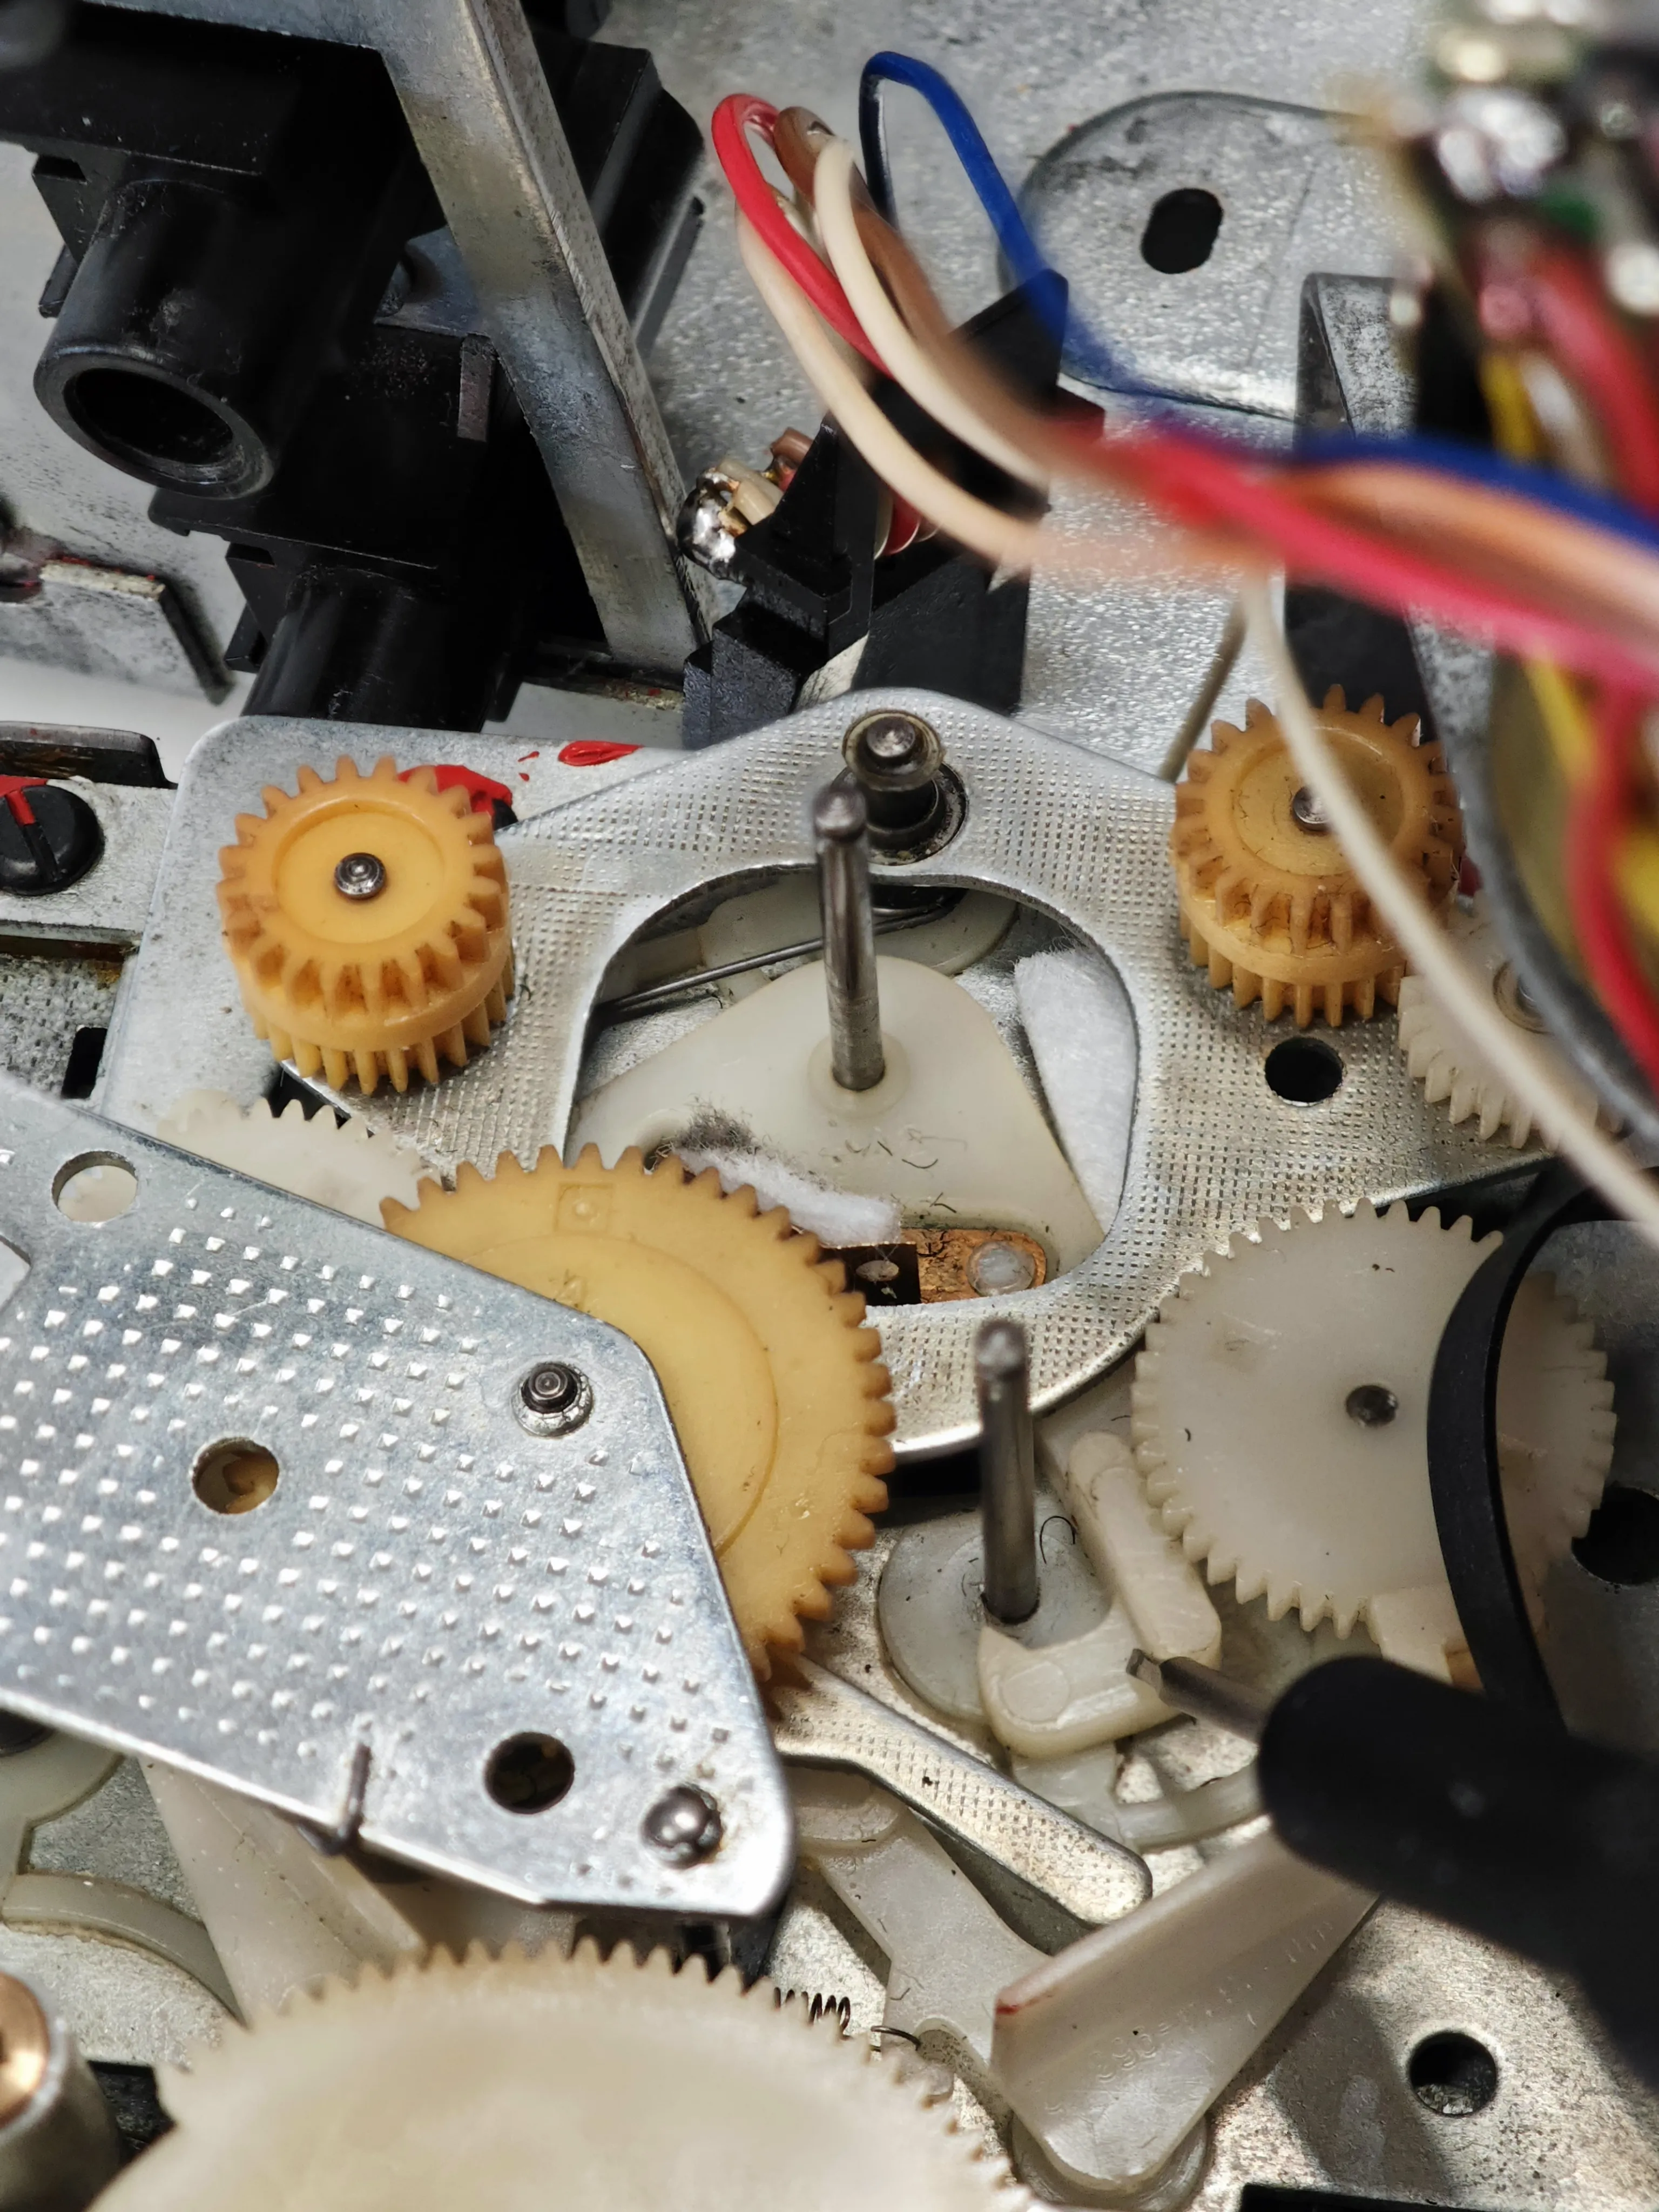
Autostop and slow fast forward and rewind
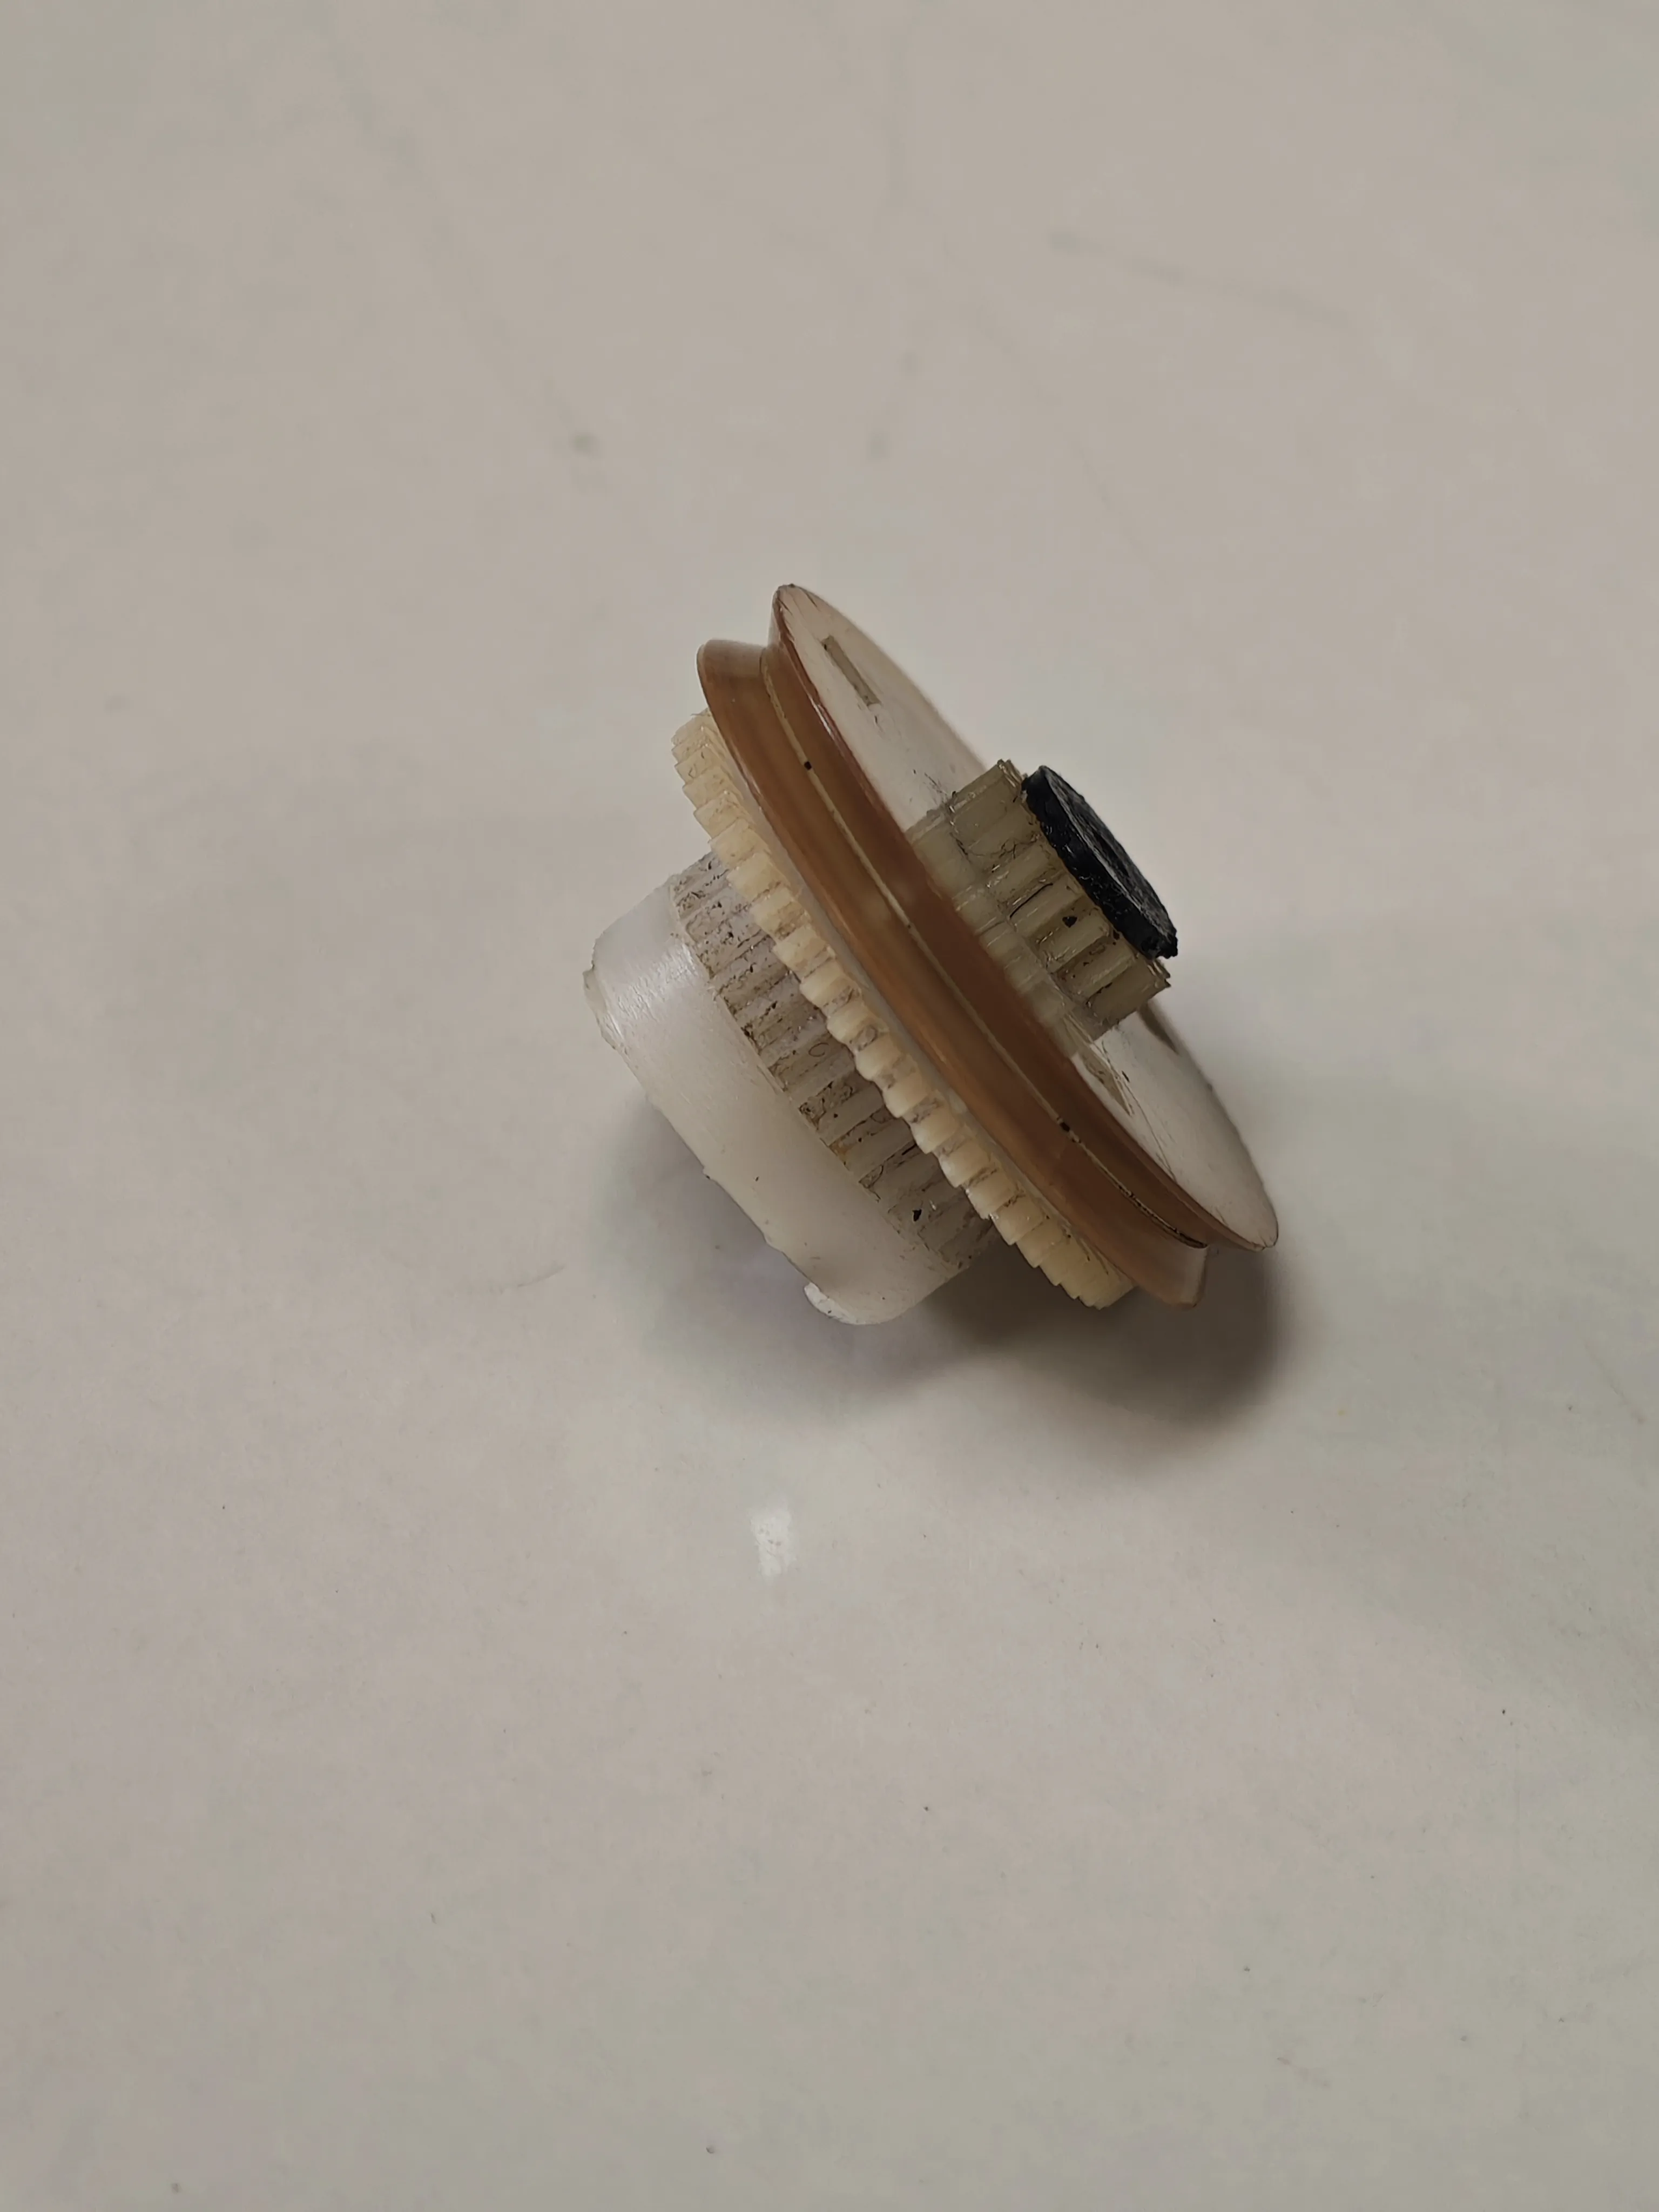
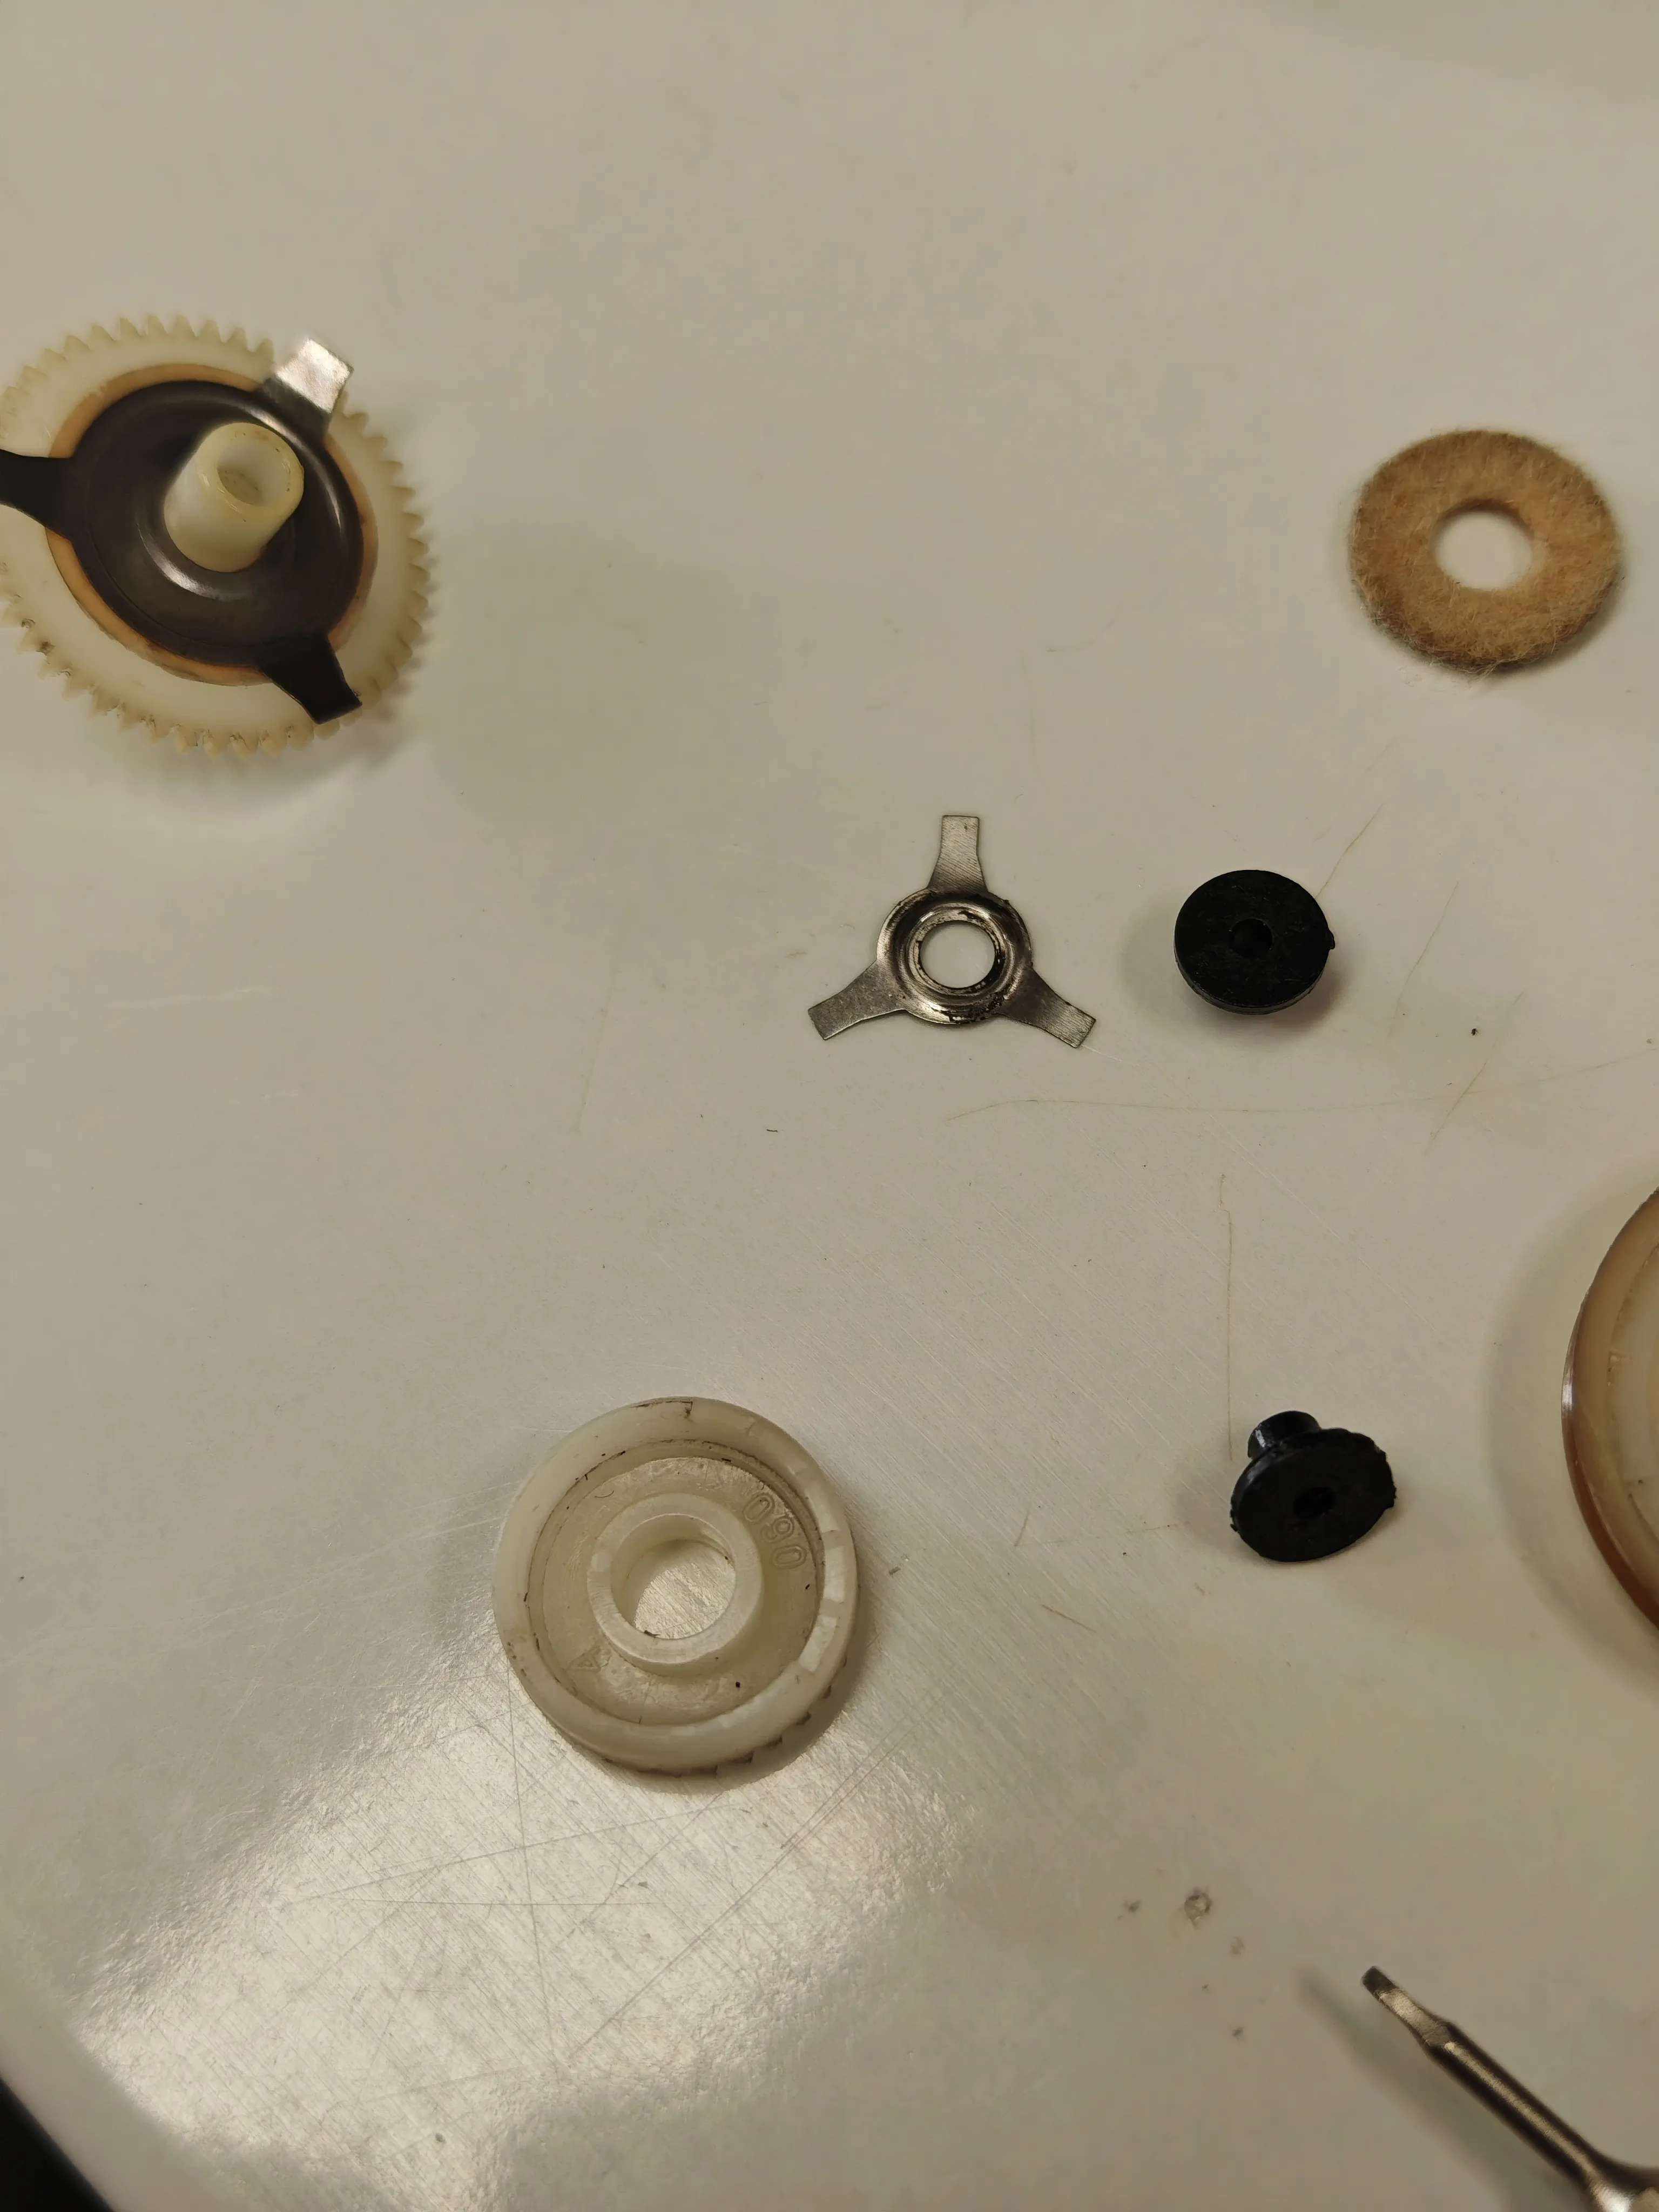
This one was so annoying and painful to do right, and honestly I’m still not sure whether I actually fixed it, but for now it works (knocks on wood). Both autostop and the speed of ff/rew are controlled by the same set of gears, and in the end, the same motor, given that this is a single-motor deck. The entire design of this is so fiddly I fear it will stop working if I just look at it wrong. There are three gears on a single shaft which control how all of this works. The first, outer gear is used to give the transport kinetic energy so that it can move the levers. As mentioned in the first part, this is why none of the transport buttons work if the motor isn’t moving. This gear must be able to spin the entire time. Then there’s the second gear which controls the playback but also, playback autostop. When the playback stops, that gear stops spinning. When it’s still, a swing behind these set of gears gets pulled just a tiny bit to the right, causing the paw-shaped piece of plastic to grab it while in that position, which then triggers another set of movements which finally result in the autostop being activated. On top of this, there is a third gear, still on the same shaft, doing the same thing but in ff/rew mode. What actually controls the speed of rewind and fast forward is how much friction there is between that gear and the two others, or in other words, how difficult it is to spin it. The more difficult it is, the higher the friction, the faster the speed of ff/rew. The catch is, if this friction is too high, it means that at the end of the tape, the friction on that gear is too strong, so not only will that gear stop, it’s going to stop the first, outer gear, which stops the entire transport from working, since there’s no more kinetic energy to move the levers. If the friction is low, the gear slips, and when there’s some tape already wound it will stop spinning altogether, triggering the autostop way too soon. The friction is “controlled” with a set of slightly bent metal pieces inside. The more they’re bent, the higher the friction and vice versa. All in all, I’ve spent probably a week tweaking just this stupid thing until it started to behave. The key was bending those two pieces just the right amount. What a god-awful design.
Painting and printing
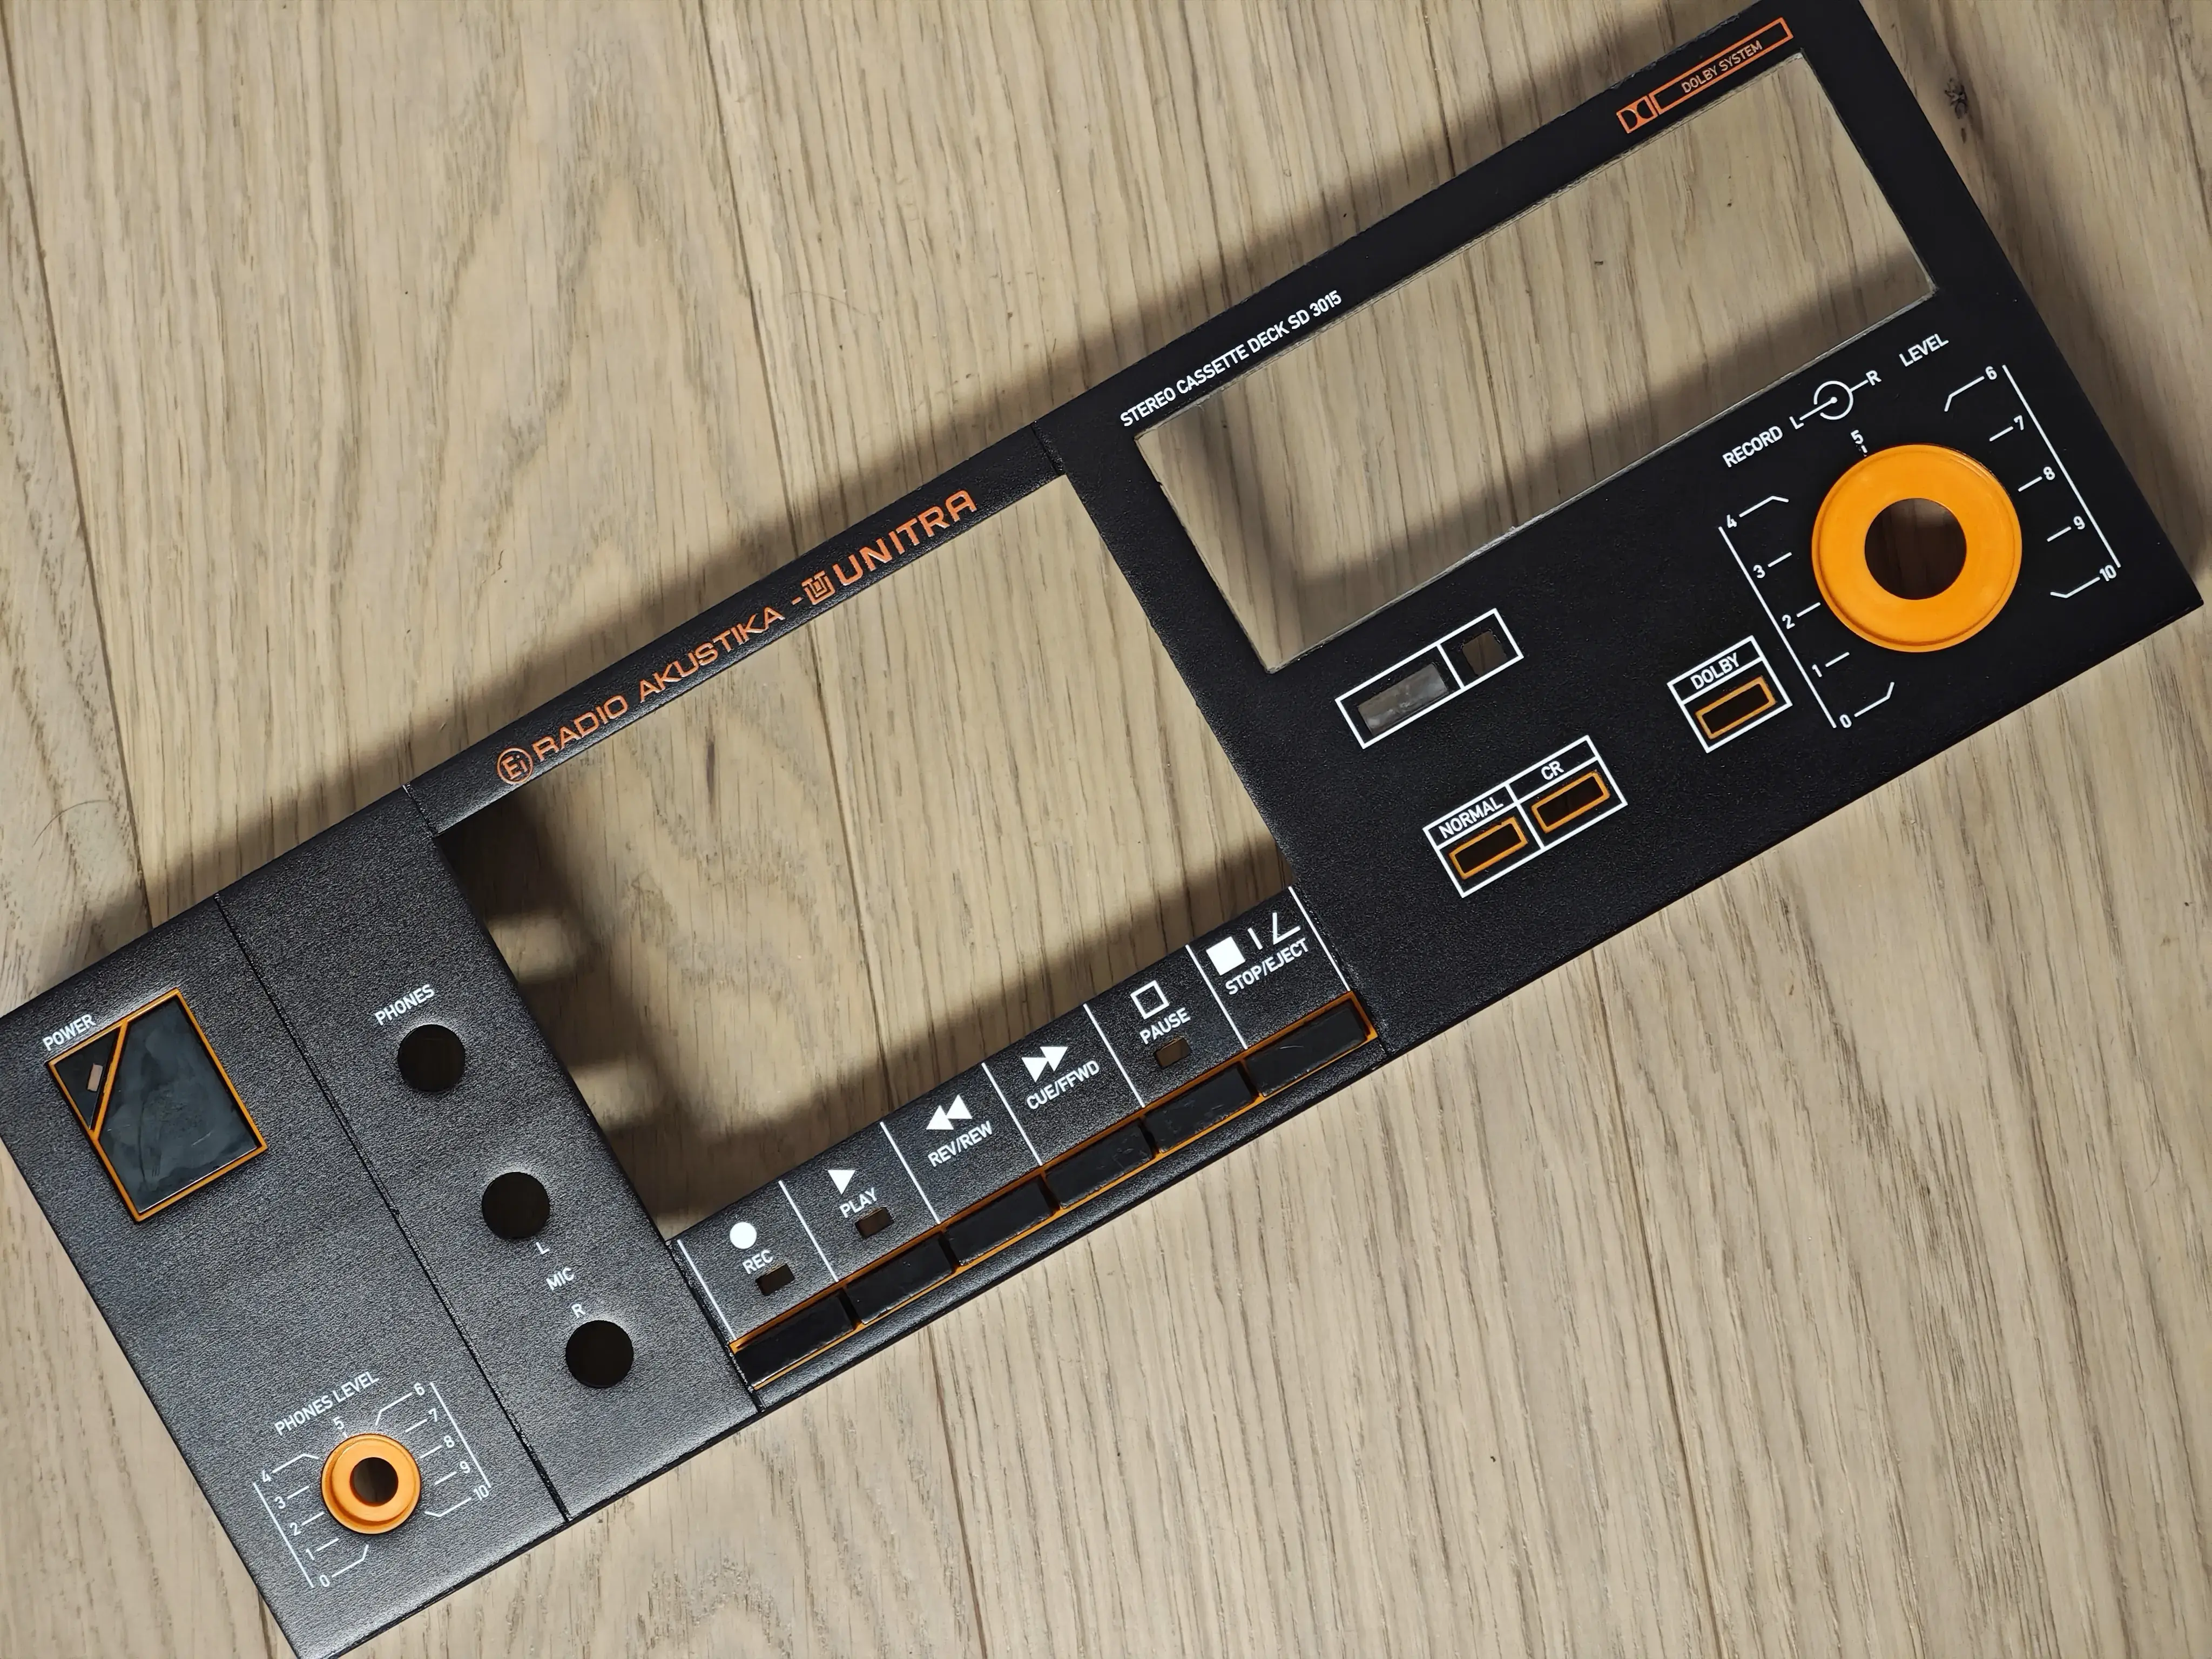
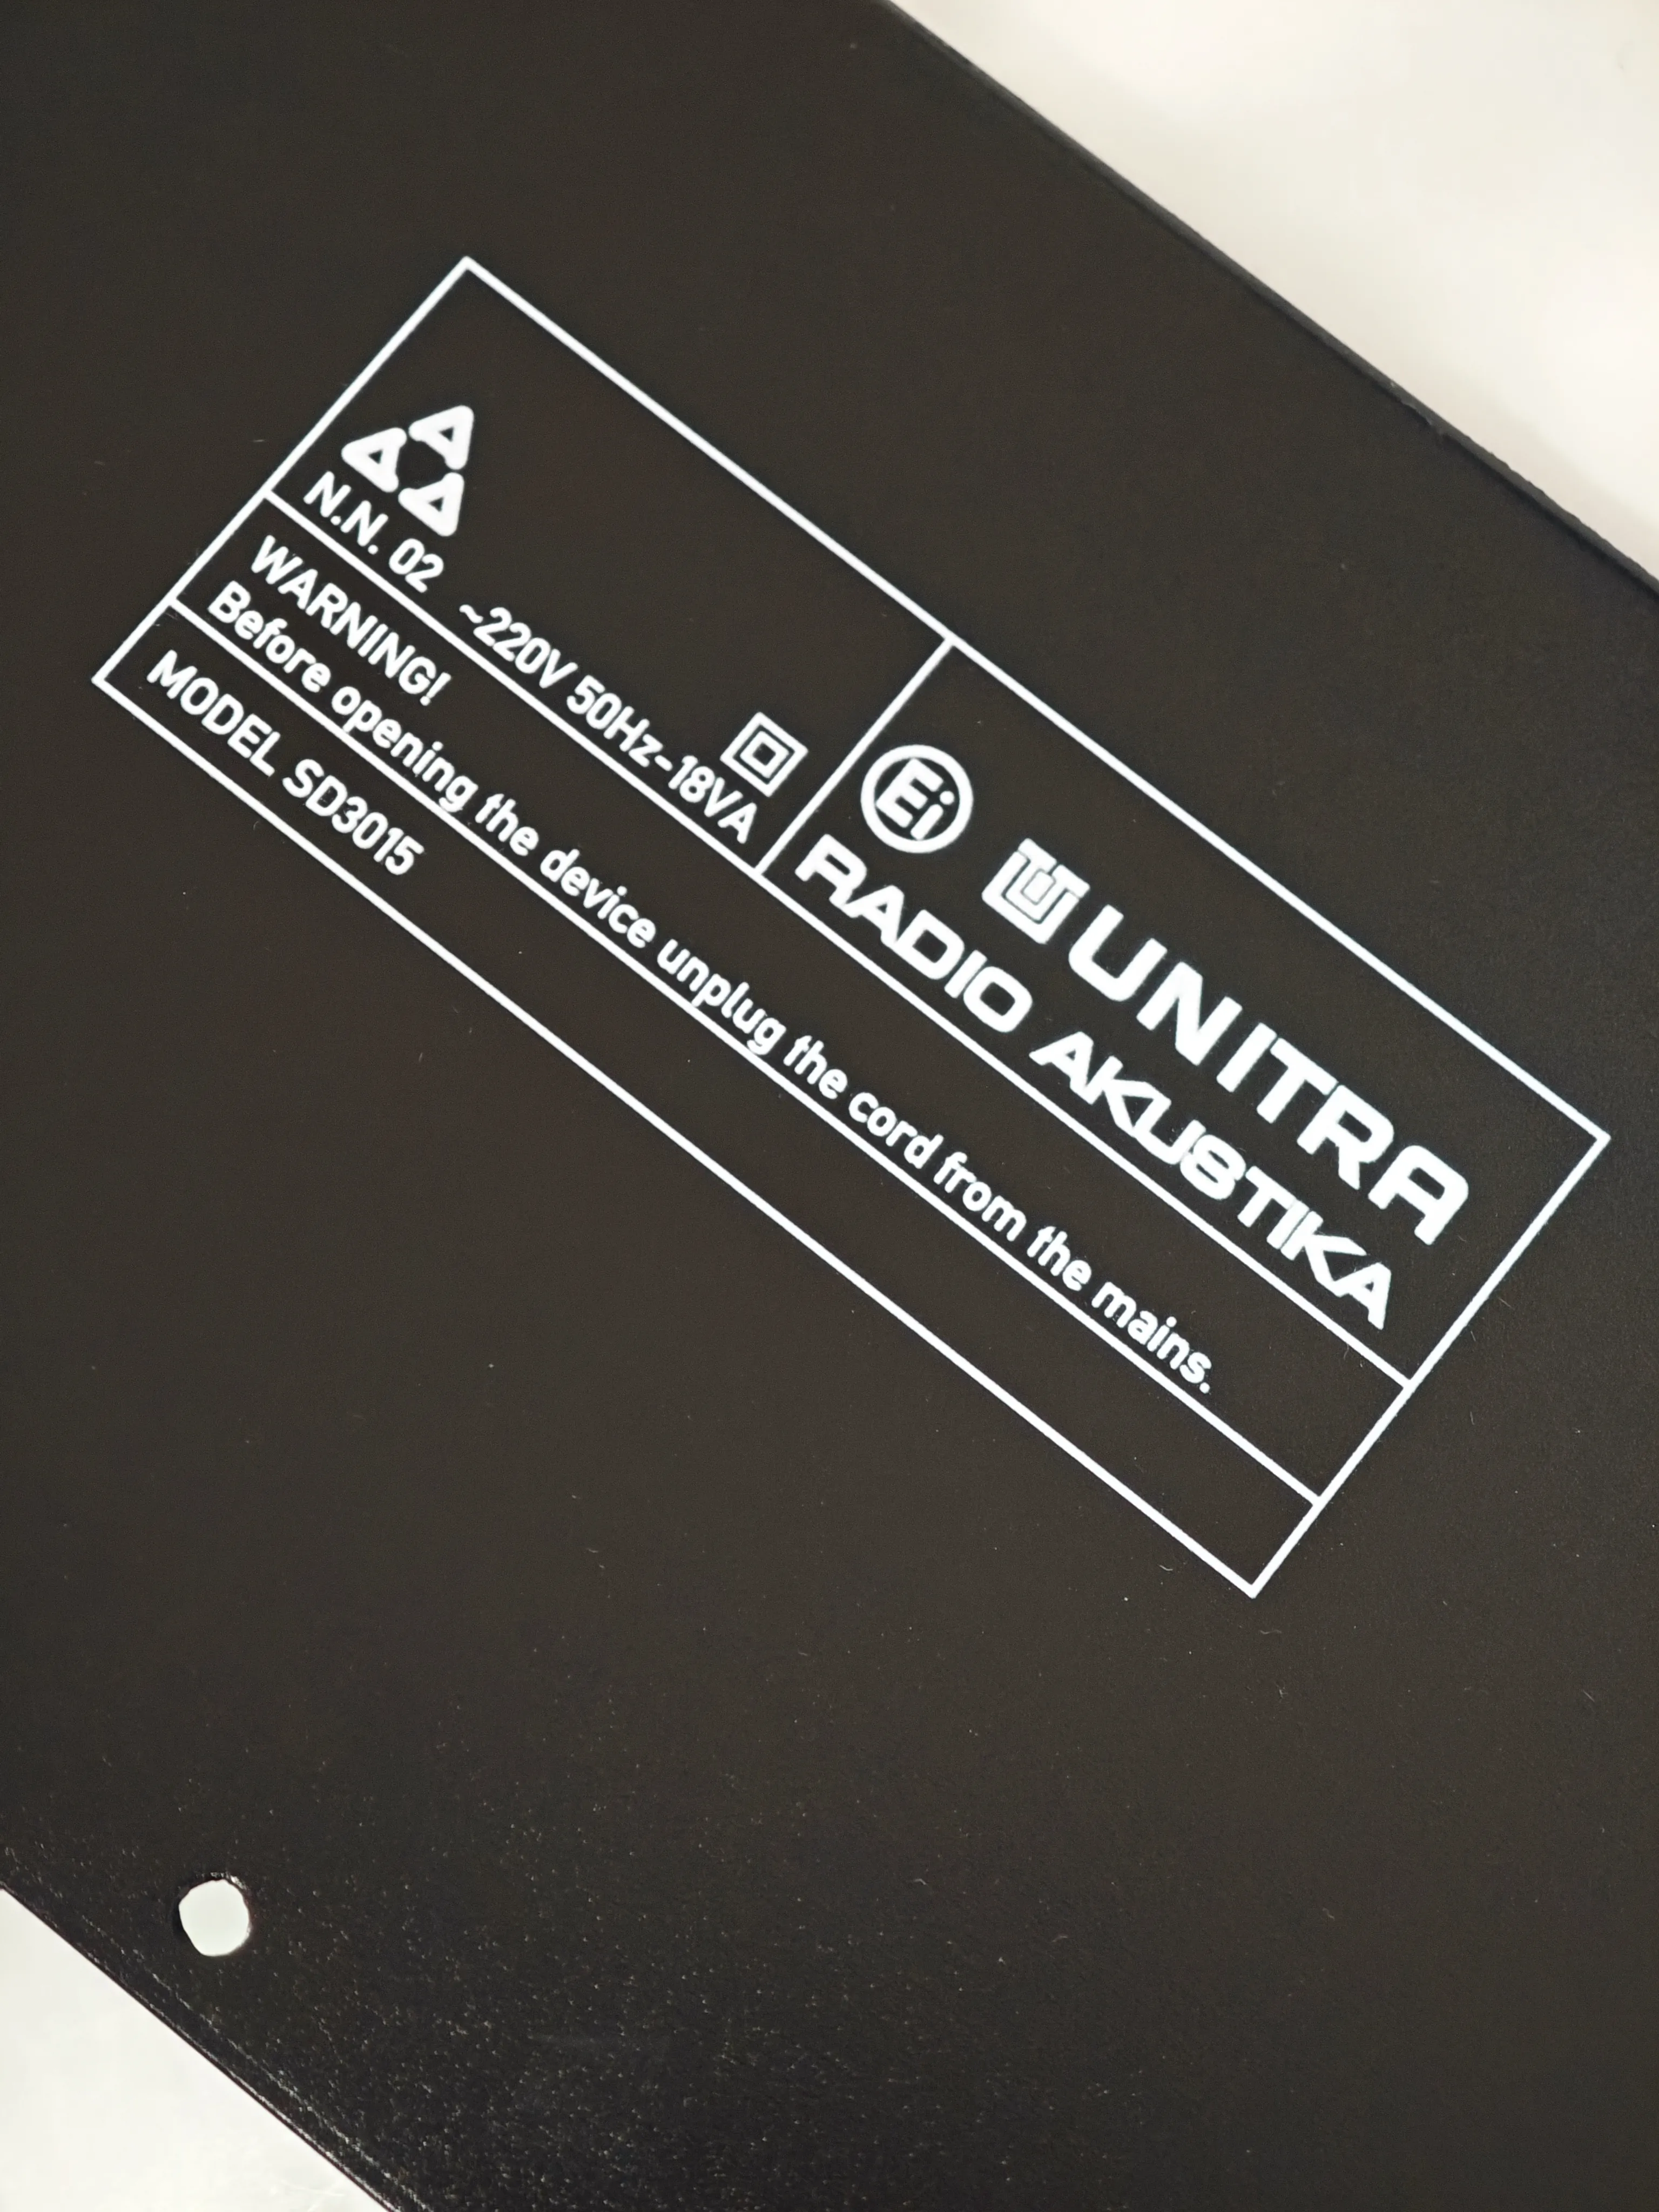
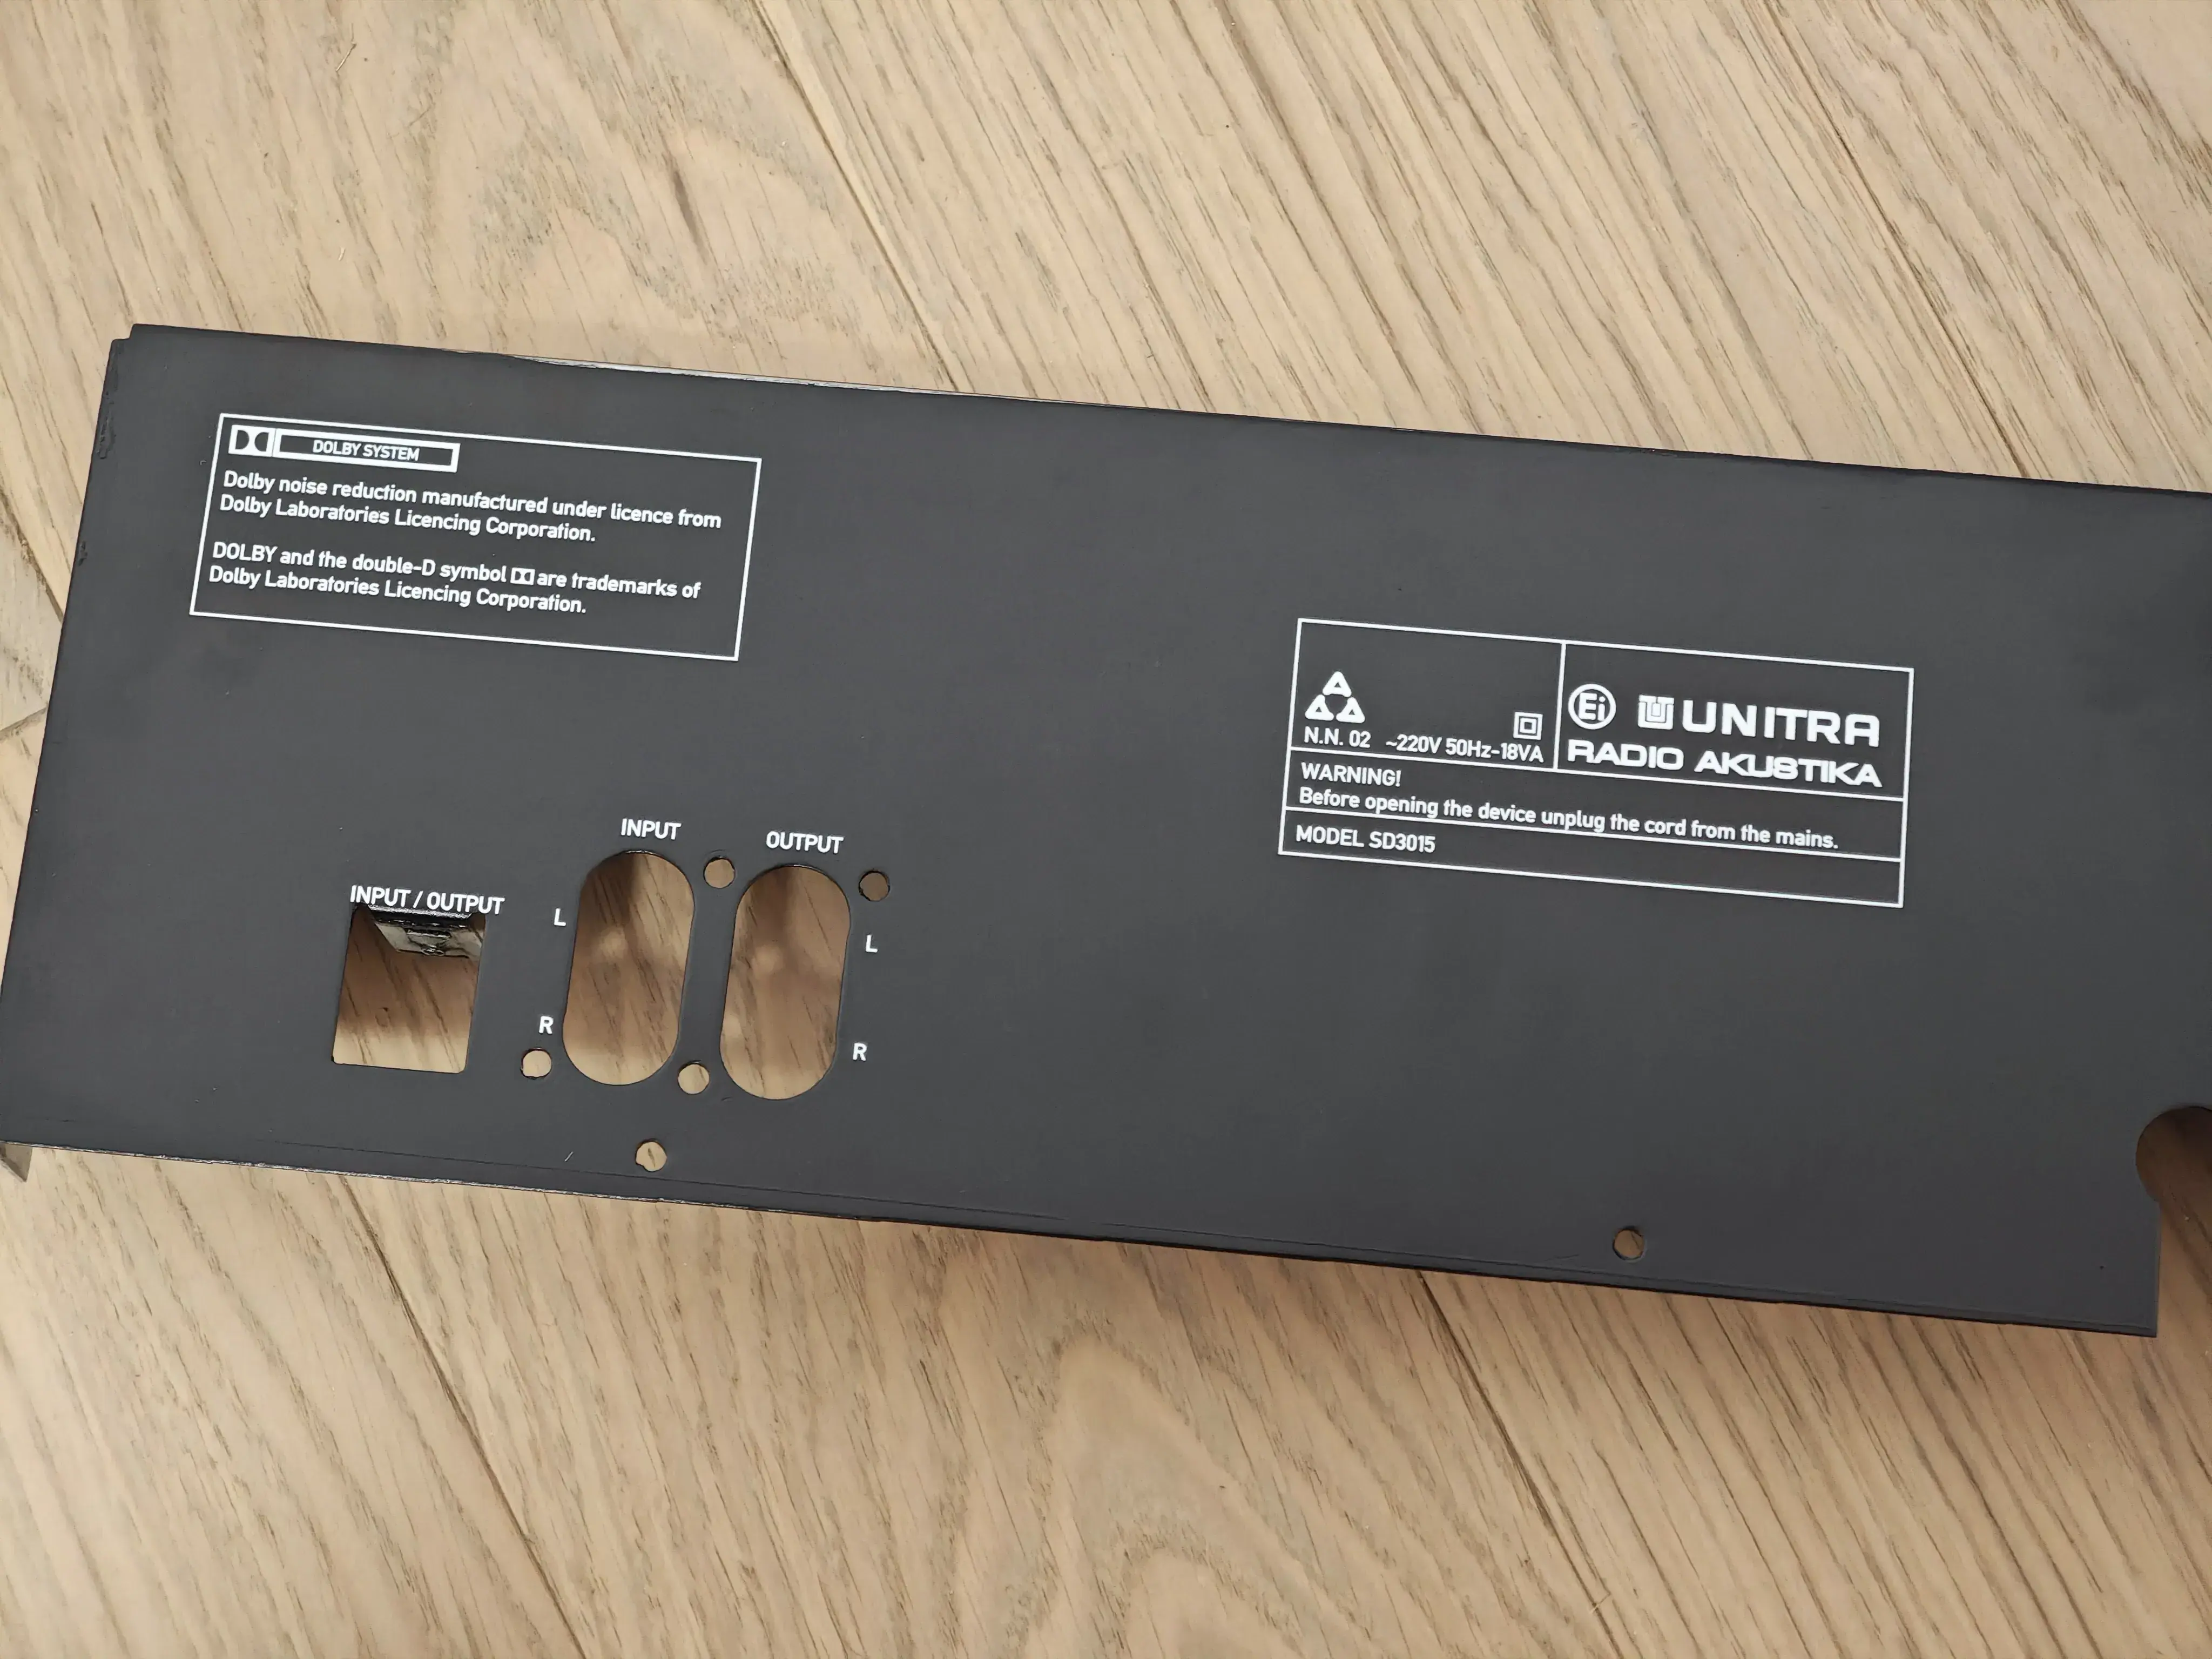
With all of the nonsense finally working right, we come to the final part: the case. Wanting the best possible result, this part of the restoration was done in several phases:
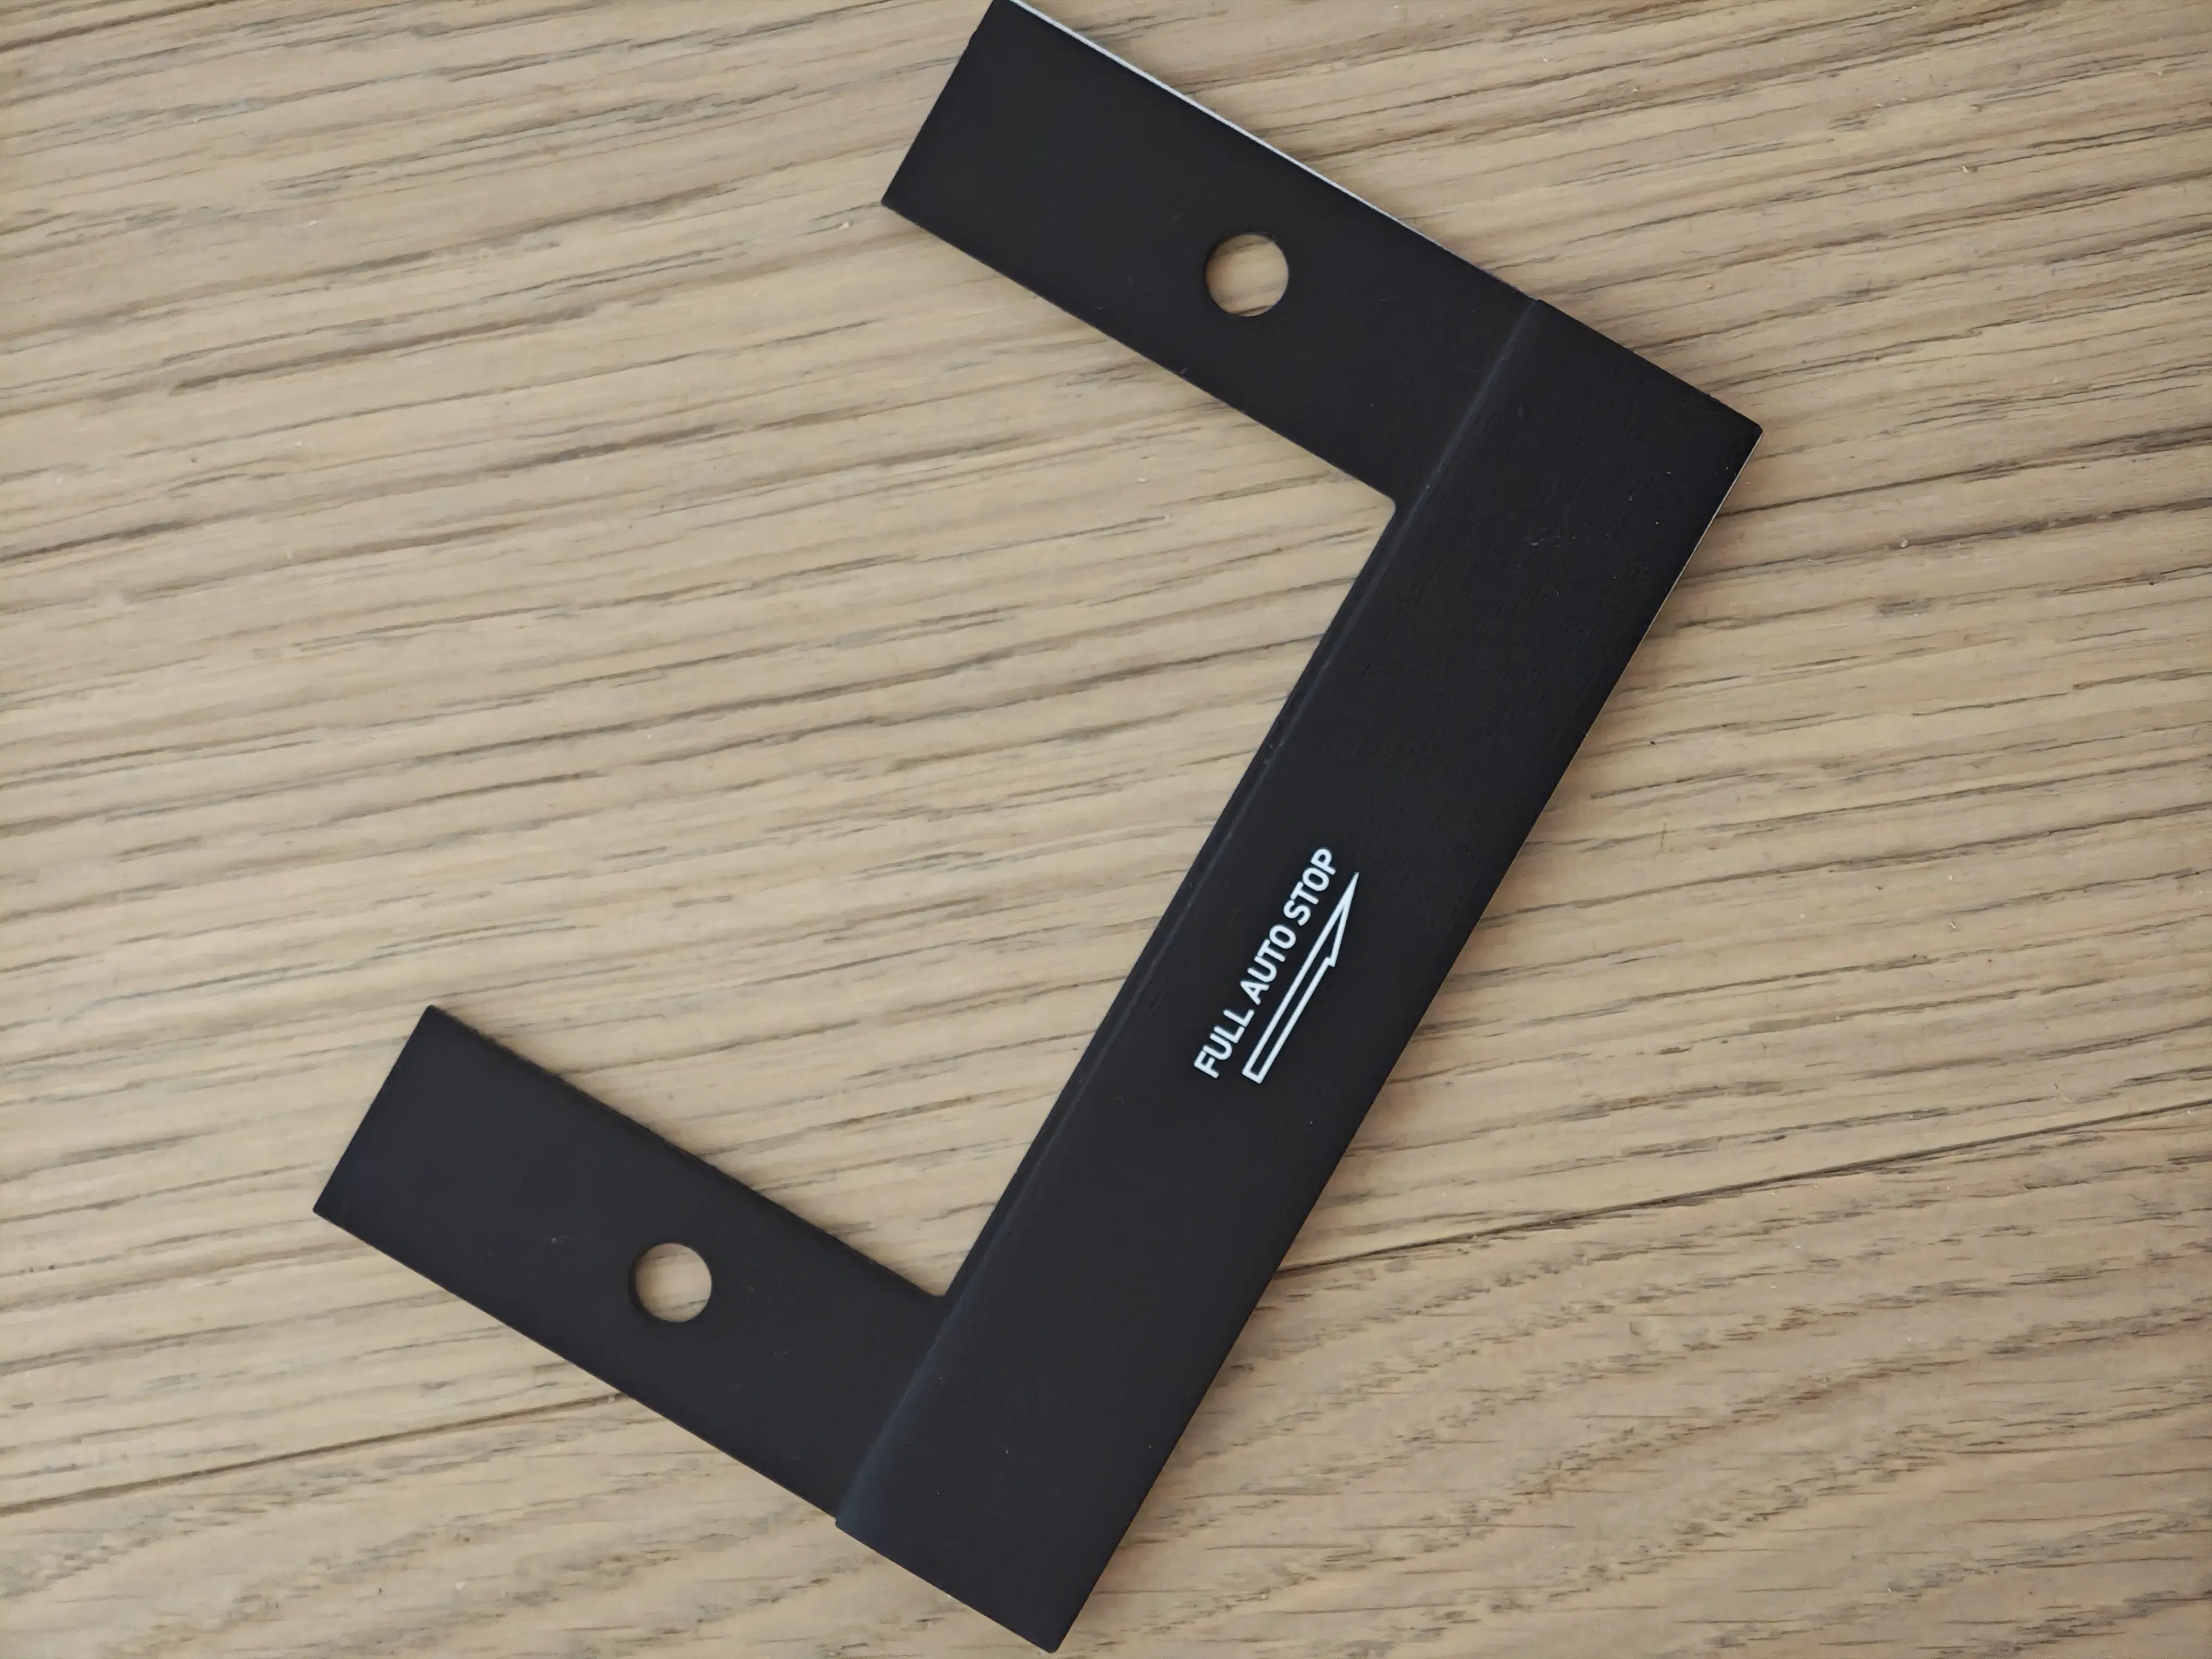
- First, I drew a replica of the original design of the front panel in CorelDraw on my PC. I tried to stay as close as possible to the original design with colors, fonts, symbols, etc.
- The front panel, the top cover and the back cover were painted professionally in a car workshop.
- Once I got all the painted parts, the front and the back panel were brought to a print shop where my design was printed on them using UV flatbed printers.
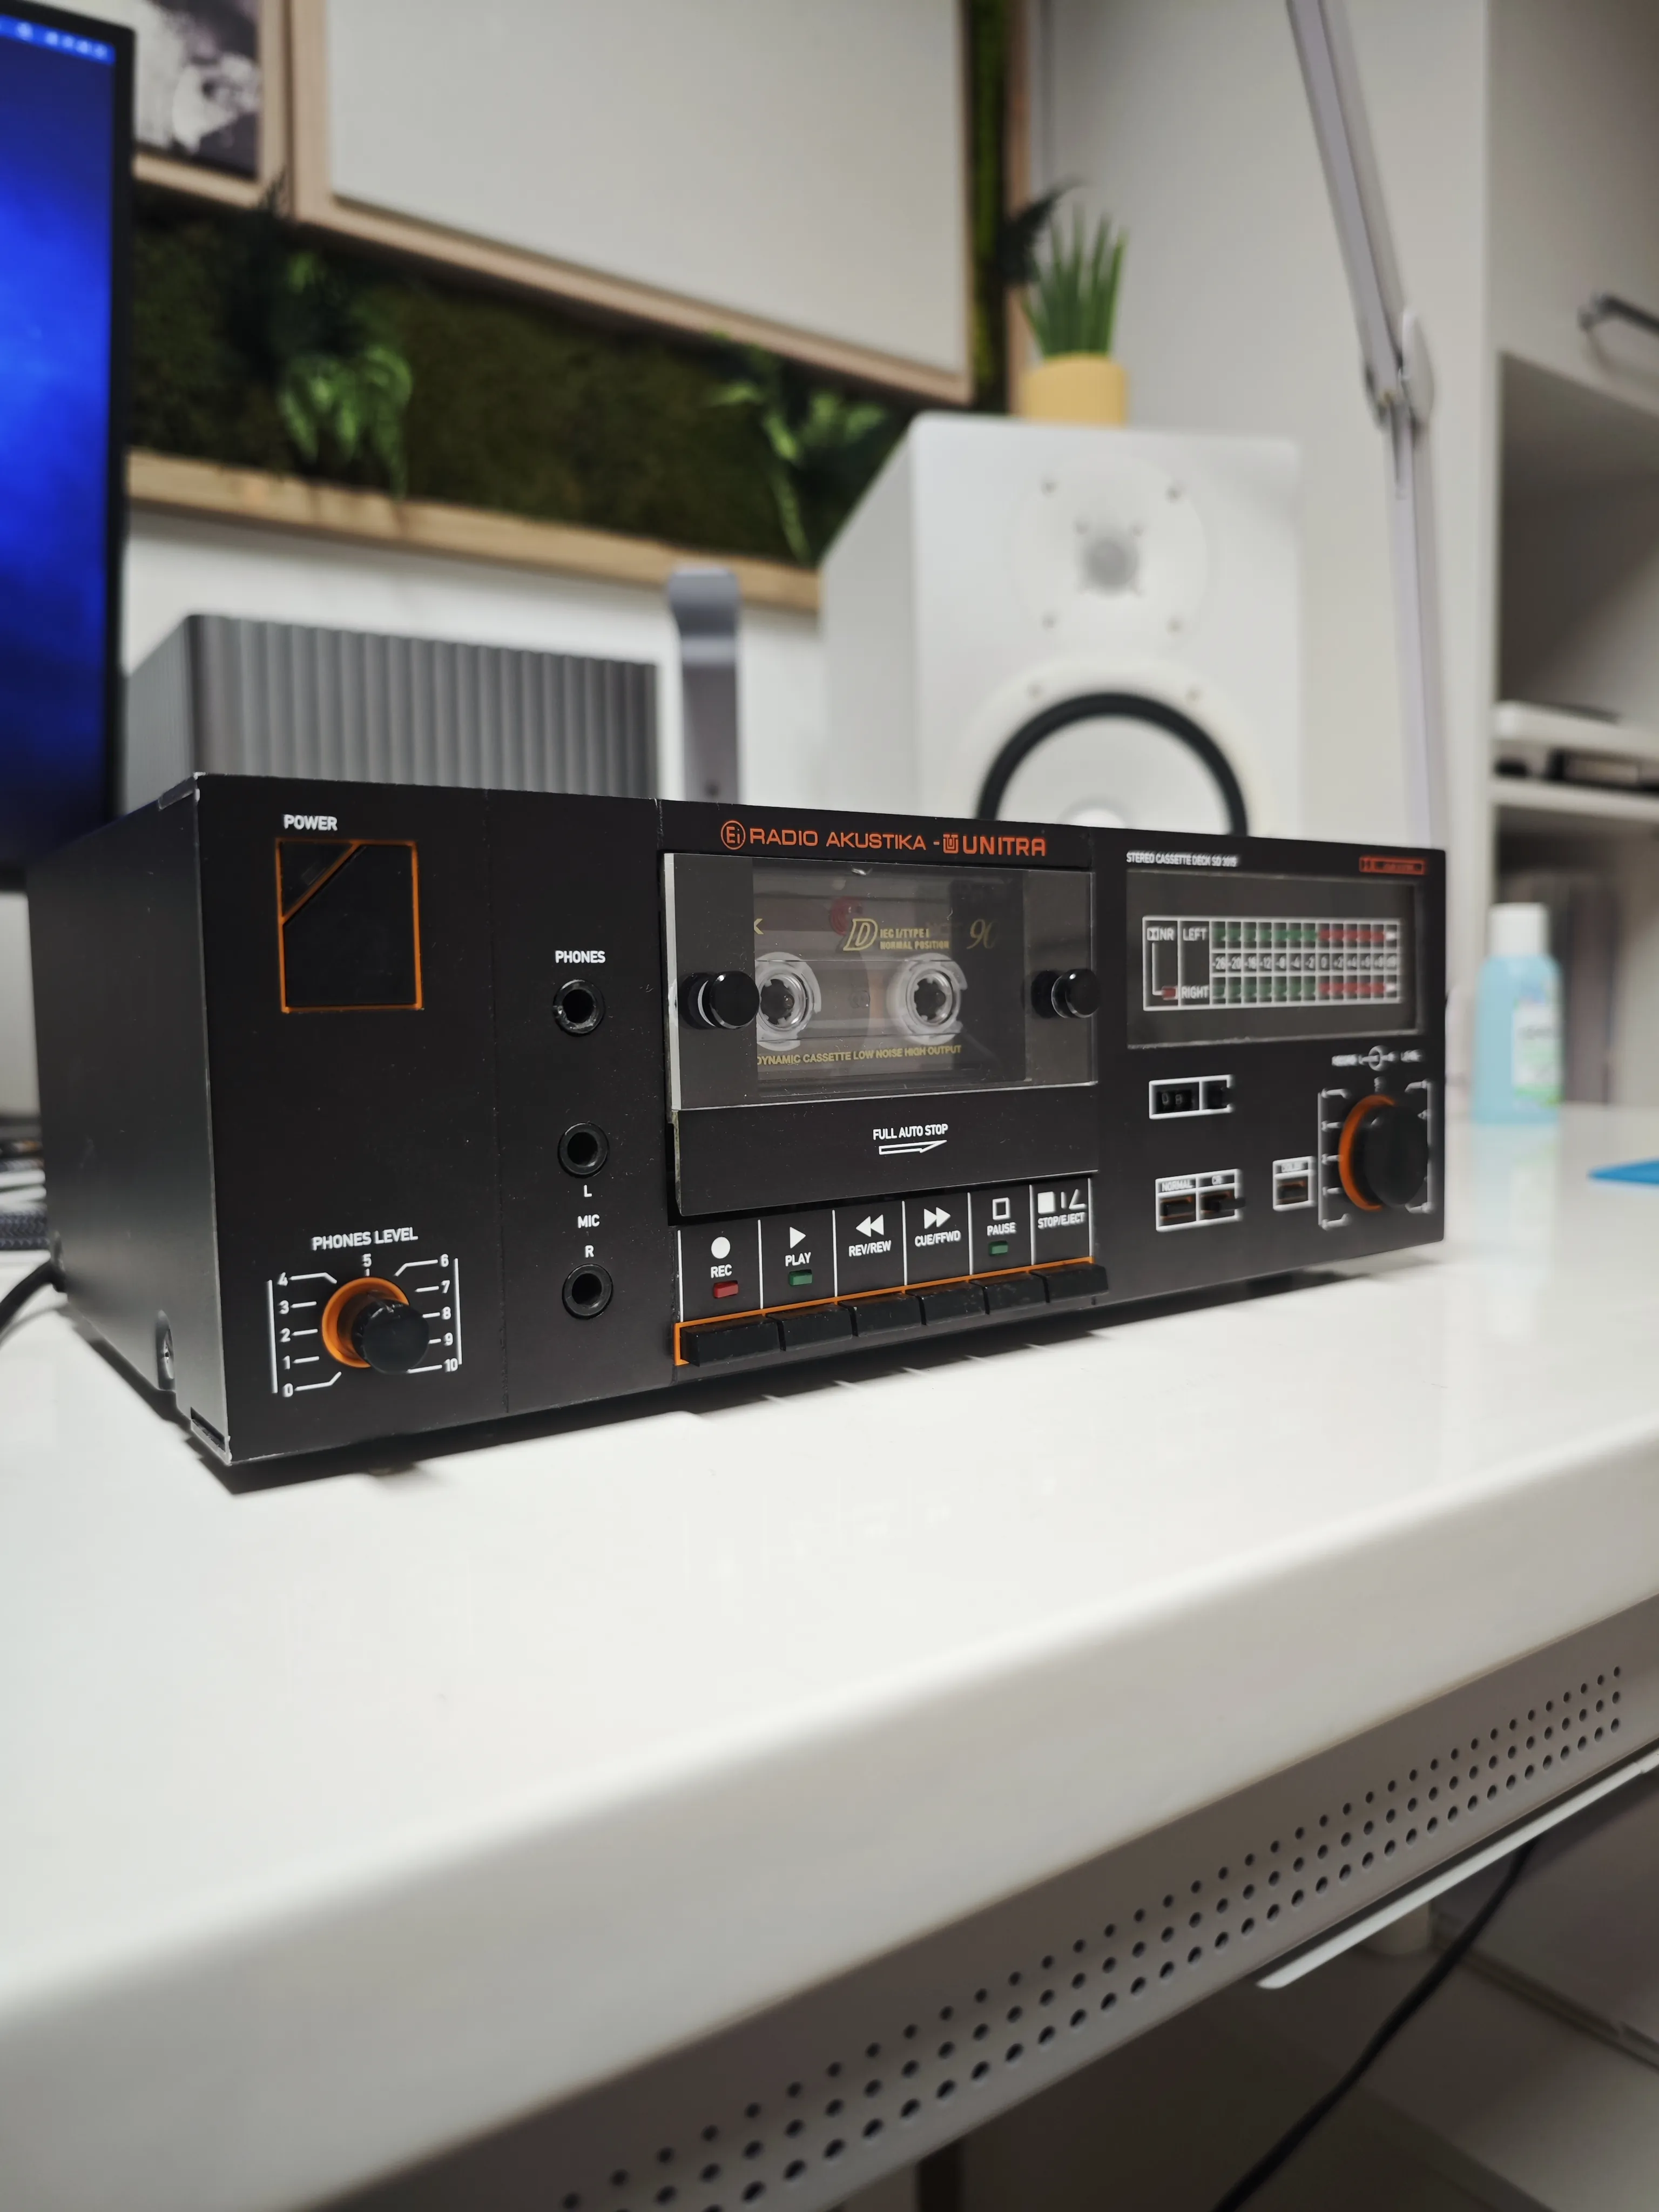
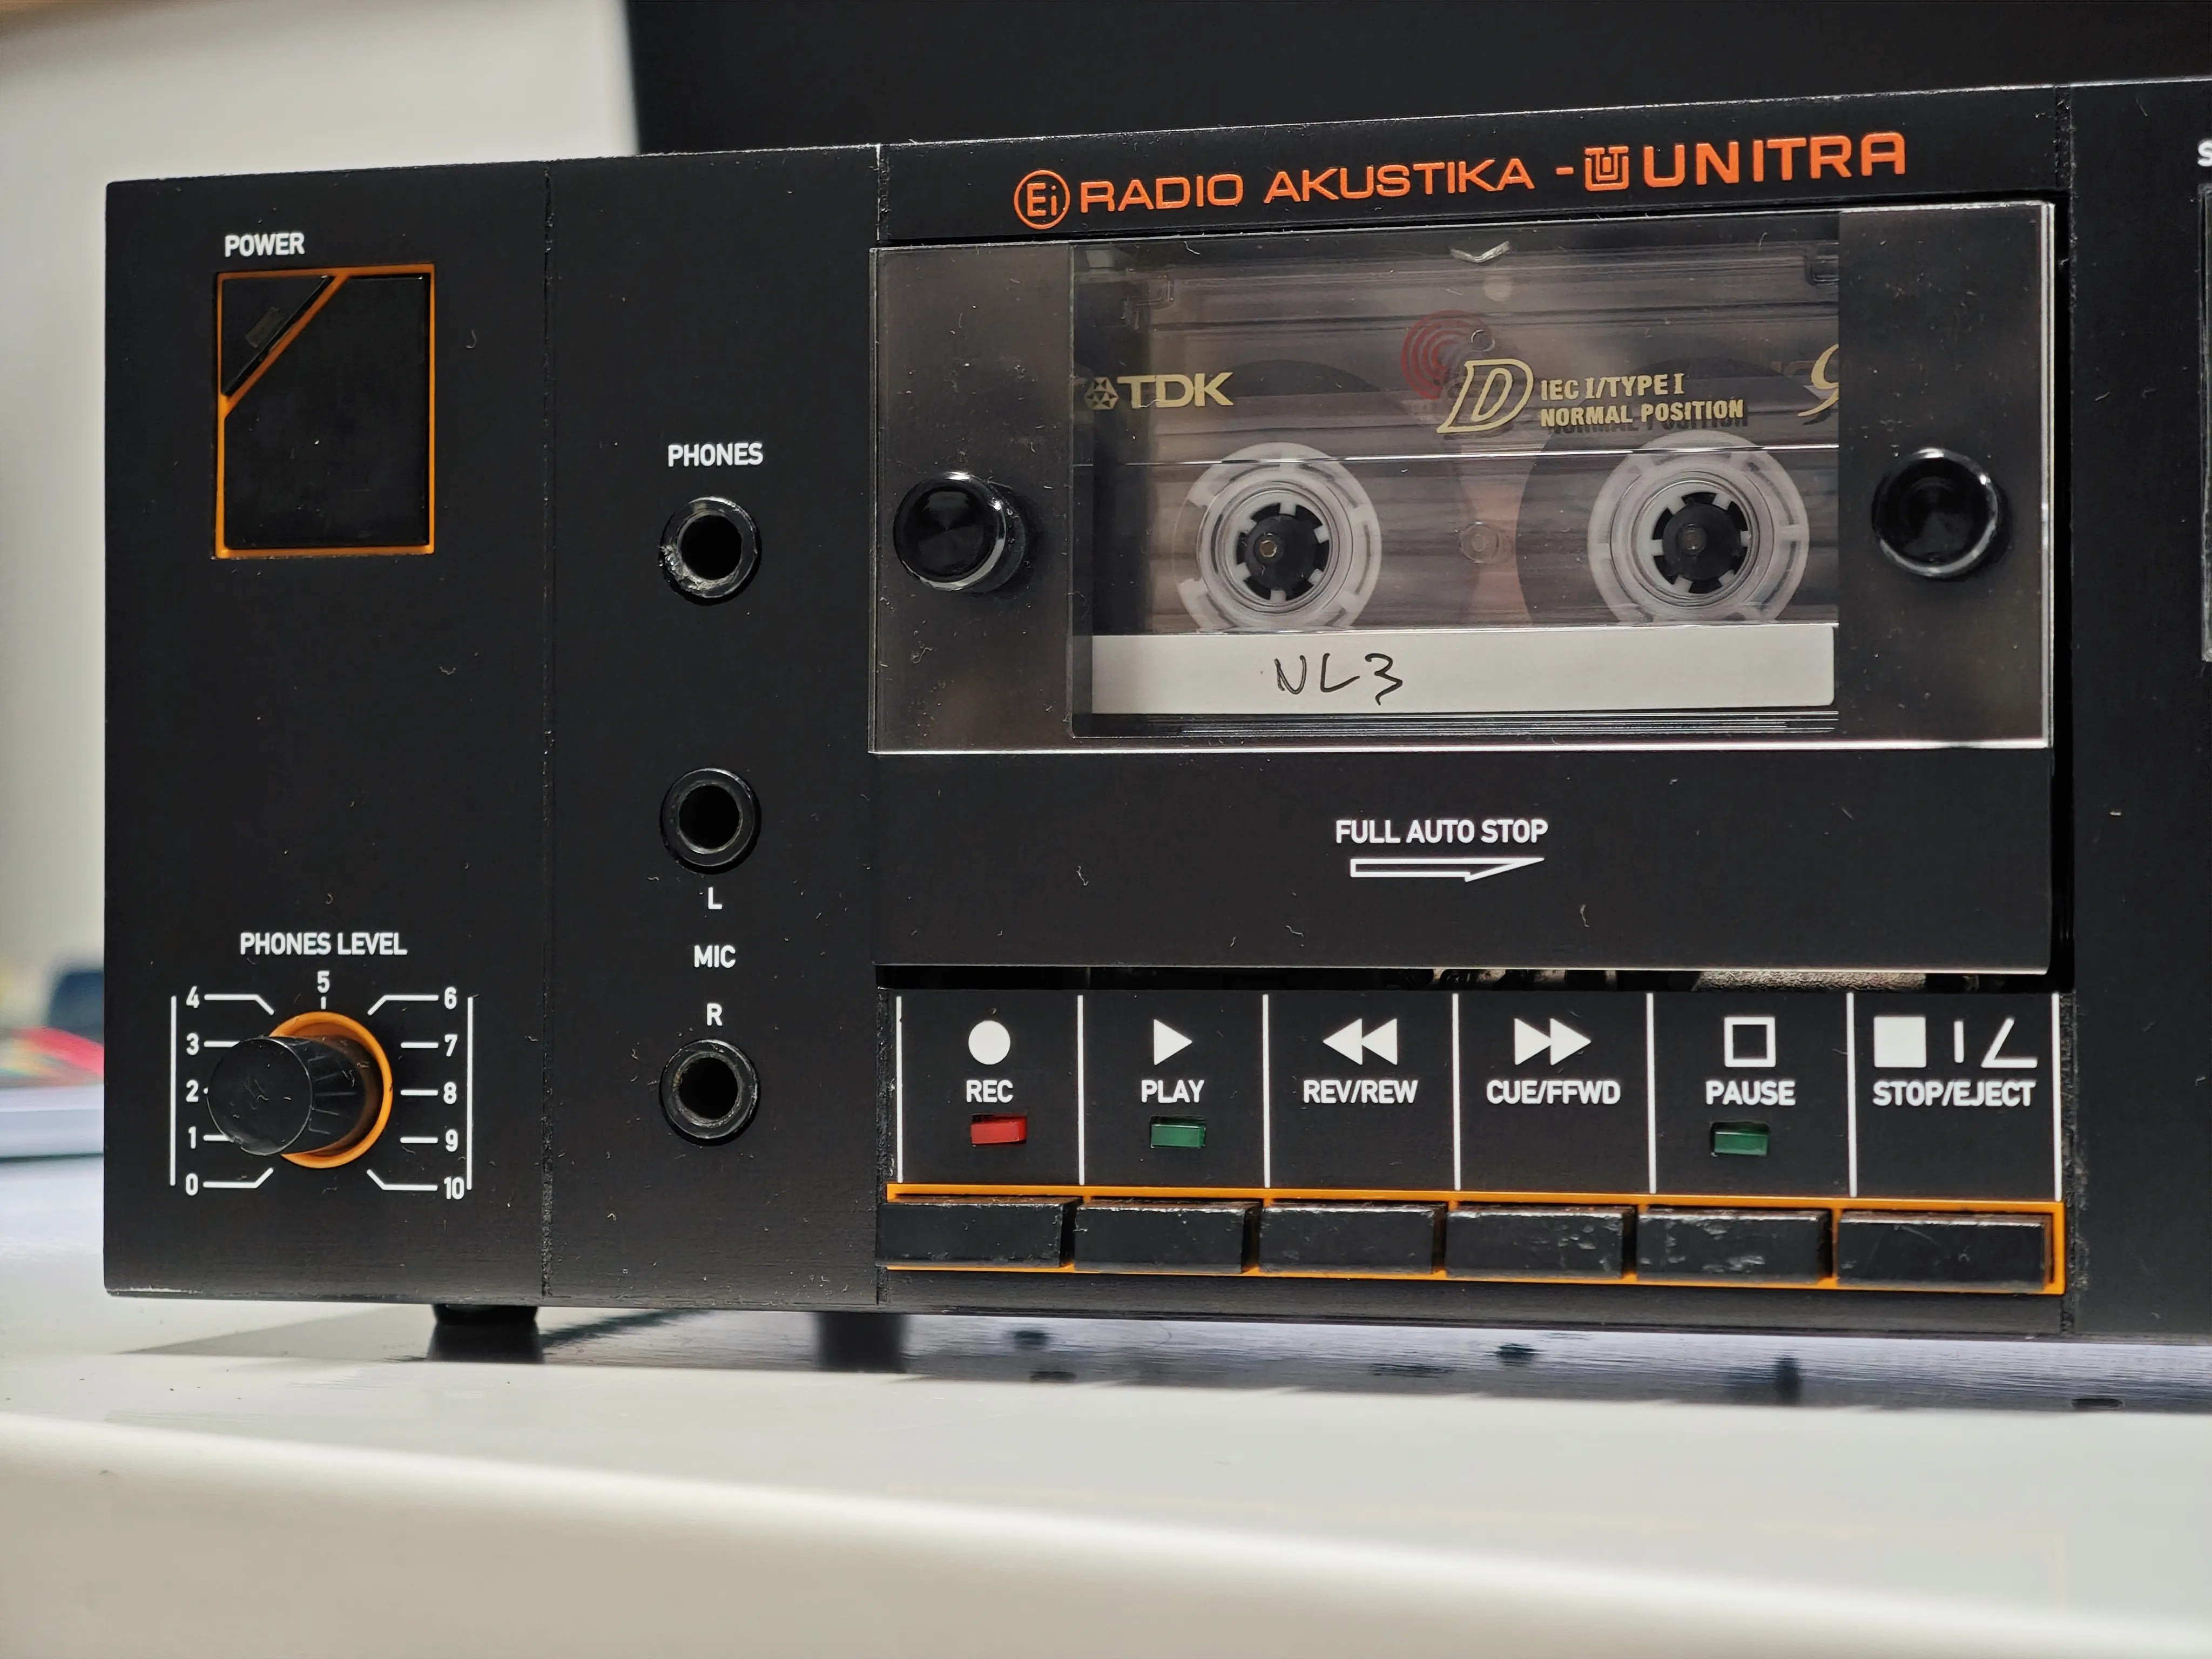
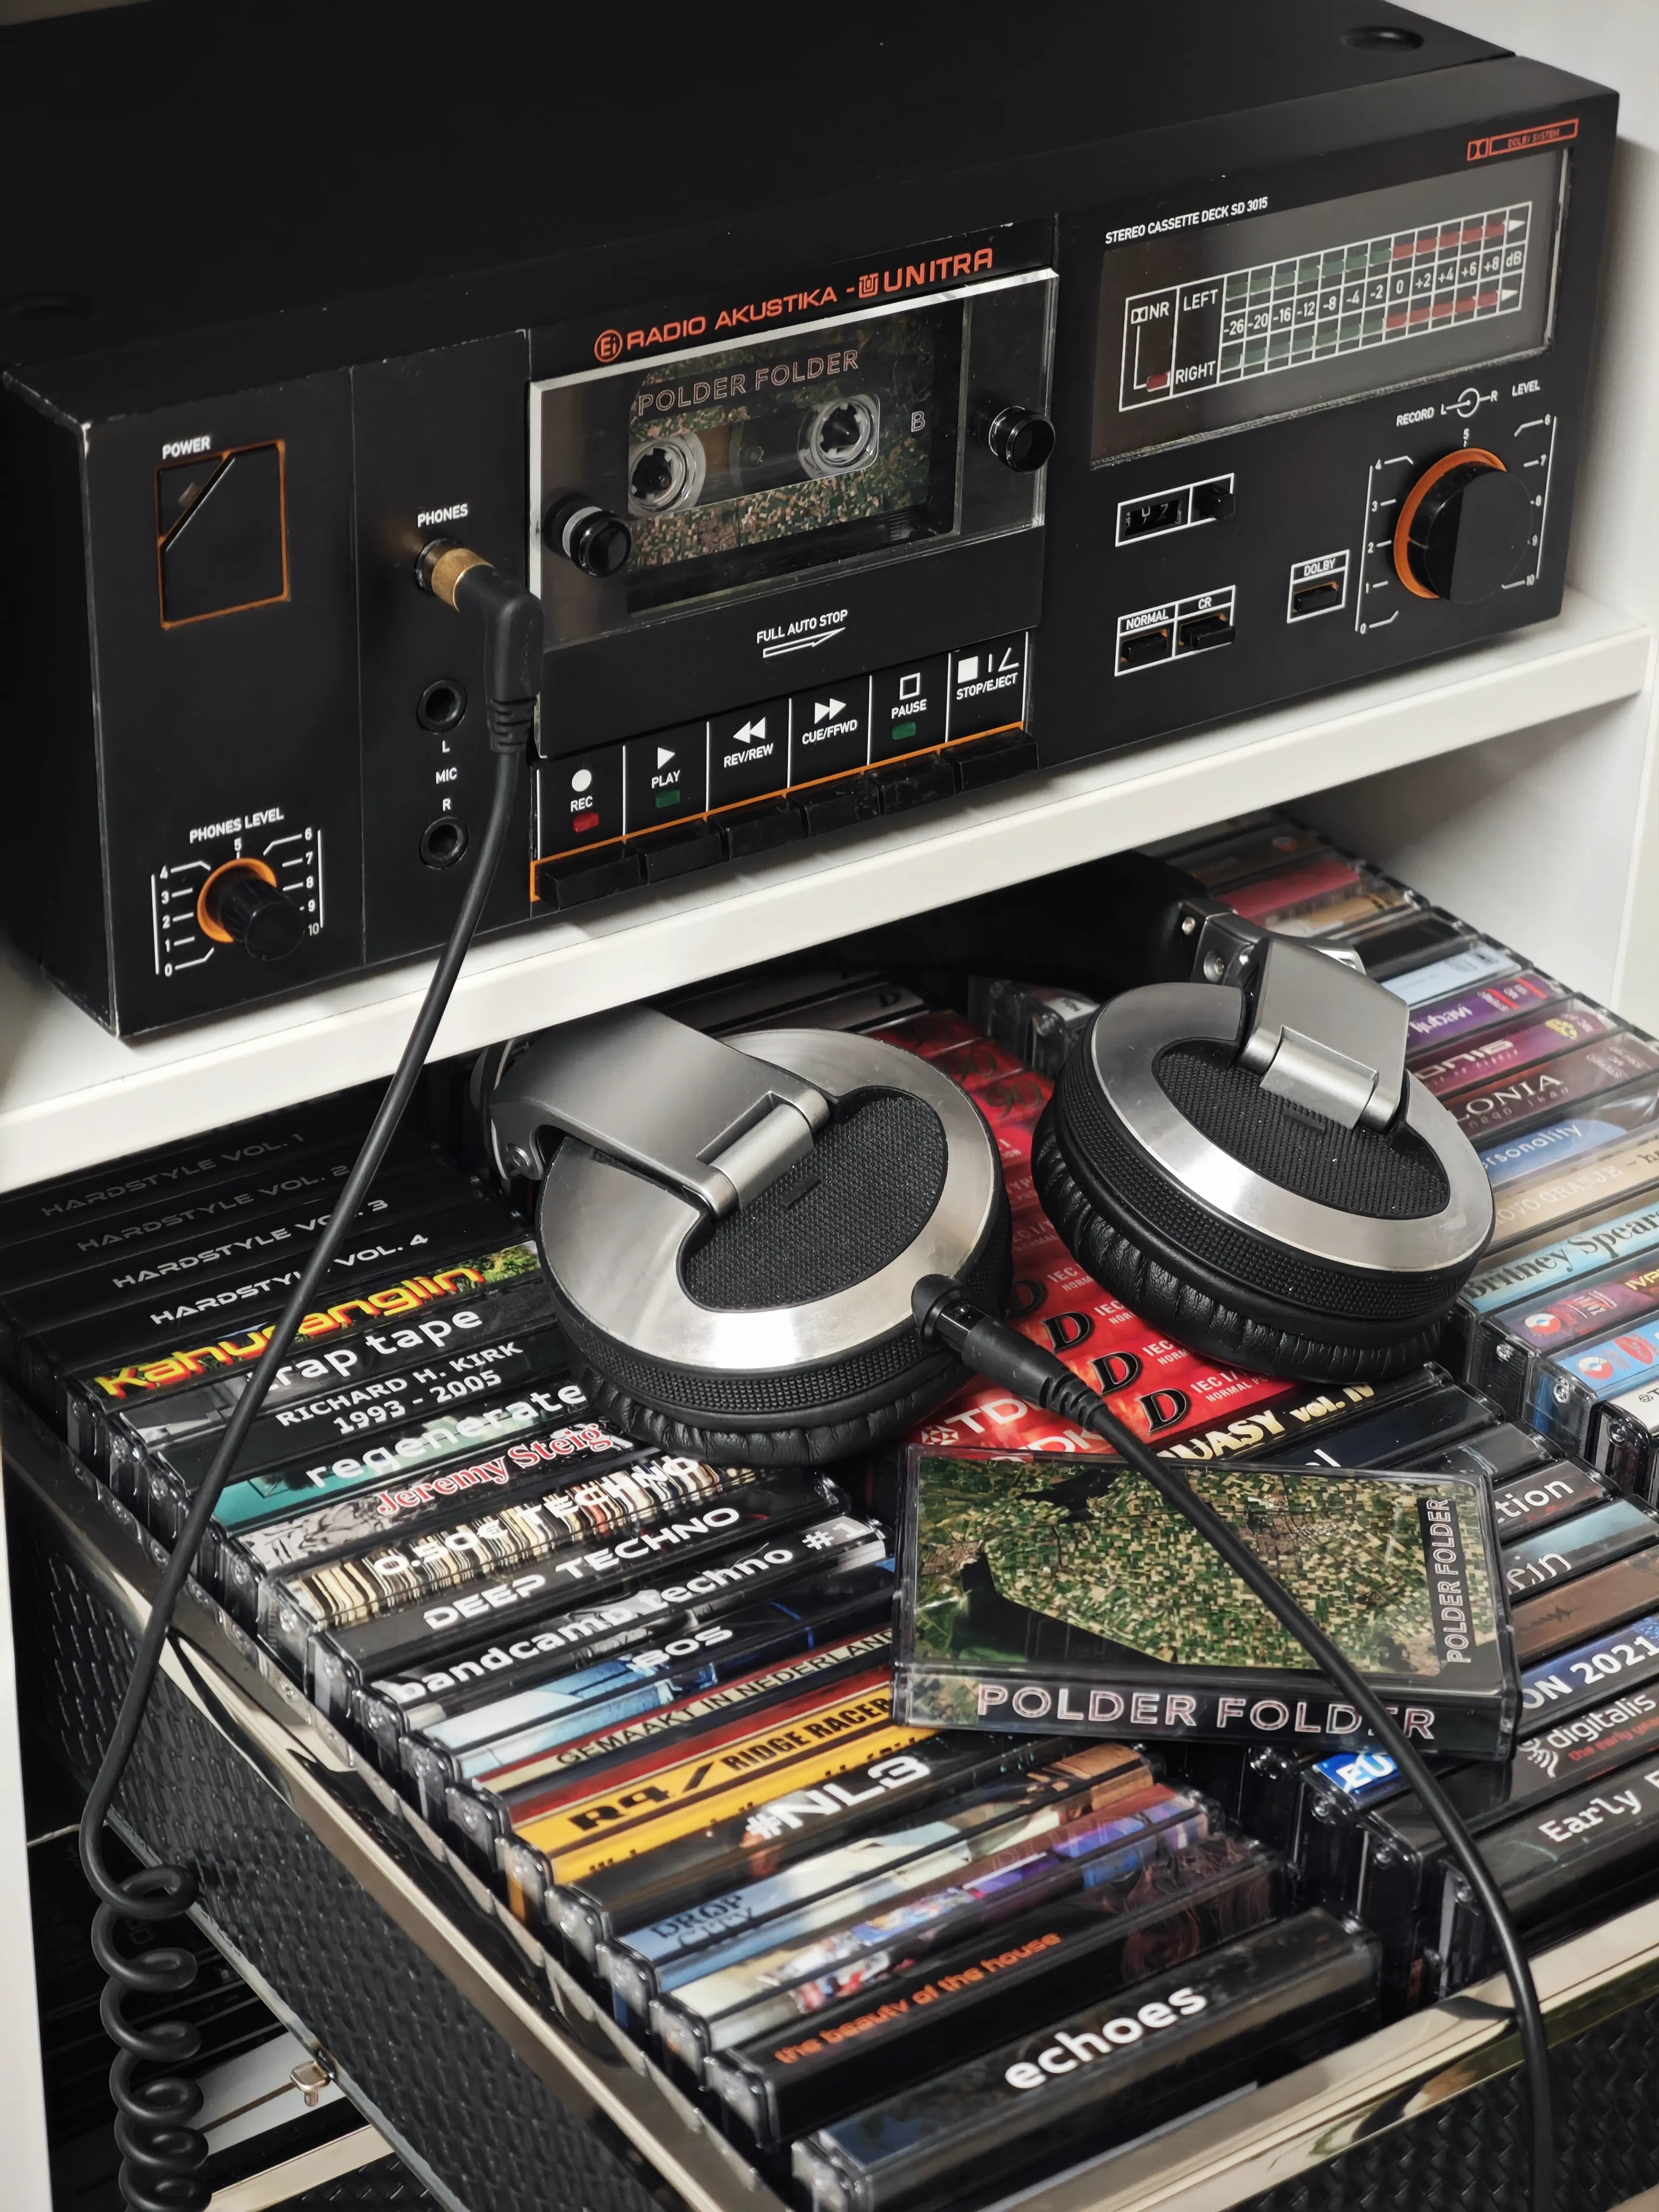
Conclusion
The deck now looks like I just bought it new, and it behaves that way too. So, although it seemed impossible, the deck lives again, and while it’s completely unreasonable to spend this much time and money on a low-to-mid-grade deck such as this, this one belonged to my father and I used it as a kid. It’s a piece of family history and I wanted to preserve that. I just hope I won’t have to disassemble it again any time soon!